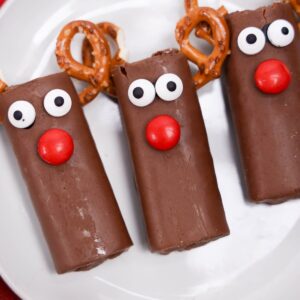
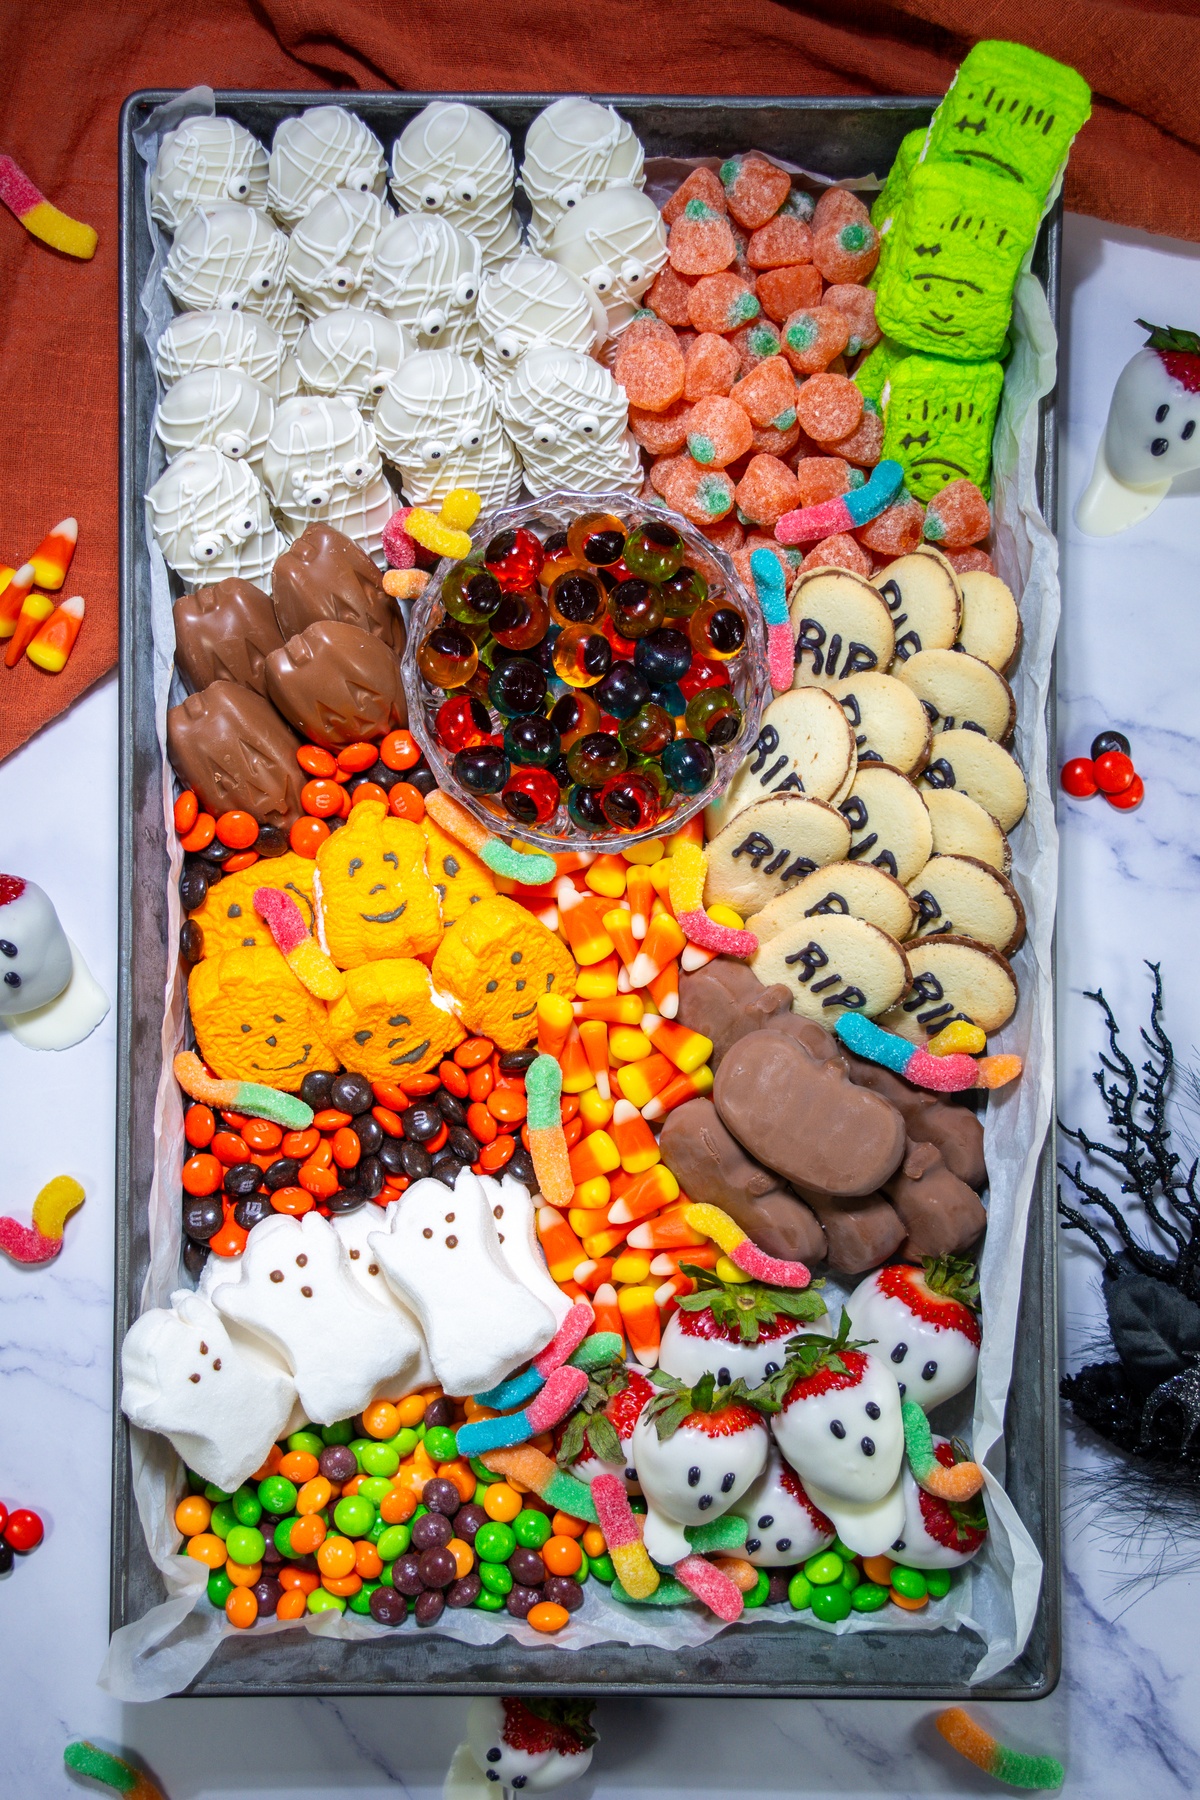
This Spooky Dessert Board is the kind of thing you put in the center of the table and let people graze on all night. Ghost strawberries. Mummy Nutter Butters wrapped in white chocolate drizzle with candy eyes. Milano cookies piped with "RIP" in black chocolate. Reese's Pumpkins, Snickers Pumpkins, Peeps, sour gummy worms, candy corn, Halloween Skittles, M&M's. It's a complete Halloween spread in board form, and it looks like you put in serious effort when the actual work is dipping, piping, and assembling.

The board serves 12-16 for grazing and takes about 20 minutes to put together once your dipped items are set. The white and black candy melt work happens first and gets set aside while you pull everything else together. Most components can be prepped the day before and stored separately - dipped cookies in an airtight container, dipped strawberries in the fridge (consume within a day). Assemble the board within an hour of serving for best results. Prep time is 20 minutes, no bake time required.
The secret to a board that looks styled rather than just piled is grouping - keep colors and textures in tight clusters, use a small bowl to add height and corral smaller pieces like eyeball candies and candy corn, and anchor the corners with your larger decorated items first before filling in with loose candy.
For more Halloween dessert ideas, try these ghost strawberries, mummy strawberries or monster halloween cookies.
Hosting a Halloween Party? A dessert board this good deserves a full party around it. The Halloween Mega Game Bundle has 20+ Halloween games all in one instant download - print the night before and you're completely set for the whole event.

Ingredients
- White chocolate or candy melts
- Black candy melts
- Milano Milk Chocolate cookies
- Nutter Butter cookies
- Gummy eyeball candies
- Sour gummy worms
- Reese's Pumpkins
- Snickers Pumpkins
- Peeps (pumpkins, ghosts, and Frankenstein)
- Candy corn
- Halloween Skittles
- Halloween M&M's
- Pumpkin-shaped candy
- Eyeball candy sprinkles
See recipe card for quantities.
Instructions
How to Build the Spooky Dessert Board
Line 2-3 baking sheets with parchment. Rinse and thoroughly dry strawberries - moisture prevents the coating from sticking. Melt white candy melts in the microwave in 30-second bursts, stirring between each, until smooth. Melt black candy melts the same way and transfer to a piping bag.
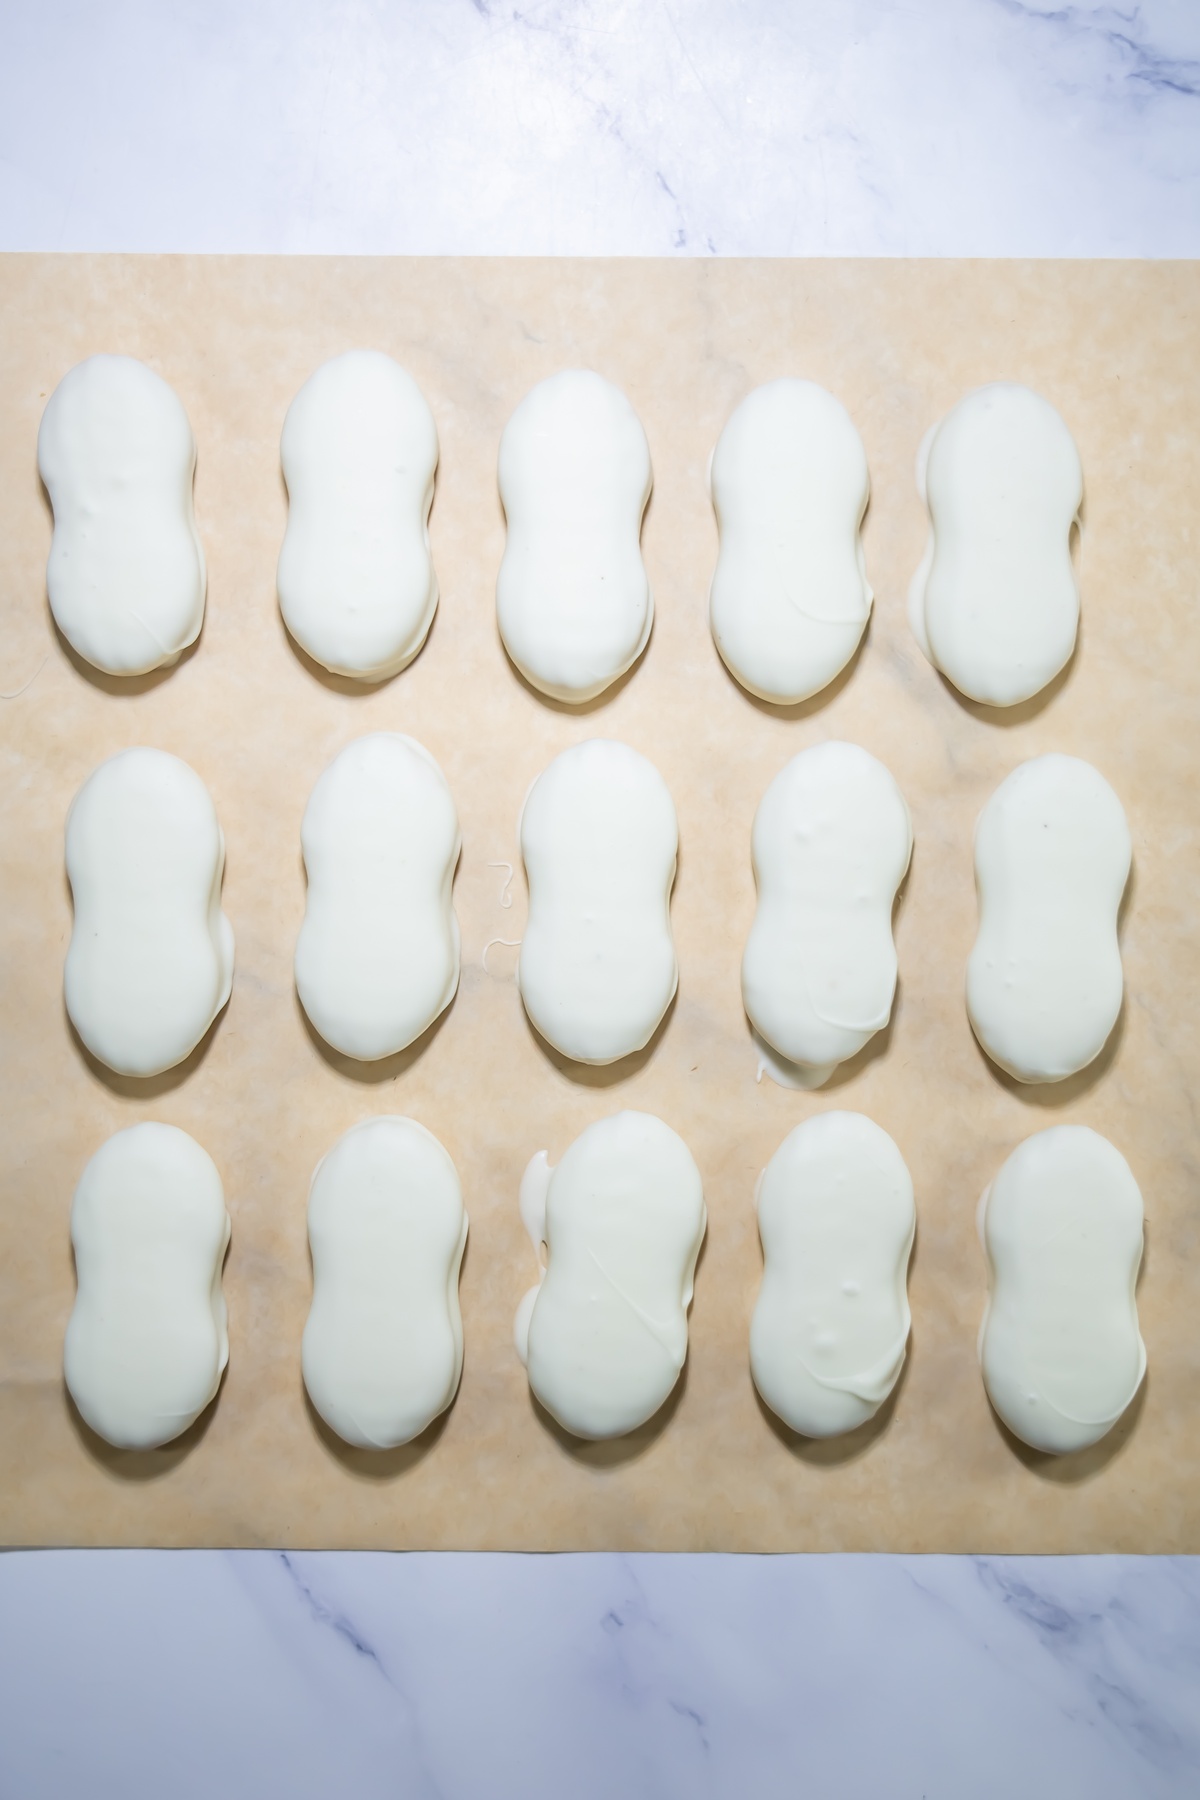
Step one: Dip each Nutter Butter in the white coating, tap off excess, and place on parchment to set. Dip strawberries in white coating, letting extra drip to form a ghost tail shape, and set on parchment. Refrigerate strawberries for 5-10 minutes to firm up.
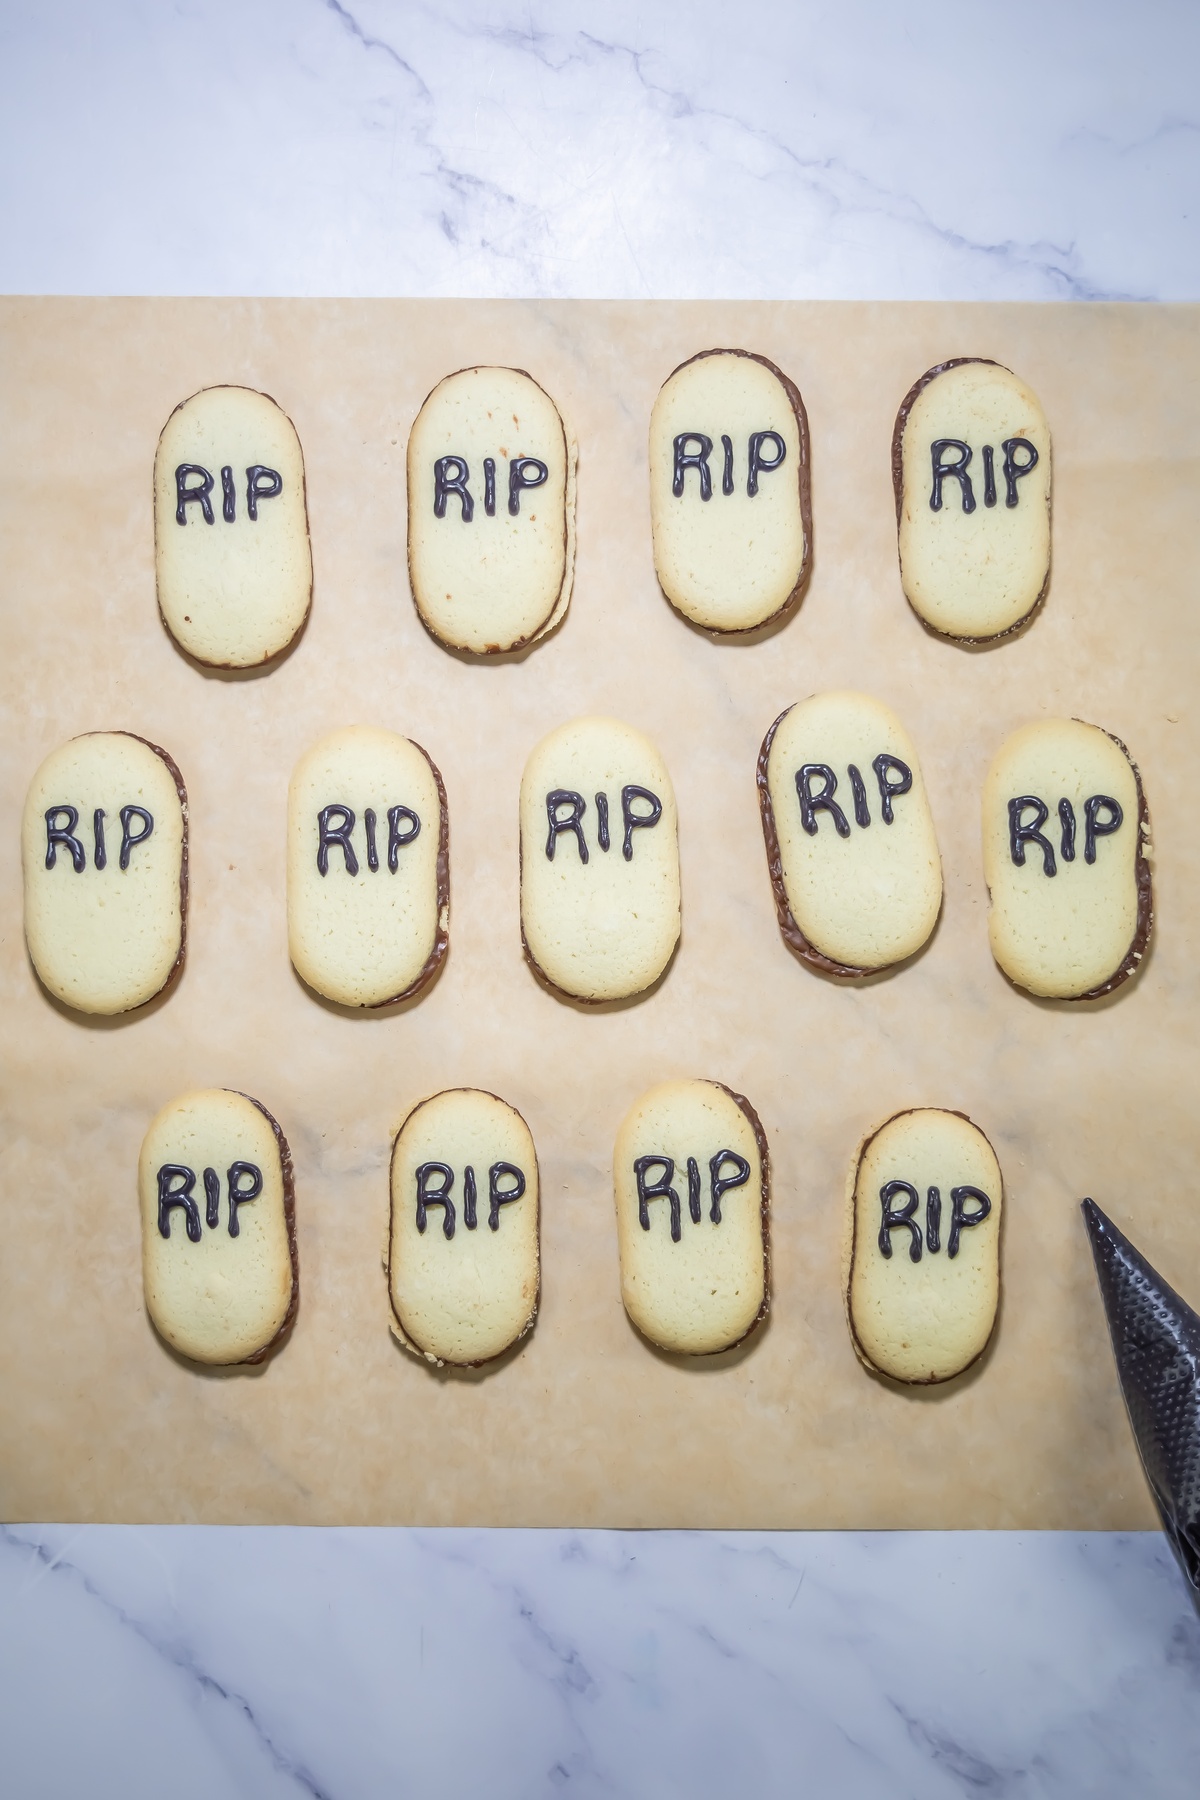
Step two: Pipe "RIP" onto the flat side of each Milano cookie with the black chocolate. Let set. Add two candy eyes to each dipped Nutter Butter using a dot of white coating as glue. Drizzle thin strands of white coating back and forth over each Nutter Butter cookie to create mummy bandages. Let set completely.
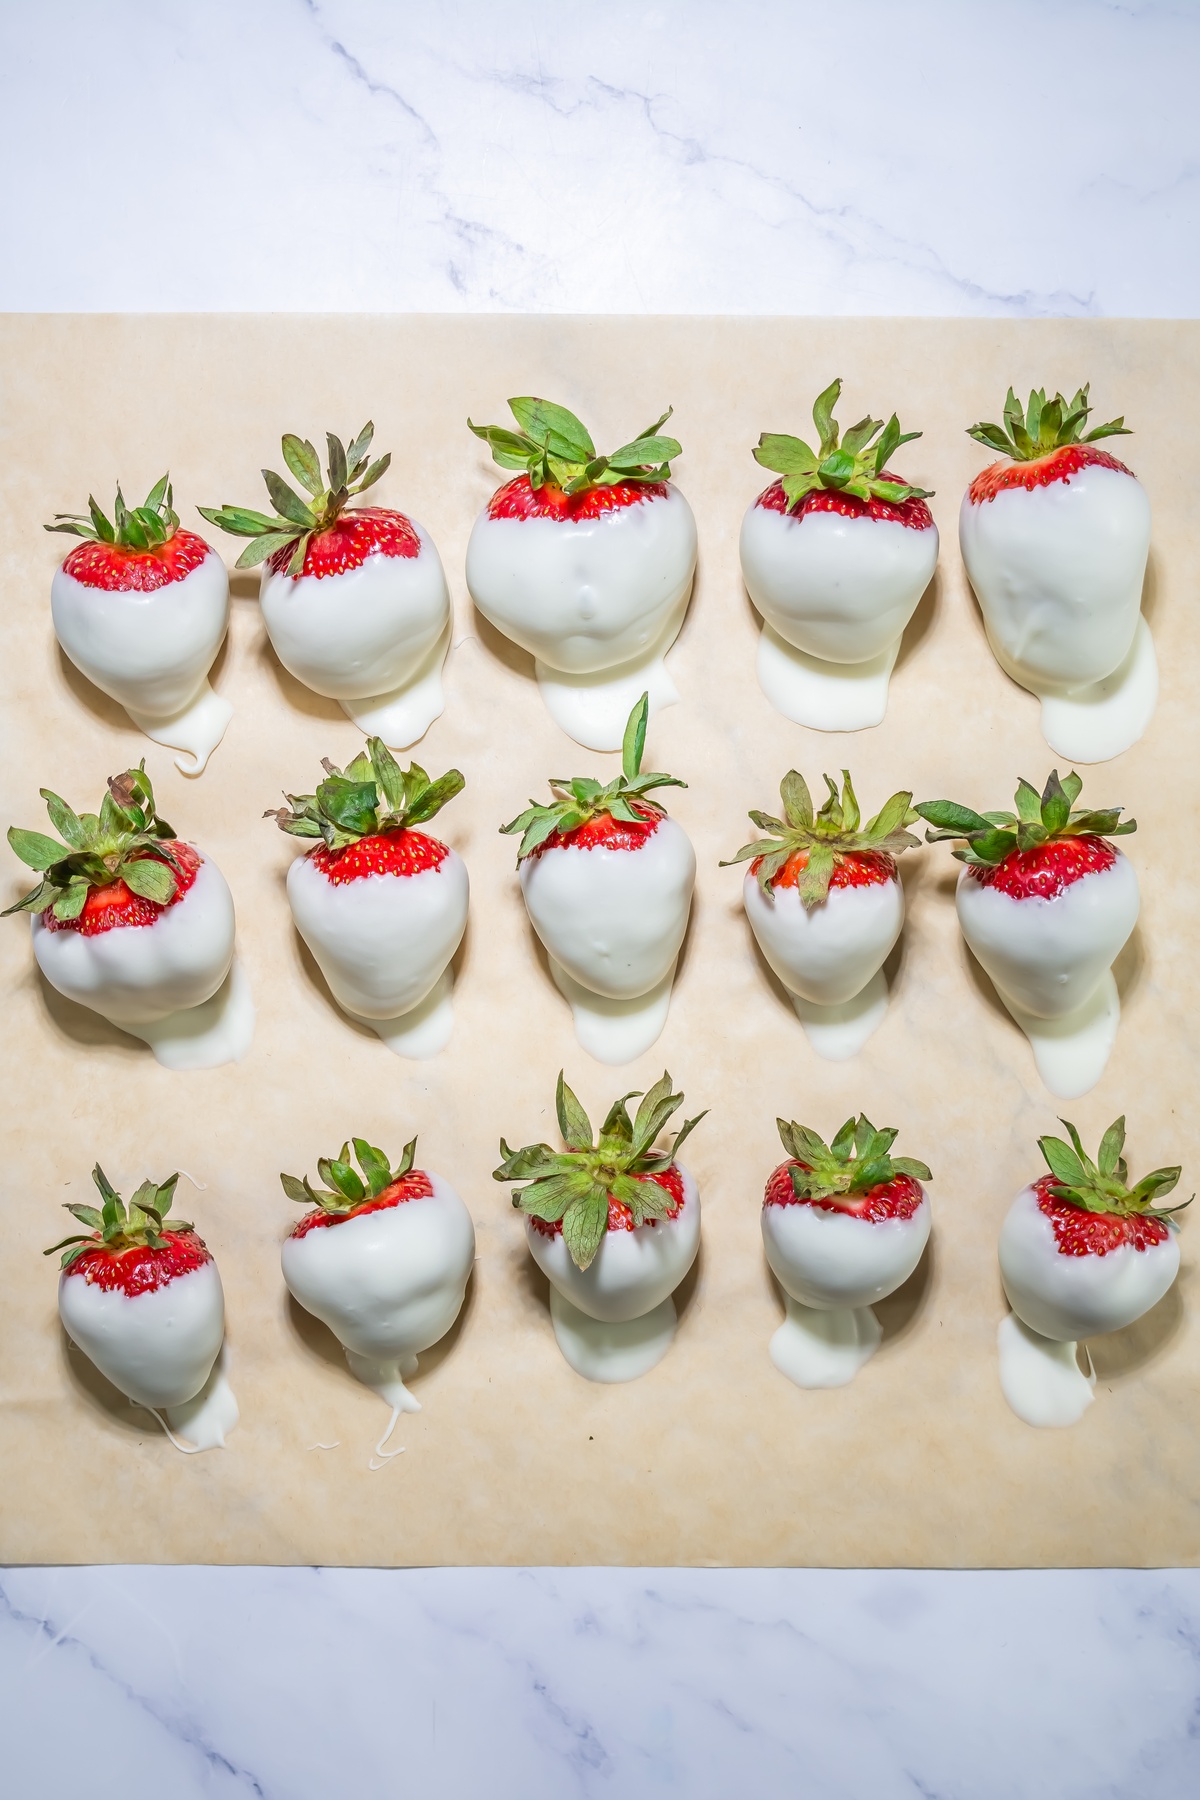
Step three: Pipe two small eyes and an oval mouth on each strawberry ghost using the black candy melt piping bag. Let set.
Step four: Assemble the board. Start with the large anchor pieces - mummy Nutter Butters, RIP Milanos, Peeps, and ghost strawberries in the corners. Use a small bowl to hold smaller loose items. Tuck in Reese's and Snickers Pumpkins throughout.
Step five: Fill all remaining gaps with candy corn, M&M's, Skittles, gummy eyeballs, and sour gummy worms, keeping colors in tight blocks for a bold, festive look.
Hint: Always start with your large anchor pieces and work inward - it's much harder to add large decorated items after small candy is scattered everywhere.
Recipe Tips for Success
- Dry strawberries completely before dipping - any moisture causes the coating to slide off or seize. • White candy melts are more reliable for a project this size than real white chocolate - they re-melt easily, set firmer, and are more forgiving overall.
- Keep colored candies in tight clusters rather than scattering them - this is what makes a board look intentional and styled versus just dumped out.
- he board photographs best assembled and served the same day. Overnight assembly tends to soften dipped cookies and the candy colors can bleed.
Storage
The assembled board should be served the same day for best results. Individual components can be stored separately - dipped cookies in an airtight container at room temperature, dipped strawberries in the fridge and consumed within 1 day. Dry strawberries completely before dipping. Start assembly with large anchor pieces and work inward - small candy scattered first makes it hard to place large decorated items.
Spooky Dessert Board
Ingredients
- 20 oz white chocolate or candy melts
- Black candy melts
- Milano Milk Chocolate Cookies
- Nutter Butter cookies
- Fresh strawberries
- Gummy eyeball candies
- Sour gummy worms
- Reese's Pumpkins
- Snickers Pumpkins
- Peeps Marshmallow Pumpkins, Ghosts, and Frankenstein
- Candy corn
- Halloween Skittles
- Halloween M&M's
- Pumpkin-shaped candy
- Eyeball candy sprinkles
Instructions
- Line 2-3 baking sheets with parchment. Rinse and thoroughly dry strawberries.
- Melt white candy melts in a microwave-safe bowl in 30-second bursts, stirring between each, until smooth and thoroughly mixed.
- Melt black candy melts the same way. Transfer to a piping bag and set aside
- Dip each Nutter Butter in the white coating, tap off excess, and place on parchment to set.
- Hold each strawberry by the greens, dip in the white coating, let extra drip to form a ghost tail, and set on parchment. Refrigerate 5-10 minutes to firm up.
- Pipe "RIP" onto the flat side of each Milano cookie using the black piping bag. Let set.
- Add two candy eyes to each dipped Nutter Butter using a dot of white coating as glue. Drizzle thin strands of white coating back and forth over each cookie to create bandages. Let set completely.
- Pipe two eyes and a small oval mouth on each strawberry ghost using the black piping bag. Let set.
- For board assembly, start with the larger items first - mummy Nutter Butters, RIP Milanos, Peeps, and ghost strawberries in the corners.
- Use a small bowl to hold smaller items and add height.
- Tuck in Reese's Pumpkins and Snickers Pumpkins throughout.
- Fill remaining gaps with candy corn, M&M's, Skittles, gummy eyeballs, and sour gummy worms, keeping colors in tight blocks.
Notes
Nutrition information provided is just an estimate and may vary based on specific ingredients used.