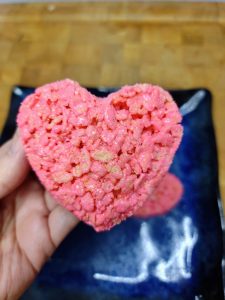
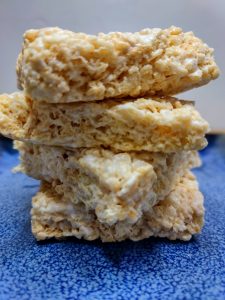
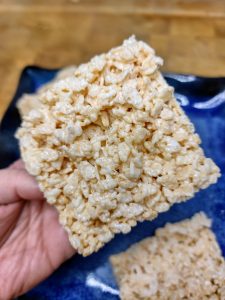
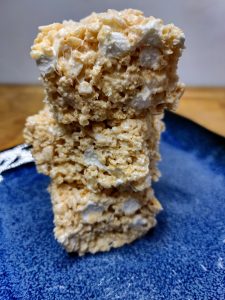
The ooey, gooey goodness of original Rice Krispie Treats is hard to beat. You can of course, buy them pre-made at the store. Or, you can learn how to make Rice Krispie Treats yourself.
Rice Krispie Treats are so delicious. As extra bonuses, they are also easy to make, no baking necessary and only three ingredients. Could you ask for a simpler snack?
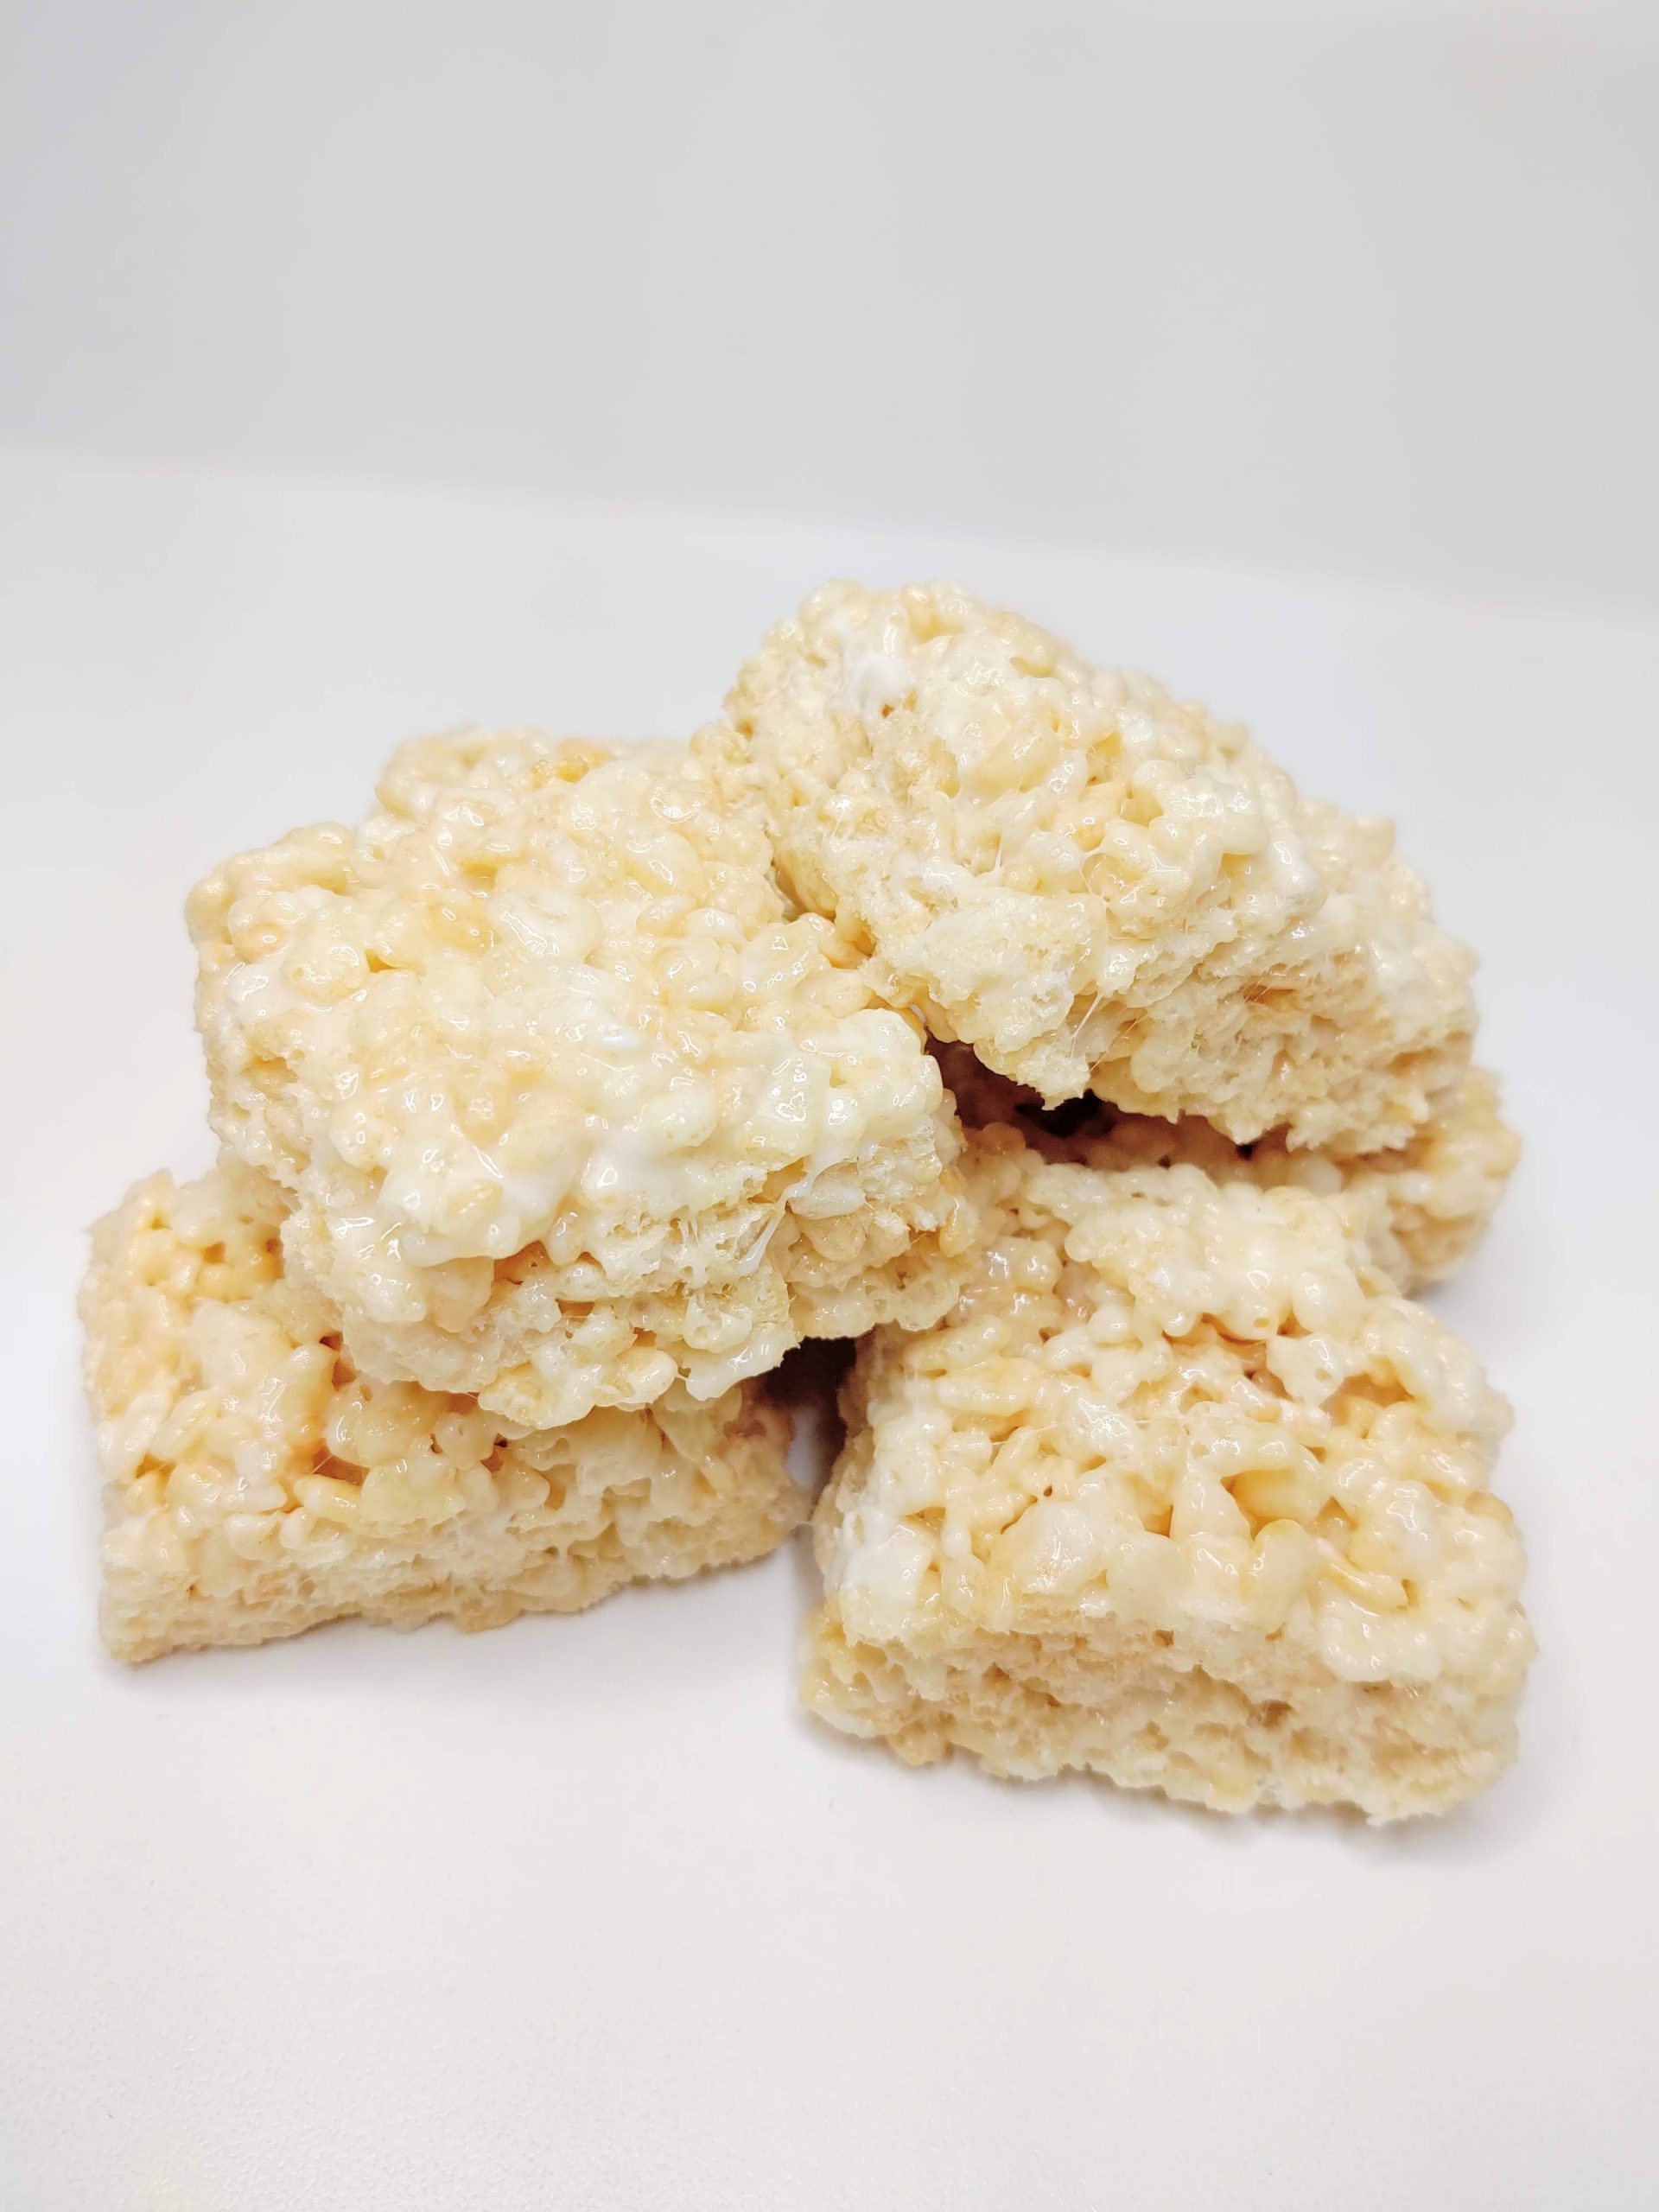
Best Original Rice Krispie Treats Ever!
Ok, so now that you're sold on how awesome Rice Krispie Treats are, let's get down to how to make the BEST Rice Krispie Treats EVER!
This original rice krispie treats recipe is, like we mentioned, relatively simple. You only need 3 ingredients and about 30 minutes.
Below we will review the ingredients and supplies needed, the instructions for how to make your treats and then several FAQ so that you can troubleshoot any issues you may have.
Ingredients & Supplies Needed
Rice Krispies (of course)
Salted Butter
Marshmallows
A quick note on the ingredients. I'm not typically tied to one single brand of a food or item. However, after using a few different brands of marshmallows, I highly recommend splurging for the Kraft Jet Puffed Marshmallows.
I thought, hey, I'll save a buck and get the store brand. And honestly, there was a significant quality difference in the treats. They were way too sticky and fell apart. I made a few batches and also just in general they were more difficult to work with.
Not a total deal breaker, of course, but just be aware of that.
Also, salted butter tends to be the best choice over non salted butter. There is a big taste difference between the two.
Finally, we have used a few different brands of rice crispy cereals to make these treats. Although all brands we have used do work just fine, the actual Kellogg's Rice Krispies tend to just have a better taste and texture. So, we recommend using that brand if you can.
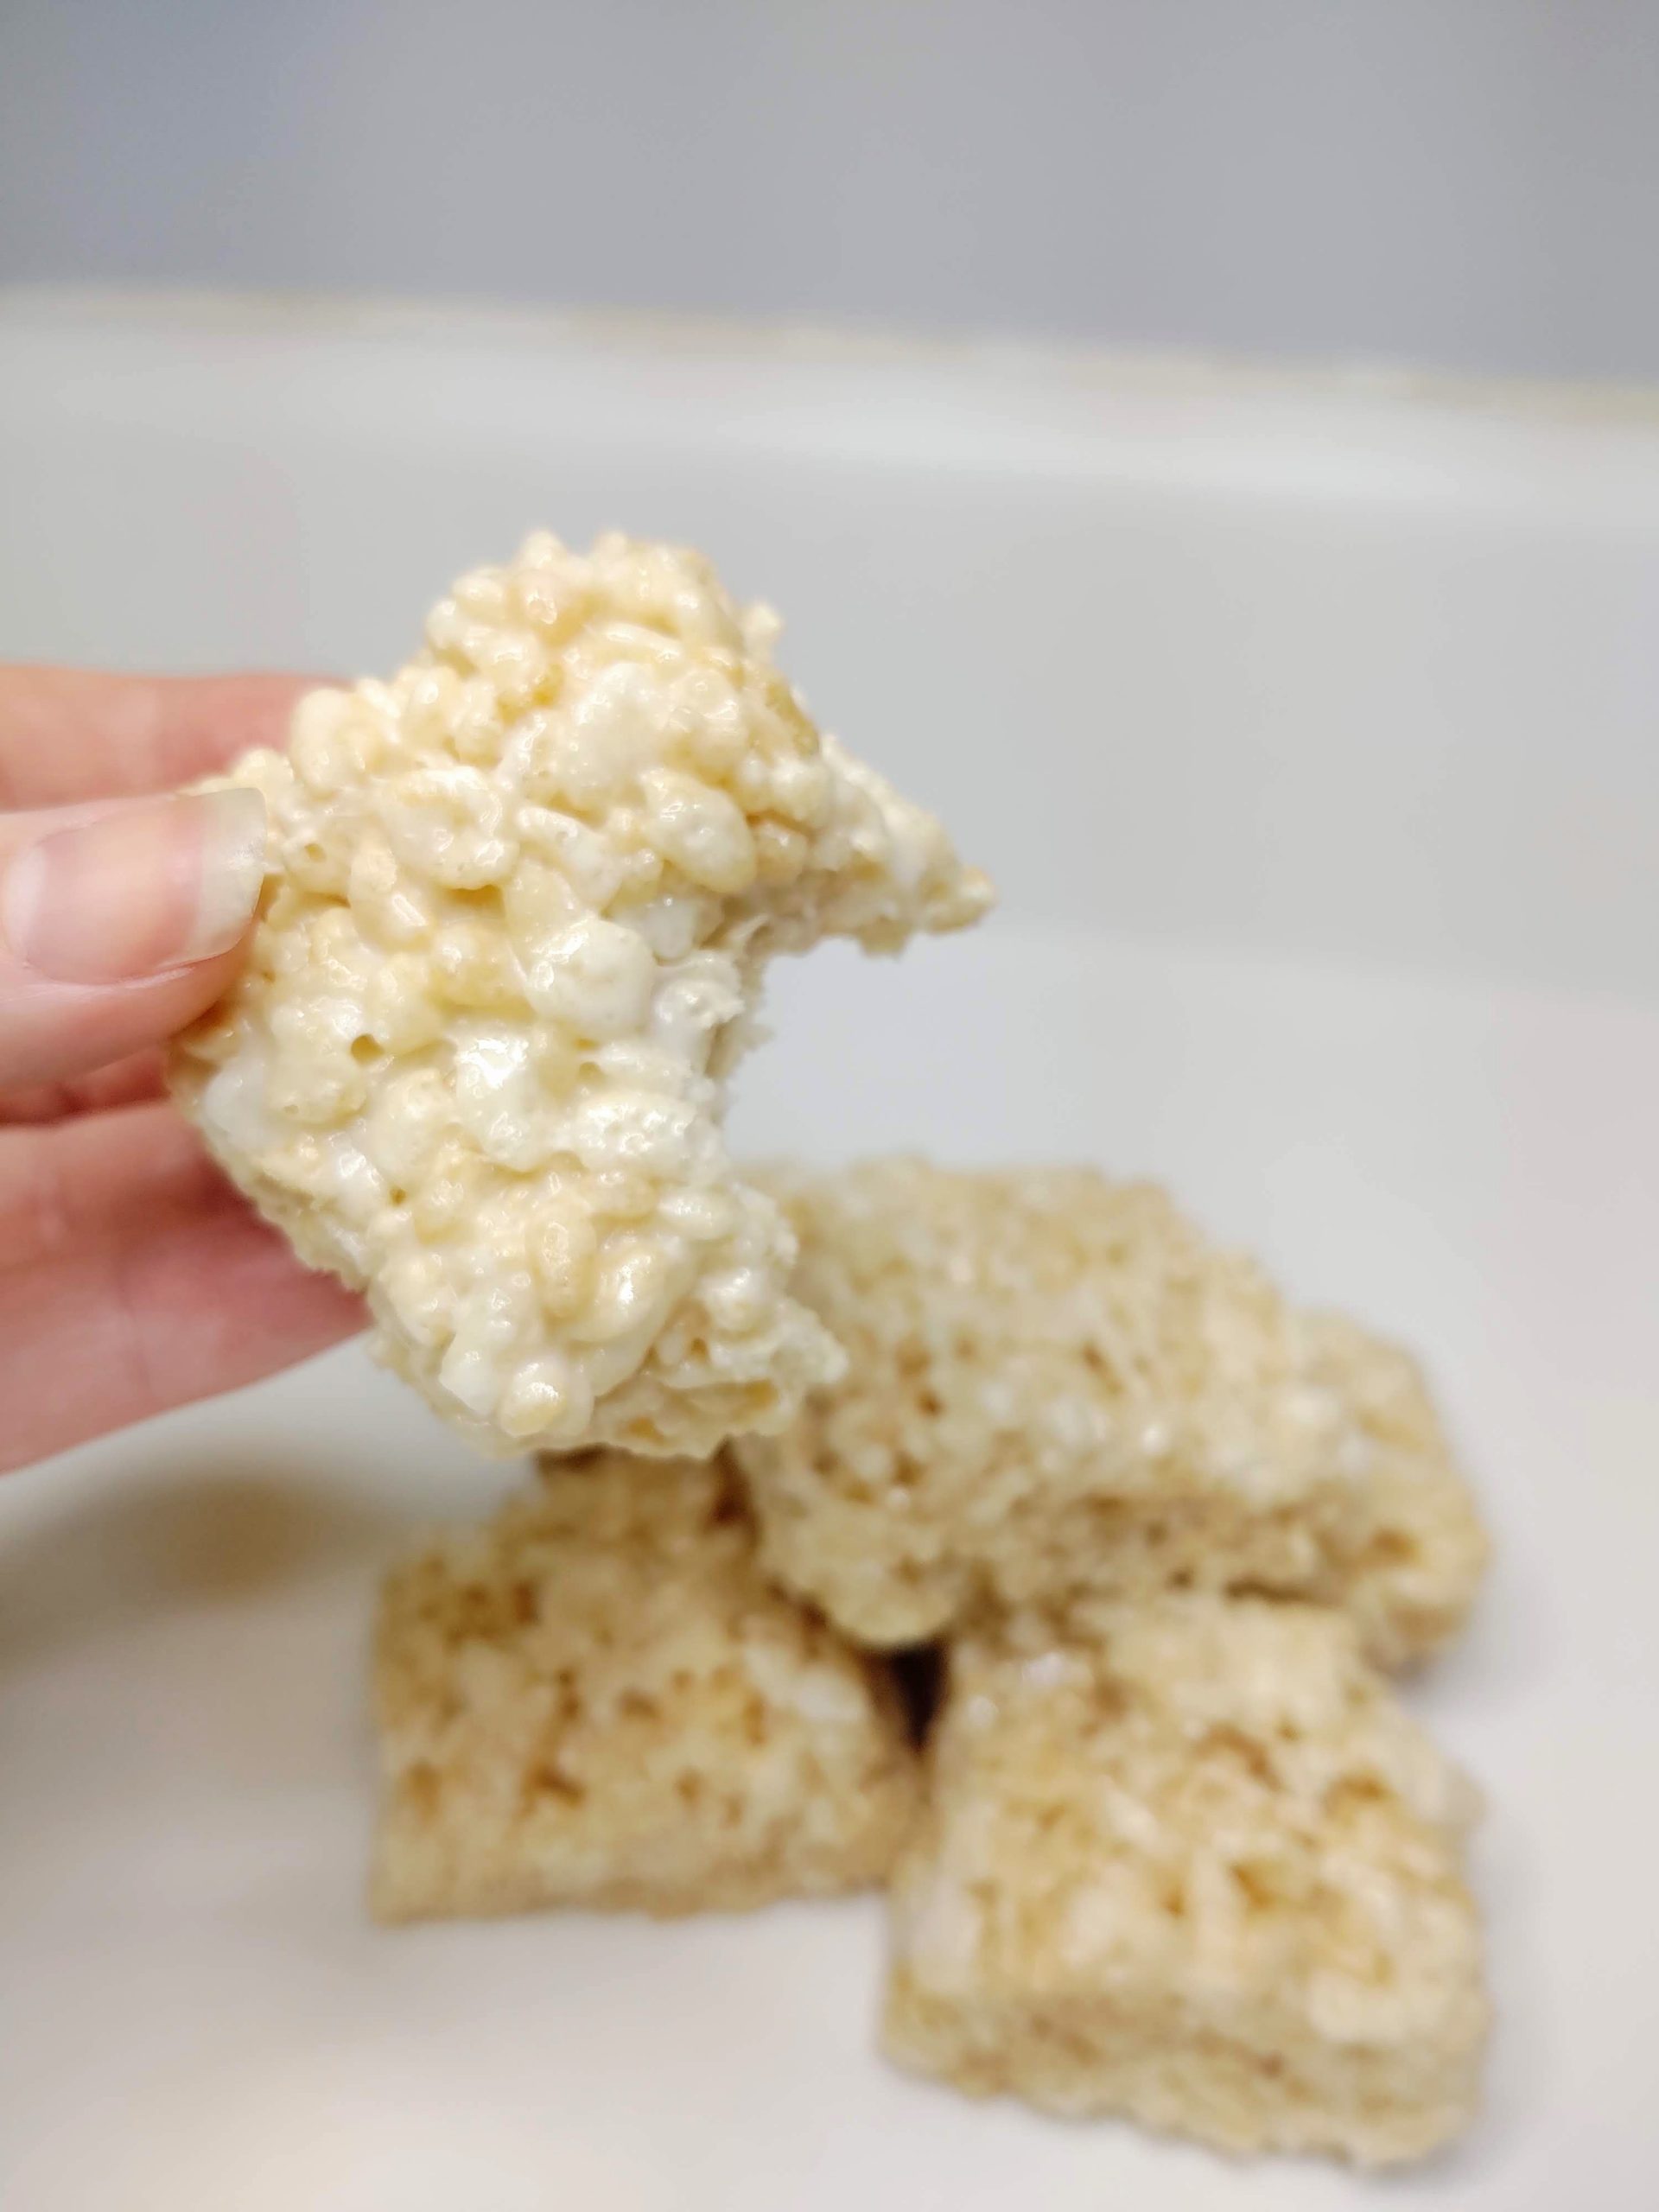
Instructions
Step one
The first thing you need to do is get your butter and marshmallows melted and mixed up together.
You can melt them in one of two ways. You can use the stove top or you can use the microwave.
On the stove, you'll want to melt your butter first and then add your marshmallows in and melt them. Do this on a low to medium heat, stirring often. This will take several minutes.
If you want to do it in the microwave, then you can melt both the butter and marshmallows together at the same time. Pop them in a microwave safe bowl and heat for 30 - 60 seconds.
After the initial heating, take them out, stir and pop them back in for 30 second intervals until the marshmallows are fully melted. Stirring in between each heating.
Pro tip: Do not overheat your marshmallows. It will make them stiff, hard and difficult to work with. It is also very important to stir a lot while heating whether in the microwave or on the stove.
Pro tip #2: It is normal for your marshmallows to puff way up during heating.
Step two
Once your melted butter and marshmallows are mixed well, add in your Rice Krispies. It's important to ensure that you get it all equally distributed.
If it is not mixed well, you'll end up with parts of your treats that are just cereal or just marshmallows which will mess up the overall texture.
Pro Tip: Make sure to pre-grease the spoon or spatula that you use to mix things together. Otherwise, your marshmallow mixture will stick to everything.
Pro Tip #2: Make sure not to let the marshmallow mixture cool much before adding your cereal and stirring it all together. Otherwise, it will start to harden and become difficult to handle.
Step three
Next, it's time to get them set in the pan. Since the marshmallows stick to everything they touch, you'll want to grease the pan and the spatula. This will make it much easier to spread the mixture out.
You can grease with either butter or non-stick cooking spray. Non-stick cooking spray is a little easier to work with than butter. However, butter tends to have a bit of a better flavor.
Using the spatula, take the mixture from your bowl or pot and transfer it to your pan. Spread it as evenly as possible so that your treats don't end up hugely different thicknesses.
While you are spreading your treats out, make sure to pack them down some. However, you don't want to push too hard and crush the cereal.
Step four
Let your treats cool. This usually will take 20-40 minutes. If you pop them into the fridge or freezer, they should cool enough in about 20 - 30 minutes.
If you let them cool in room temperature, it might take closer to an hour for them to be cooled sufficiently.
Once they're set, you can cut them into bars and eat!
If you want even more treats, double your batch with these giant rice krispie treats.
Why Do My Rice Krispie Treats Get Hard?
One of the best qualities to these treats is their chewy texture. So, you definitely don't want them to be hard.
The most common reason that you'll end up with hard treats is due to overheating your marshmallows. So make sure to heat them on low. Or is using the microwave only do 30-60 second intervals and check and stir them before putting them in for more time.
How to keep rice krispie treats soft?
Keep your rice krispie treats soft by using fresh, unopened marshmallows and not overheating them during melting. Stale marshmallows will lead to harder more brittle treats. Overheating your marshmallows crystalizes the sugar in them causing them to be harder in the treats.
You can also keep your rice krispie treats soft during storage by keeping them in an airtight container at room temperature so they don't get too cold or stale which can make them harden during storage.
If you end up with hard treats initially from marshmallow issues, you can add a piece of bread to the container when you store them and that can help soften them. To keep already soft treats soft, make sure you store them properly and don't let them get too cold.
Why are my Rice Krispie Treats rubbery?
Your treats may be rubbery if you added too much butter (too much butter can also make them soggy). However, overcooked marshmallows can also make your treats rubbery. Overcooking the marshmallows makes them hard and difficult to work with.
Why are my rice crispy treats falling apart?
There could be a few reasons your rice krispie treats are falling apart: they may not be fully cooled, you may have too many marshmallows, you might have too much cereal.
If your treats look like they are melting or wilting when you pick them up then they are likely not cooled all the way or way way too many marshmallows in them. If they have set long enough, then the cooling is not the issue.
If your treats seem to be literally falling apart when you pick them up, then you likely either added too much cereal and they are therefore not sticking together properly. Or, you may have overcooked your marshmallows which makes them not stick together like they should.
How do you cut Rice Krispie Treats neatly?
The best way to cut rice krispie treats neatly is to ensure that they are fully cooled and to use a well greased knife and/or spatula. If your treats are not fully cooled they will be extremely sticky and too pliable and you will just end up with a smashed mess.
If you do not grease your knife and/or spatula properly with non-stick cooking spray or butter then even if your treats are cooled, they will still stick to the knife and be difficult to cut properly.
Should Rice Krispie Treats be refrigerated?
No, rice krispie treats do not need to be refrigerated. You can certainly either store them in the fridge, or put them in the fridge to cool them faster. However, it is not necessary.
How long do homemade Rice Krispie Treats last in the fridge?
Rice Krispie treats last about a week in the fridge. Please note, keeping them in the fridge is not necessary and they can be kept in an air tight container at room temperature for about two days.
However, they do last a little longer in the fridge. Do, keep in mind that they will become a little harder or more stiff if you store them in the fridge.
How long does it take for rice Crispy Treats to harden?
It takes about an hour or more for rice crispy treats to harden especially when left at room temperature. If you don't want to wait that long (we never do), then you can cool them in the fridge or freezer for about 20 - 30 minutes.
If you will be making cookie cutter rice krispie treats or any other treats that have shapes to them, then you will want to wait a little extra time and we highly recommend putting them in the freezer to cool so that they are a little harder to start out before you start working with them to create shapes.
What happens if you put too much butter in Rice Krispie Treats?
If you put too much butter in your rice krispie treats they can become soggy or rubbery.
How Do You Store Rice Krispie Treats?
To maintain maximum texture and freshness, you'll want to store them in an air tight container. You can use a pyrex with a lid, a sealed ziplock bag or any other container that you can seal well.
For the best soft and chewy texture, you should store your rice krispie treats at room temperature. They can certainly be stored in the fridge, and will last a little longer this way, but will not be as soft. The cold temperature in the refrigerator will harden your treats a little.
You also want to be sure that your room temperature is not too hot as heat can get them too soft to where they are melty and falling apart.
Kept in optimal conditions, your treats can be stored for around 5 - 7 days before suffering quality issues or having the butter in them start to go bad.
Can You Freeze Rice Krispie Treats?
Yes, you can! If you won't finish your treats within about seven days then you'll need another plan for them.
In this case, I like to place wax paper between each treat and place them in a zippered freezer bag.
Other Variations
The possible variations of Rice Krispie Treats is virtually endless.
By adding in a few ingredients to your best rice krispie treat recipe, you can make all kinds like:
Peanut Butter Rice Krispie Treats,
Candy Corn Rice Krispie Treats
Peanut Butter Cup Rice Krispie Treats
Chocolate Chip Treats
You can make colorful treats by using this original rice krispie treat recipe as the base and adding in food coloring, colored marshmallows or jello:
Or, you can make other cereal treats by taking this best rice krispie treat recipe and substituting the rice krispies for other cereals. For example:
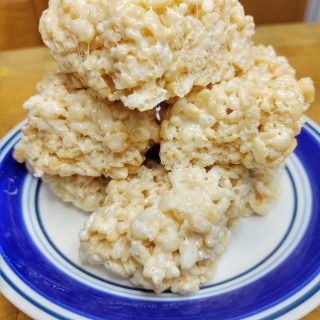
Original Rice Krispie Treats
Equipment
- 9x13 Pan
- Spatula
- Large mixing bowl
Ingredients
- 6 Cups Rice Krispies
- 4 tablespoon Salted Butter
- 10 oz Marshmallows
Instructions
- Add the butter & marshmallows in a bowl and melt them together. This can be done in the microwave or on the stove top.
- add in Rice Krispies and mix thoroughly
- Thoroughly and evenly mix the marshmallows and Rice Krispies together.
- Spread the mixture into a greased pan with a greased spatula.
- Allow mixture to cool (about 30 minutes), cut into squares and enjoy!
Nutrition information provided is just an estimate and may vary based on specific ingredients used.


