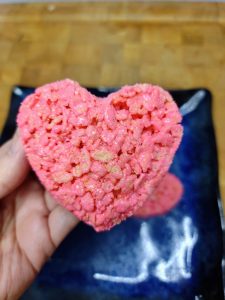
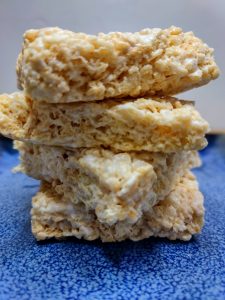
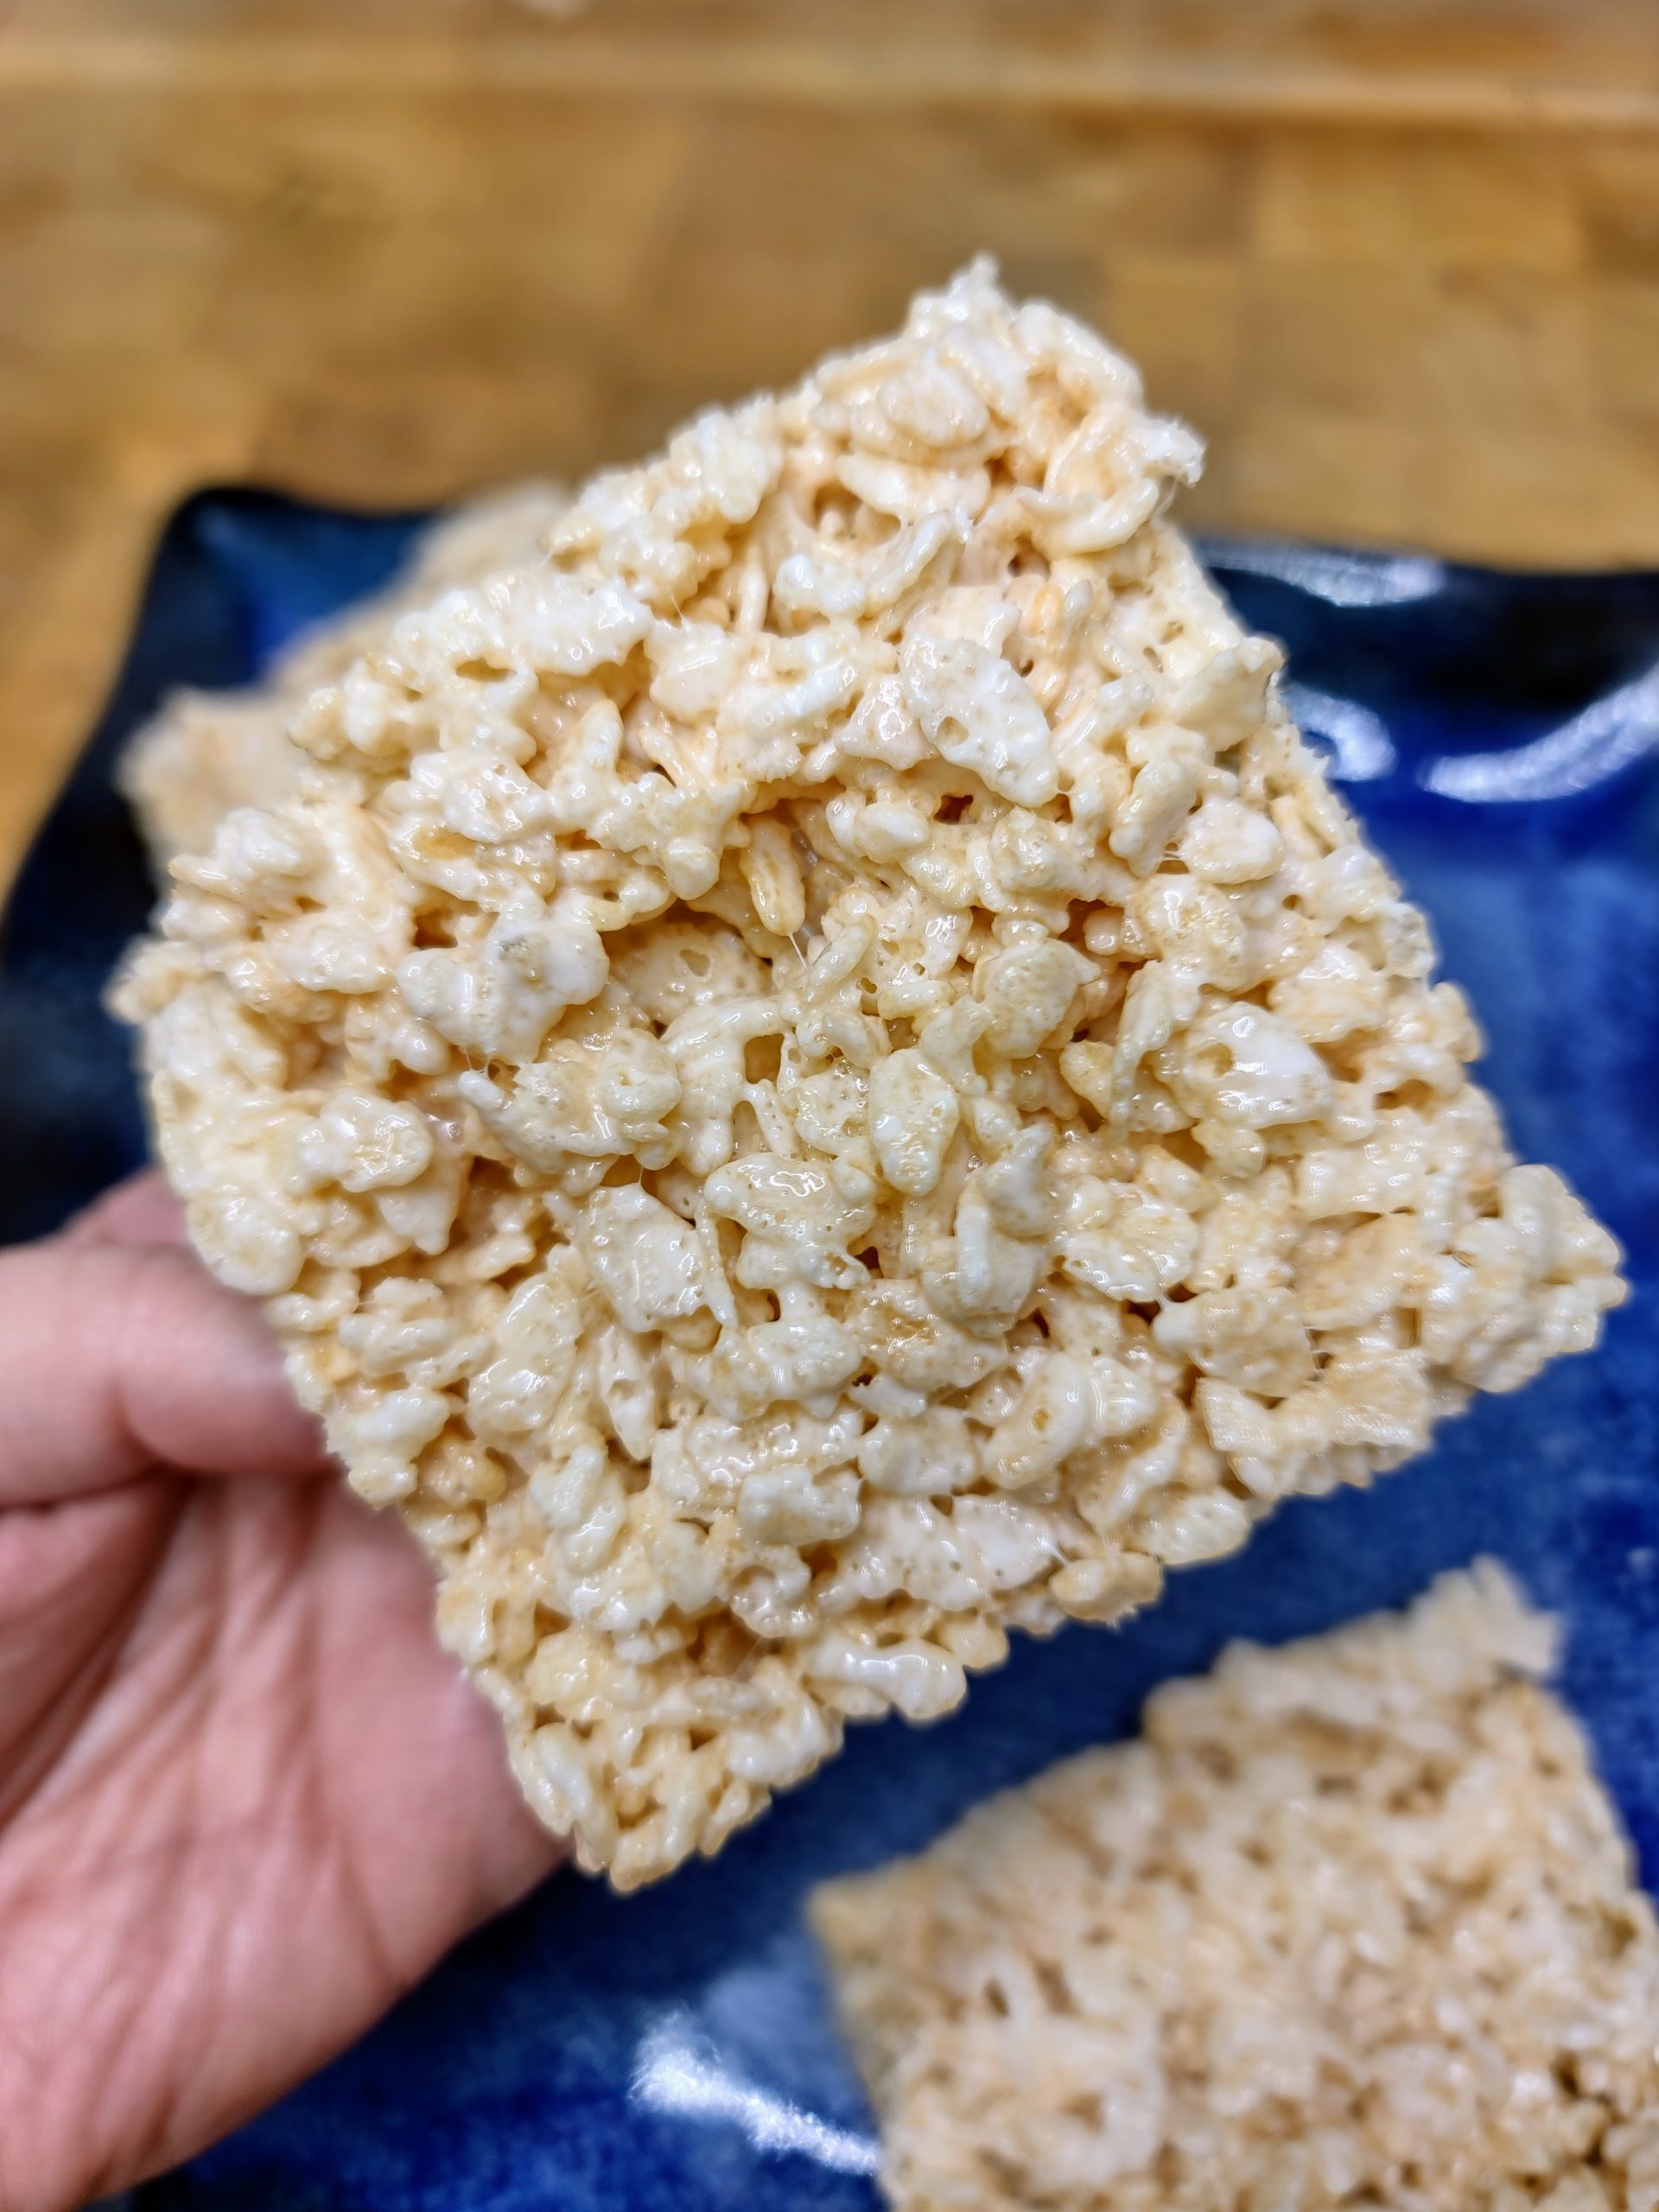
If you don't eat dairy and still want to enjoy Rice Krispie treats, try out these dairy-free Rice Krispie treats. These treats are just as easy to make with only three ingredients needed.
What are dairy free rice krispie treats?
Dairy free Rice Krispie treats are combination marshmallows, Rice Krispies cereal and a dairy-free butter alternative. These three ingredient, no bake dessert bars are super simple and can be made in 15 minutes or less.
If you do not or cannot eat dairy, but still want the delicious taste the rice krispie treats these dairy free treats are perfect. They are easy to make and work well for afternoon snacking, everyday desserts or special occasions.
These are as easy to make as the original Rice Krispie treats or some of the variations on those like coconut oil Rice Krispie treats, homestyle Rice Krispie treats, or healthy Rice Krispie treats.
Variations
For this recipe we used I can't believe it's not butter instead of regular butter. However, that's not the only better substitute. Here are a few other ideas:
- Make coconut oil treats: coconut oil treats are easy to make and are a dairy-free alternative to butter.
- Use country Crock plant-based: this is a dairy-free butter alternative made from plant-based oils.
- Use Earth balance dairy free: this is another dairy free butter alternative which is made from plant-based oil.
- Use Sunbutter: SunButter is a butter alternative that is dairy free and made from sunflower seeds.
How to Make these treats
These treats are so easy to make. You don't have to be a master cook or Baker to get them whipped right up. Simply substitute the butter in original Rice Krispie treats with dairy-free alternative.
Supplies
- spatula
- large stock pot or Microwave Safe Bowl
- Measuring Cup
- 9 x 13 baking pan
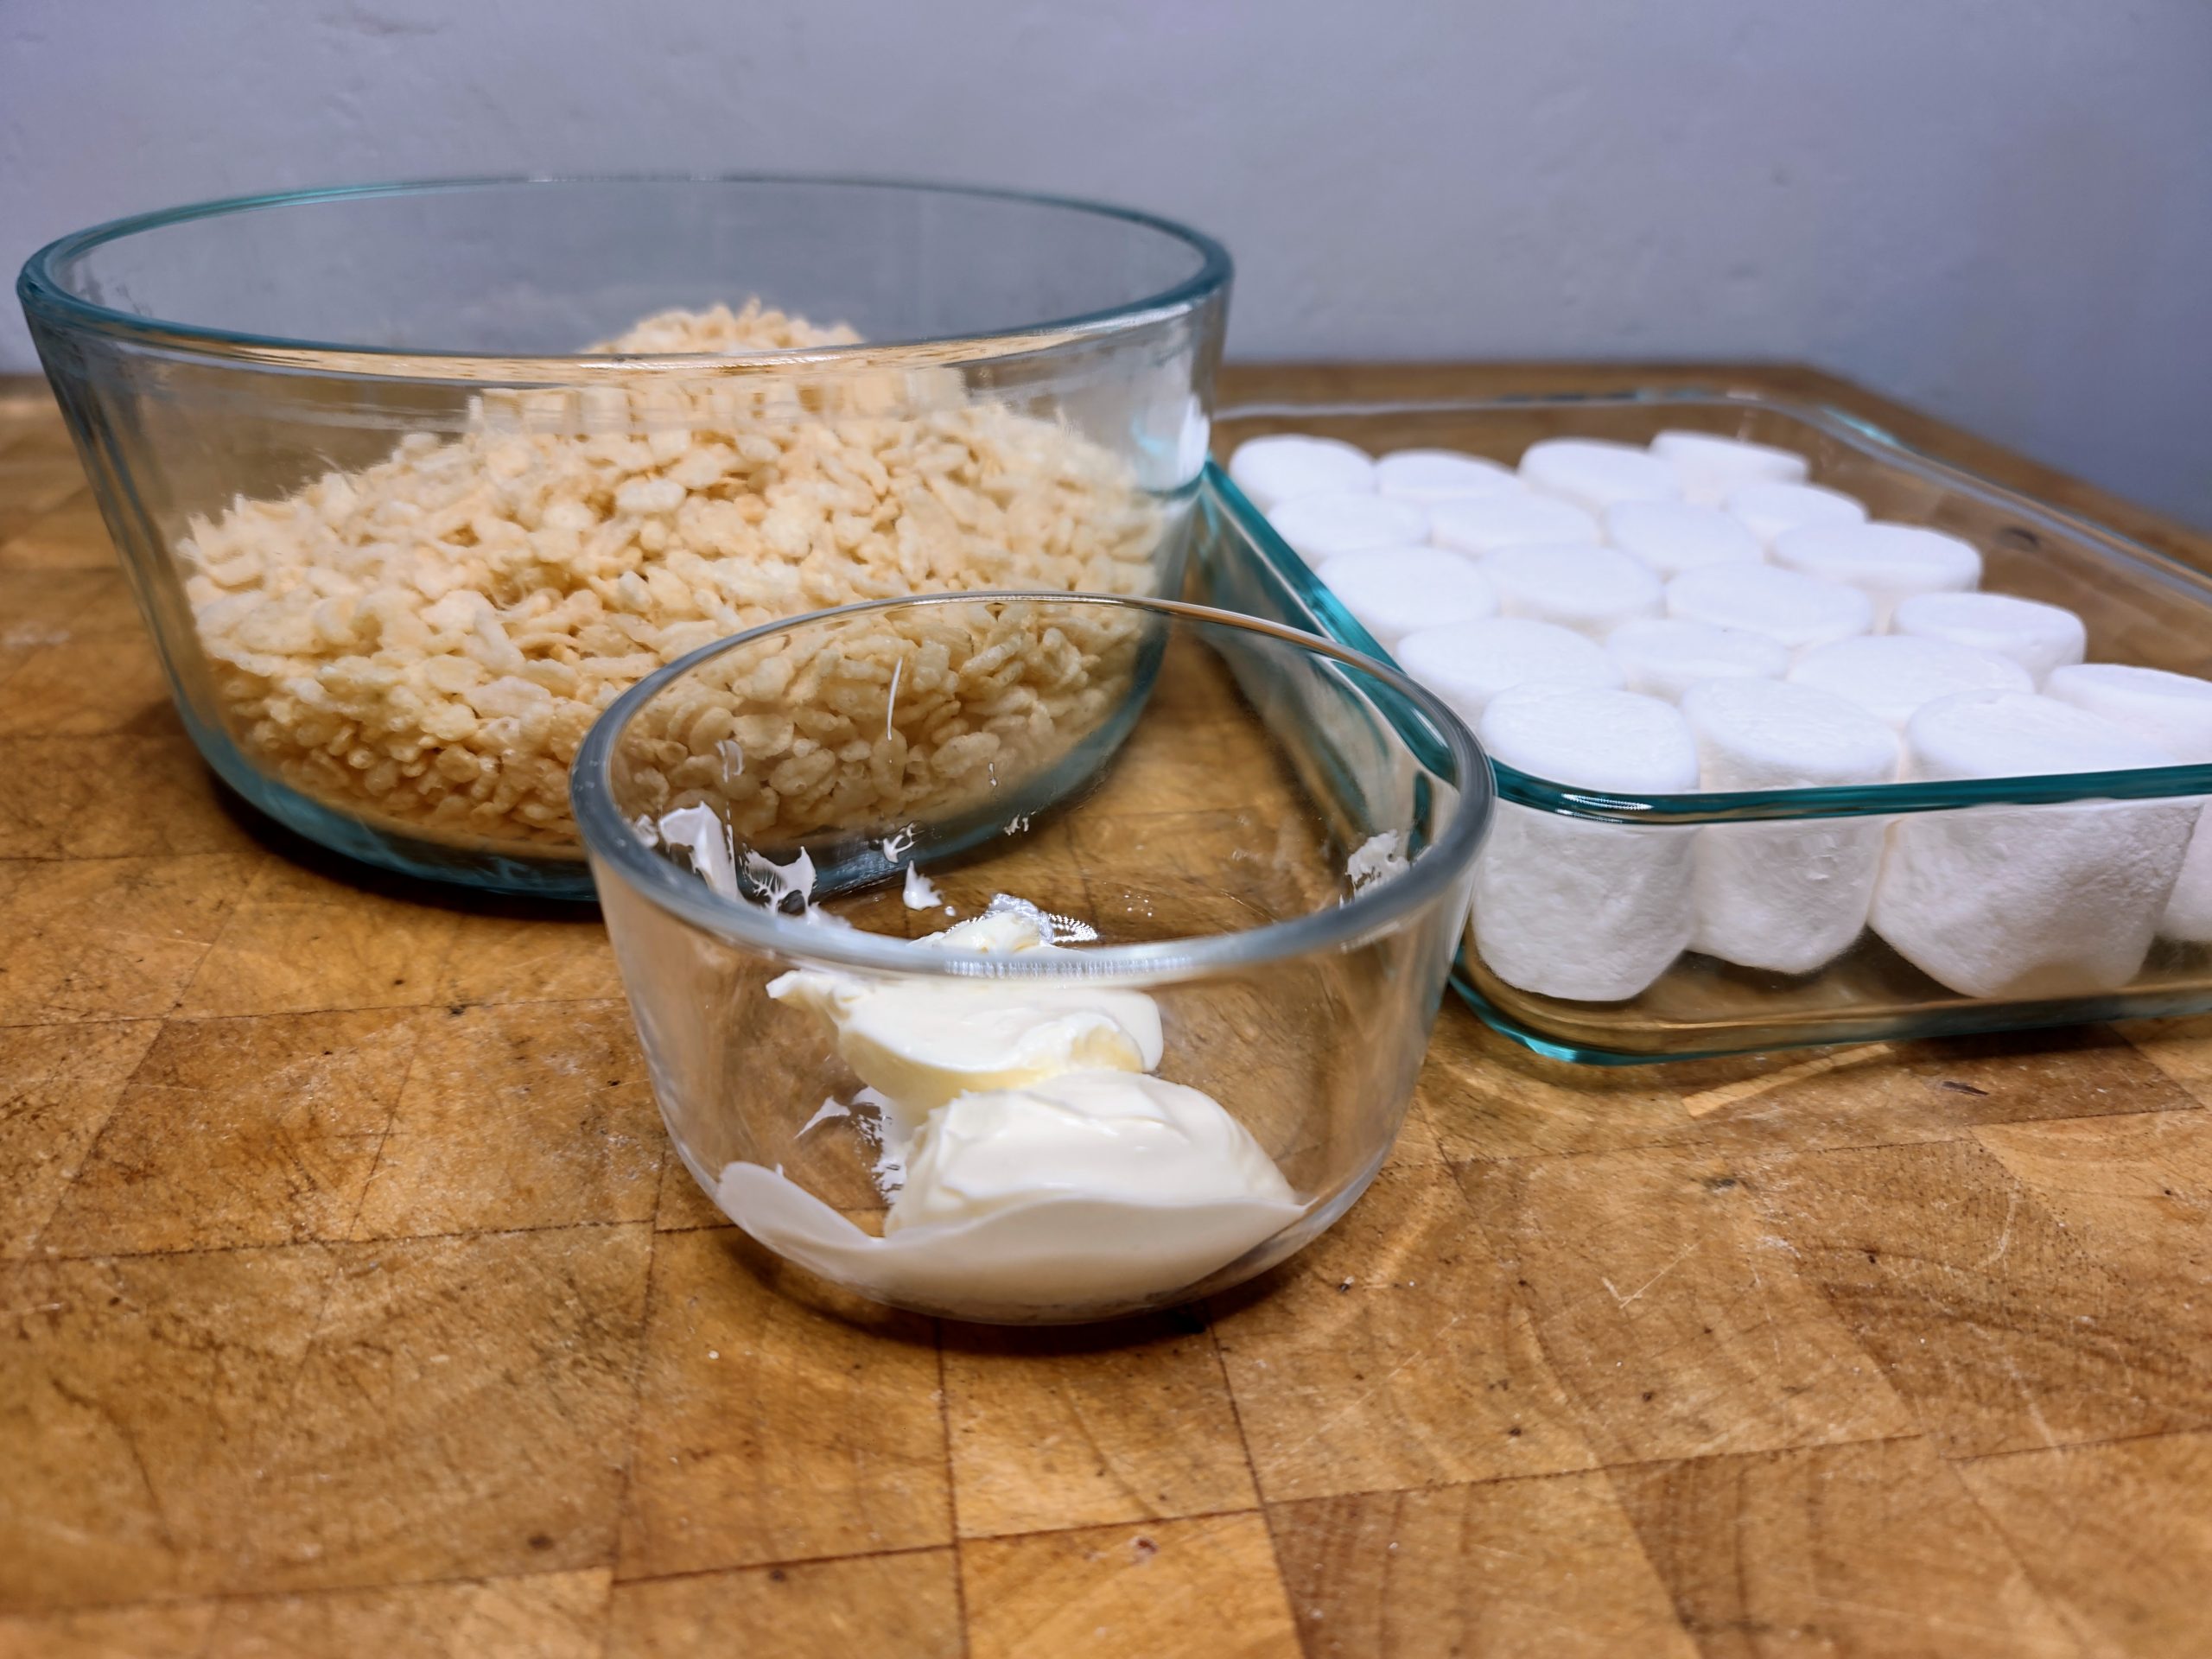
Ingredients
- 6 Cups Rice Krispies Cereal
- 16 oz of Jet Puff Marshmallows
- 4 Tbs I can't Believe it's not butter
Instructions
Step One
Make sure you have everything ready to go including your Rice Krispies cereal, I can't Believe it's not butter, marshmallows, spatula, pan and a bowl or microwave safe dish.
You'll also want to make sure you grease your spatula and pan before getting started due to the sticky nature of the melted marshmallows. Take a little of your I can't believe it's not better and coat both your spatula and your pan thoroughly to prevent sticking.
Step Two
The first step is to melt your I can't believe it's not butter and your marshmallows together. To do this you can use either the microwave or a pot on the stove top.
Stove top method:
- Start by adding four tablespoons of I can't Believe it's not butter to a pot.
- Place your pot on top of the stove and turn your burner to low heat.
- Heat your I can't Believe it's not butter, stirring occasionally while heating, until it is mostly melted.
- Now, add in 16 oz of marshmallows to your pot.
- Keep these marshmallows on low stirring frequently until they are mostly melted.
- Remove your pot with I can't Believe it's not butter and marshmallows from the heat and stir well until everything is completely melted and combined.
In the microwave method:
- Pop four tablespoons if I can't Believe it's not butter into a microwave safe bowl with 16 oz of marshmallows.
- Toss your bowl into your microwave.
- Heat for 30 to 60 seconds. Stir well when you remove from the microwave.
- Toss your bowl back into the microwave for 30 seconds stirring afterward and repeat this until your marshmallows are thoroughly melted.
Step Three
Go ahead and grab your Rice Krispies cereal and measure 6 cups. Slowly add your 6 cups of cereal into your I can't Believe it's not butter and marshmallow mixture.
Make sure to add the cereal slowly so that you can mix everything together well. It's better to fold the cereal in then to stir it so you don't crush the cereal.
Step Four
Once you have a consistent and thoroughly coated cereal and marshmallow mixture, go ahead and use your greased spatula to move the mixture from your bowl into your greased pan.
Step Five
Now, set your treat mixture aside so that it can cool in the pan. This usually takes around 30 minutes.
After your treat mixture has thoroughly cooled, grease a knife and cut your treats into 16 squares.
Pro Tips
- Don't heat too long: marshmallows when heated too long or too high of a temperature will begin to crystallize from their sugar content. This leads to stiff marshmallows which results in hard crunchy bars. So, you want to make sure that you heat your marshmallows on a low heat and only at the most minimum time needed for melting.
- Use fresh marshmallows: marshmallows that aren't fresh or that have already been opened can become still quickly. Stale marshmallows also results in hard compact treats. So, make sure that you are using fresh and unopened marshmallows for your treats.
- Don't smash anything: if you smash your cereal either when you're stirring it into your marshmallows or when you're pressing it into your pan this can cause your treats to become less chewy and more compact. Therefore, you want to make sure you're gently folding the cereal in with the marshmallows and gently and lightly pressing it into the pan.
Optimal treat storage
- Treats should be kept at room temperature for optimal texture. Putting them in the refrigerator can make them hard and leaving them in a room that is too hot can cause them to be melty.
- Treats should be kept in an airtight container like a Pyrex or Ziploc bags that are fully closed.
- Treats can last around 3 days give or take a day.
- If you want finish your treats before they go bad, make sure to wrap them and freeze them for later.

Dairy Free Rice Krispie Treats
Equipment
- Spatula
- 9x13 Pan
- large stock pot
- Large mixing bowl
- measuring cups
Ingredients
- 16 oz Marshmallows
- 4 tbs I can't Believe its not butter: Its Vegan
- 6 cups Rice Krispies cereal
Instructions
- Get your ingredients and supplies gathered together before starting.
- Use a little I Can't Believe It's Not Butter: it's Vegan to grease your spatula and pan.
- Note: you can do the melting steps on the stove instead of the microwave. See instructions in the article above for stove melting.
- Get 16 oz of marshmallows and 4 tbs of I Can't Believe It's Not Butter: It's Vegan and add it to your bowl to can be used in the microwave.
- Put your bowl into the microwave and heat for 30 - 60 seconds.
- Stir everything together and then heat again for 30 seconds.
- Do this heating and stirring until your marshmallows are well melted.
- Take your 6 cups of cereal and begin slowly stirring it into your marshmallows. Fold it in as you add it until it is all completely mixed together.
- Grab your pre-greased pan and transfer your cereal and marshmallows into the pan.
- Gently push the mixture into the pan. You want your treats to be the same thickness.
- Before cutting your treats, allow 30 minutes for them to cool.
- Use a knife and make 16 even squares.
Nutrition information provided is just an estimate and may vary based on specific ingredients used.