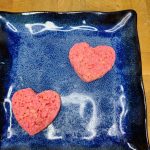
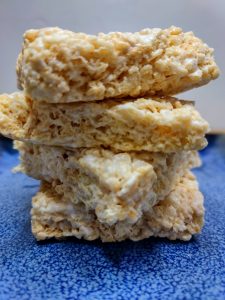
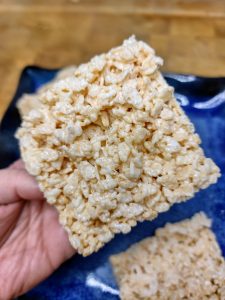
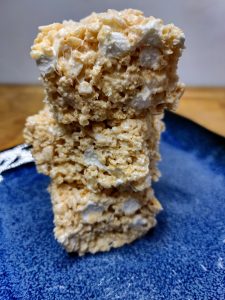
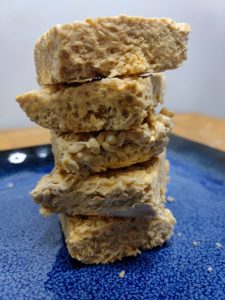
If you're looking for a Valentine's Day or anniversary themed dessert try out these heart shaped Rice Krispie treats. These super cute treats are an easy no bake dessert and are perfect for celebrating love.
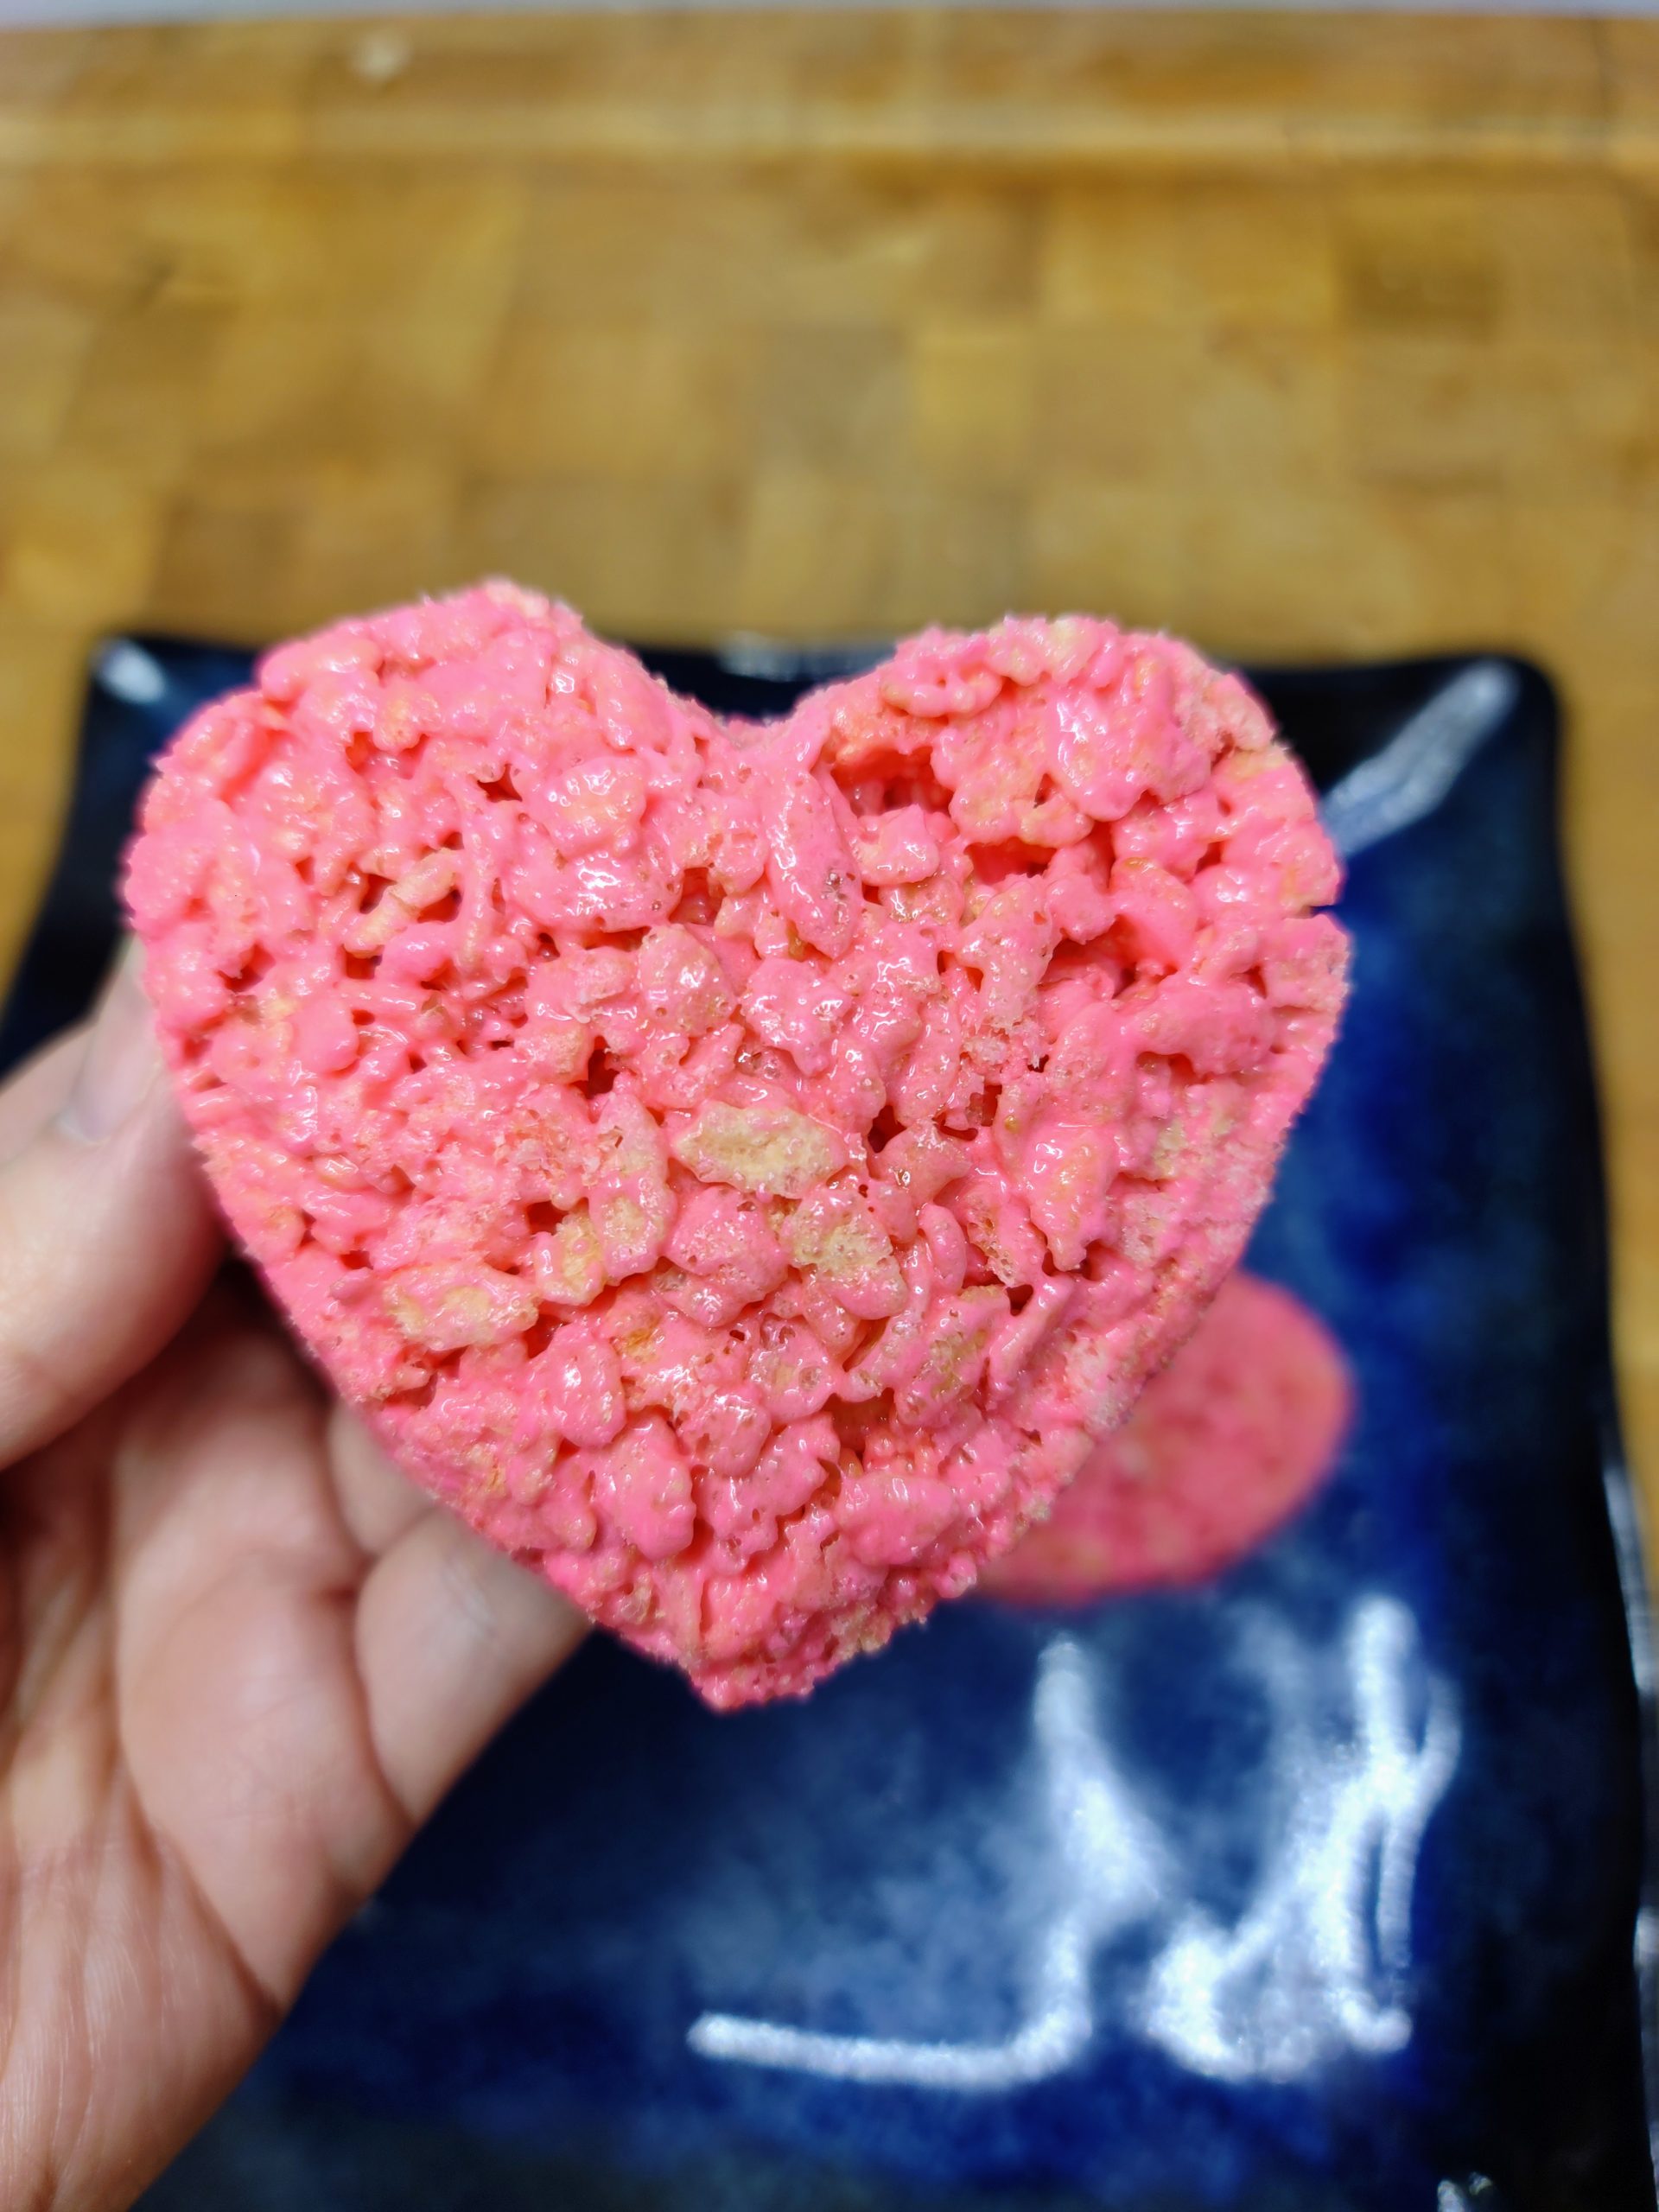
What are heart shaped rice krispie treats?
Heart shaped Rice Krispie treats are simply Rice Krispie treats which have been cut into heart shapes. You can also color them red or pink or any other color you like. These four ingredient no bake dessert treats can be whipped up in about 10 to 15 minutes.
These streets are like other cookie cutter Rice Krispie treats such as dinosaur Rice Krispie treats, shamrock Rice Krispie treats or Mickey mouse Rice Krispie treats. You simply make your regular rice krispies and then use various cookie cutters to make your shapes.
Variations
The version that we are making below and tails using pink food coloring in a heart cookie cutter. However, here are a couple of their ideas to make these treats.
- Strawberry Rice Krispies: instead of using pink food coloring you can simply use strawberry Rice Krispies to get a strawberry flavored pink treat.
- Red food coloring: instead of using pink food coloring you can make red hearts by using red food coloring.
- Strawberry jello: using Jello in place of food coloring gives you a flavored treat that is colored the same color as jello. Try out strawberry jello to have a reddish pink strawberry flavored treat.
- Use icing: if you don't want to use a flavored Jello or cereal and don't want to include food coloring, you can make original recipe rice krispies put them into hearts and then use a pink icing on top of your heart shapes.
- Add some decorations: you can also add some decoration to your hearts. For example you could use a gel writing pen and turn these into conversation cards with messages like I love you. Or you could simply add some sprinkles to your treat mix to create sprinkle treats.
How to Make these treats
These treats are a simple as making pink Rice Krispie treats and then using cookie cutters to cut them into hearts. You should be able to get these ready to go in 10 to 15 minutes.
Supplies
- spatula
- large stock pot or Microwave Safe Bowl
- Measuring Cup
- 9 x 13 baking pan
- Heart shaped cookie cutter
Ingredients
- 6 Cups Rice Krispies Cereal
- 16 oz of Jet Puff Marshmallows
- 4 Tbs Salted Butter
- (optional) non-stick canola oil spray
- Food Coloring
Instructions
Step One
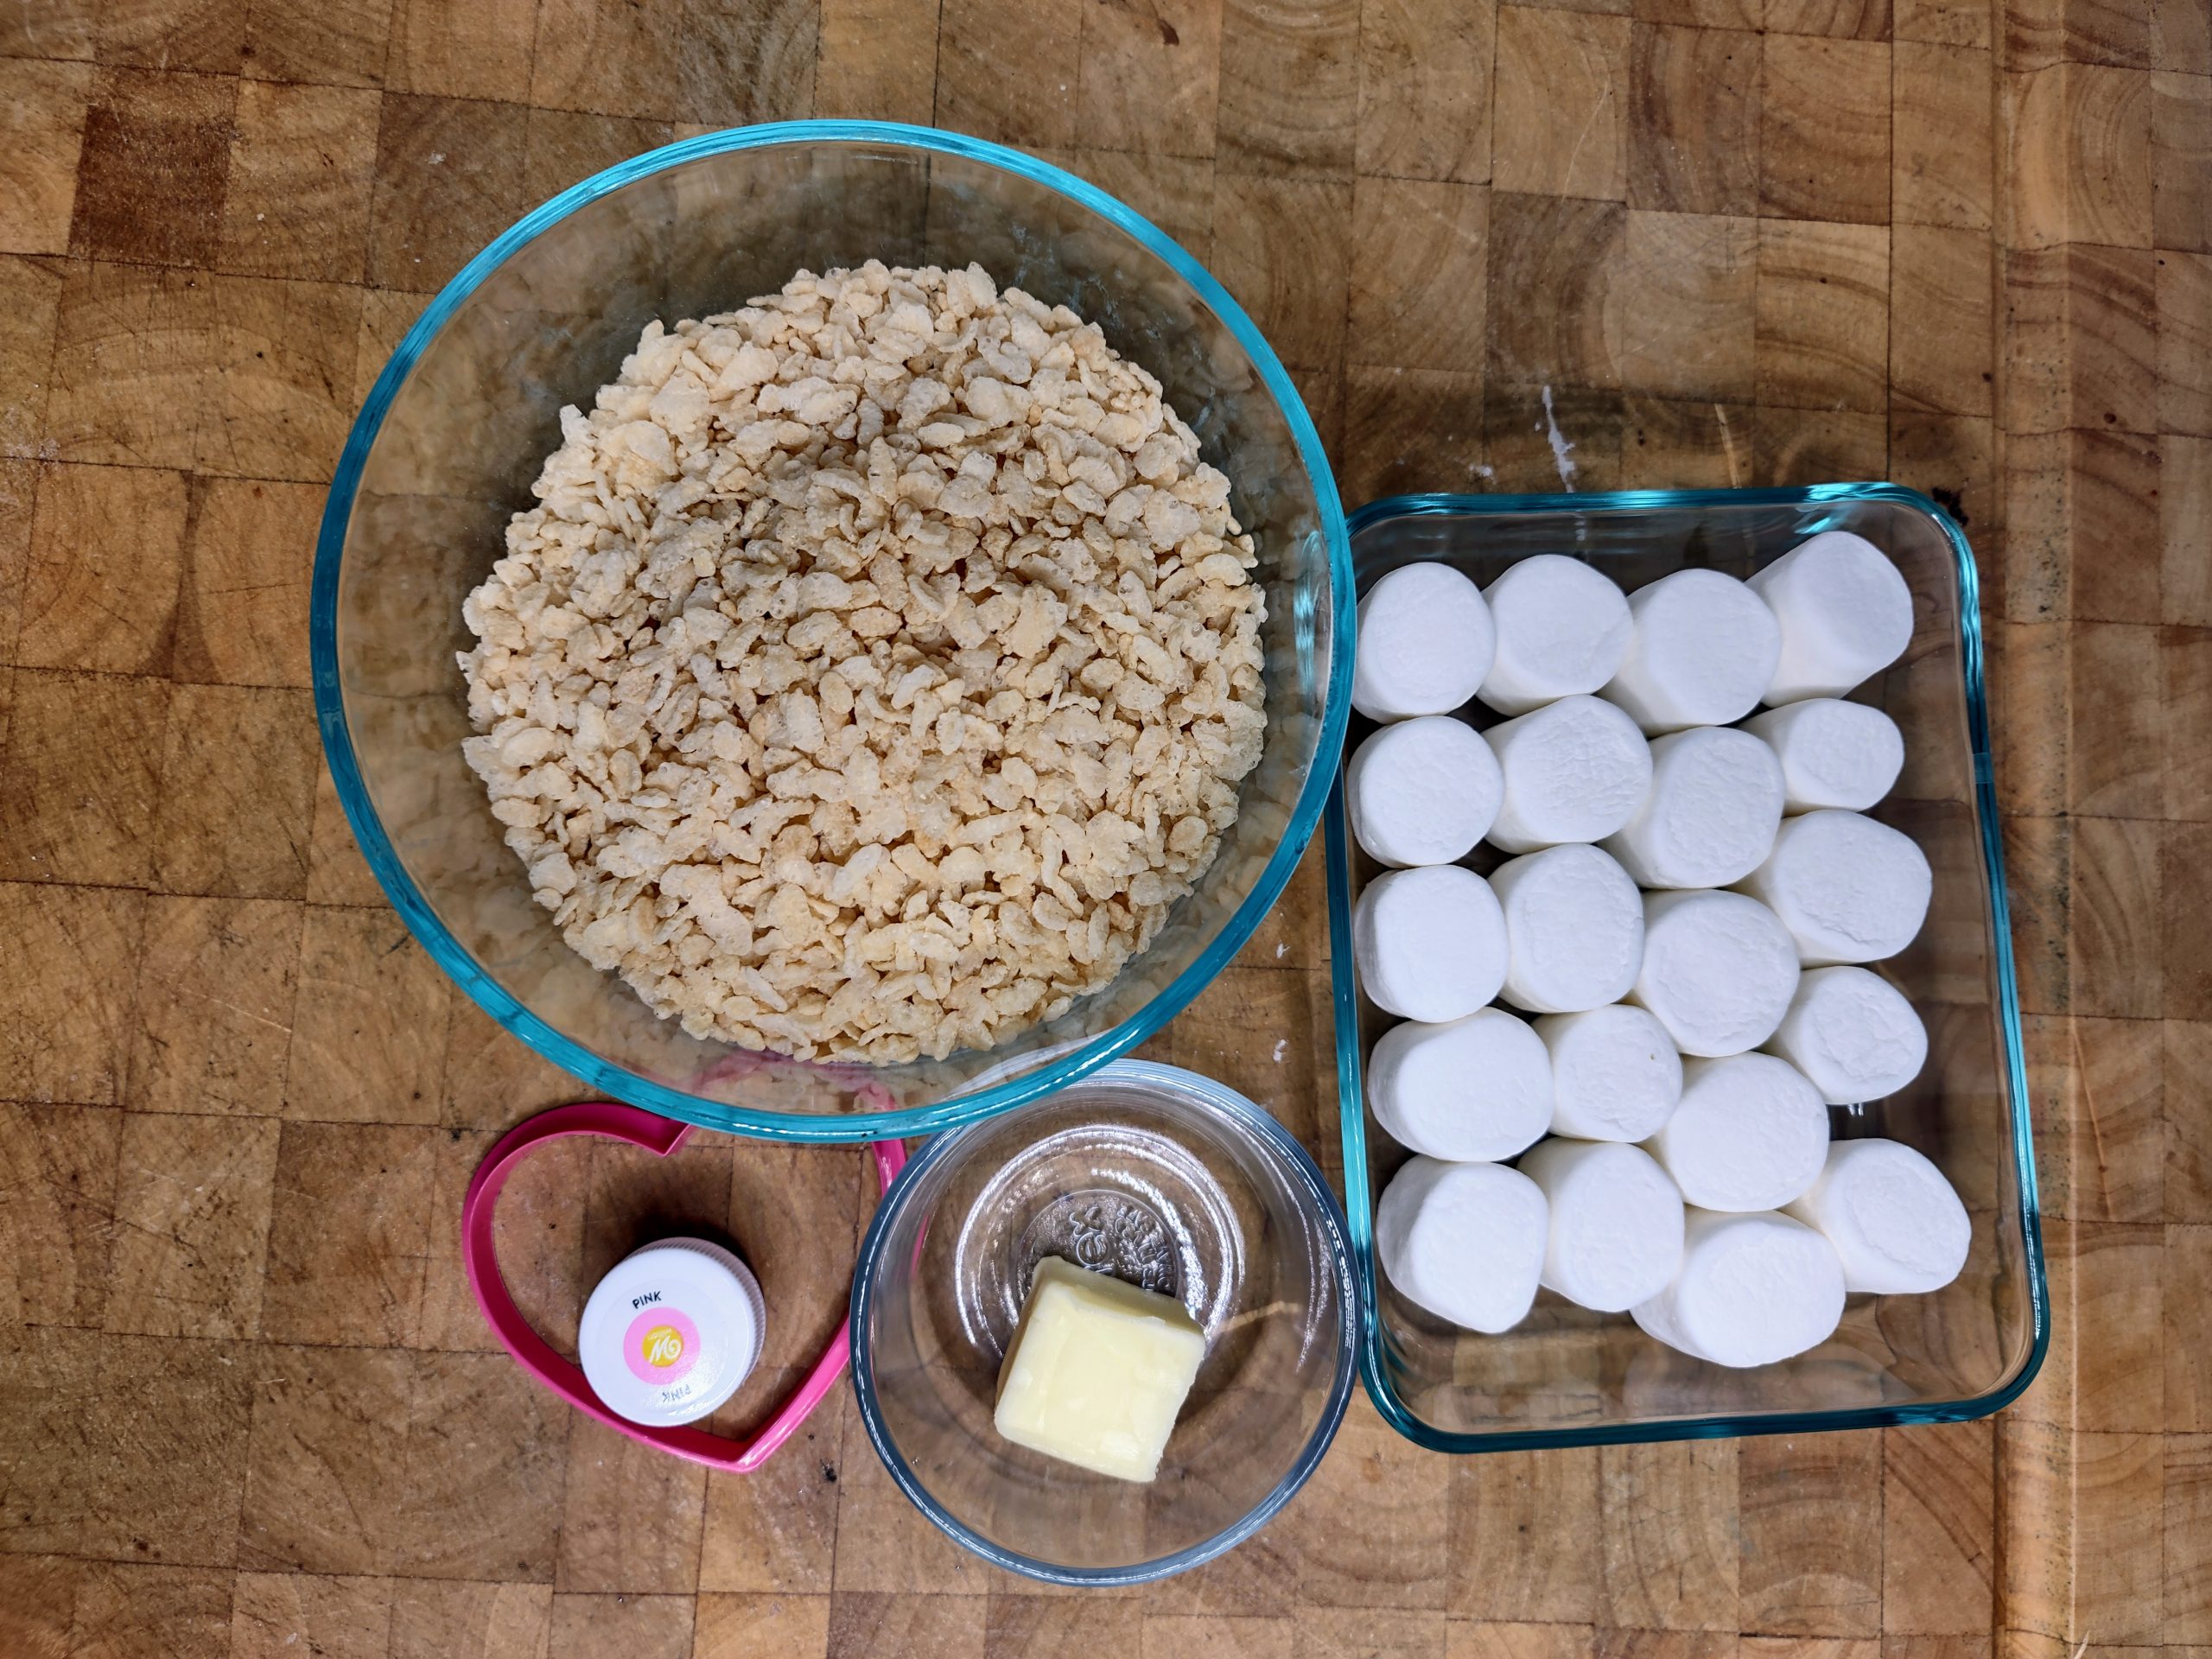
Start out by gathering your pink food coloring, marshmallows, rice krispies, butter, spatula, pan, heart-shaped cookie cutter and microwave safe bowl or pot.
Also before you get started you need to grease everything. Melted marshmallows are extraordinarily sticky and if you don't grease your spatula, bowl, and pan then it will be difficult to work with your marshmallow mixture.
Step Two
To melt together your butter and marshmallows you can choose to use the microwave or the stovetop.
The stove top will take upwards of 8 to 10 minutes while the microwave takes only a few minutes. However, melting your marshmallows on the stove allows you better control of the heat which can result in a better textured treat.
On the stove top:
- Measure 4 tablespoon of butter and add it to your pot.
- Place your pot on low heat and stir butter occasionally while it melts.
- Once butter is almost completely melted, measure and add 16 oz of marshmallows.
- Keep your marshmallows on low heat but stir frequently while they melt.
- Once marshmallows are almost completely melted, remove from heat.
- Stir your butter and marshmallows until they're thoroughly combined and completely melted.
In the microwave:
- Measure 16 oz of marshmallows and 4 tablespoon of butter and add both to your microwave safe bowl.
- Take your bowl and place it into your microwave to heat for 30 to 60 seconds.
- Once done heating, remove from the microwave and stir well.
- Add the bowl back to the microwave for 30 seconds and stir once done.
- Repeat the heating and stirring until marshmallows are almost completely melted.
- Remove from the microwave and stir butter and marshmallow as well until completely melted and combined.
Step Three
Grab your pink food coloring and add that to your marshmallow and butter mixture. Stir It up and continue adding coloring until you have the color you desire.
Step Four
Measure out 6 cups of Rice Krispies cereal and slowly add that to your pink marshmallow mixture. You don't want to dump all of the cereal in at once or it will be very difficult to stir it in.
note: once you add your cereal, the pink color may be a little muted if you wish to add more you can add more food coloring at this point and stir it in well.
Step Five
Now take your greased spatula and greased pan and slowly add your marshmallow cereal mixture into your pan.
Gently and lightly press the mixture into the pan until it is a consistent thickness throughout.
Step six
Set your pan of treats aside so that they can cool. This should take around 30 minutes unless you put them in the fridge or freezer for a few minutes which can speed the process up.
After your treats are cooled, go ahead and get your heart shape to cookie cutter. Use the cookie cutter to cut several heart-shaped treats out.
You can take the excess from leftover and press it into a square to get another heart or two.
Pro Tips
- Use a little extra: when you add your food coloring to the marshmallows make the color slightly darker than you'd like as they will get lighter once you add the cereal.
- Grease your cookie cutter: even though the treats are cool they will still be sticky and can be difficult to get out with a clean cut from your cookie cutter. If you grease the cookie cutter it will make them crisper and cleaner looking shapes.
- Use a knife: depending on the cookie cutter that you use sometimes they are not thick enough to cut all the way to the bottom of the treats. If you use a knife to help separate around the edges of the cookie cutter it can lead to cleaner looking heart shapes.
- Don't heat too long: marshmallows have a high sugar content and when sugar is heated too long it can crystallize. So, make sure that you don't overheat the marshmallows which will result in harder and crunchier treats.
Treat storage
- Your treats will keep well for around 5 or so days.
- Make sure to use an airtight container with a lid like a Pyrex or a zipped and sealed Ziploc bag.
- Keep your treats at room temperature for the best texture. If they are kept cold in the fridge they will get hard and if they are too hot they will melt.
Heart Shaped Rice Krispie Treats
Equipment
- Spatula
- 9x13 Pan
- large stock pot
- Large mixing bowl
- measuring cups
- Heart shaped cookie cutter
Ingredients
- 16 oz Marshmallows
- 4 tbs Salted Butter
- 6 cups Rice Krispies cereal
- pink or red food coloring
Instructions
- Start out be getting everything you need for treat making gatherd into one place.
- Use a little butter or some non-stick cooking spray to pre-grease your cookie cutter, spatula and pan
- To melt your butter and marshmallows you can use the microwave instructions below or the stovetop instructions in the article above.
- Toss together 4 tbs of butter and 16 oz of marshmallows in your microwave safe bowl or dish.
- Pop those into the microwave and heat them up for 30 - 60 seconds.
- Take the bowl out of the microwave and stir the butter and marshmallows together.
- Pop them back in the microwave and heat them for another 30 seconds.
- Take them out again and stir them up well.
- Keep heating for 30 seconds and then stirring until you have successfully melted your marshmallows and butter together.
- Take your pink or red food coloring and stir some into your marshmallow mixture. Add a little more than you desire the end color to be as it will lighten a little when the cereal is mixed in.
- Take 6 cups of rice krispie cereal and slowly dump some into your marshmallows. Stir in in well, then add some more. Continue this until all the cereal is throughly mixed in.
- Take your pre-greased pan and add your pink cereal and marshmallow mixture to it.
- Gently press the mixture down in the pan. You want it to be about the same thickness across the entire pan.
- Wait about 30 minutes so the treats can cool some and then use your heart shaped cookie cutter to cut out individual treats.
