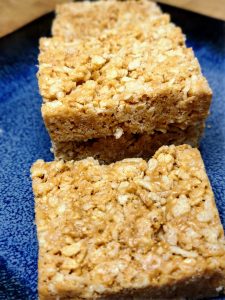
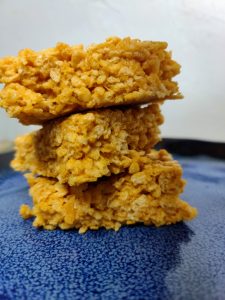
Are you a Peanut Butter fan? If so, you can't miss trying these yummy Peanut Butter Rice Krispie Treats.
Peanut Butter always adds something special to a dish. And these bars are no exception.
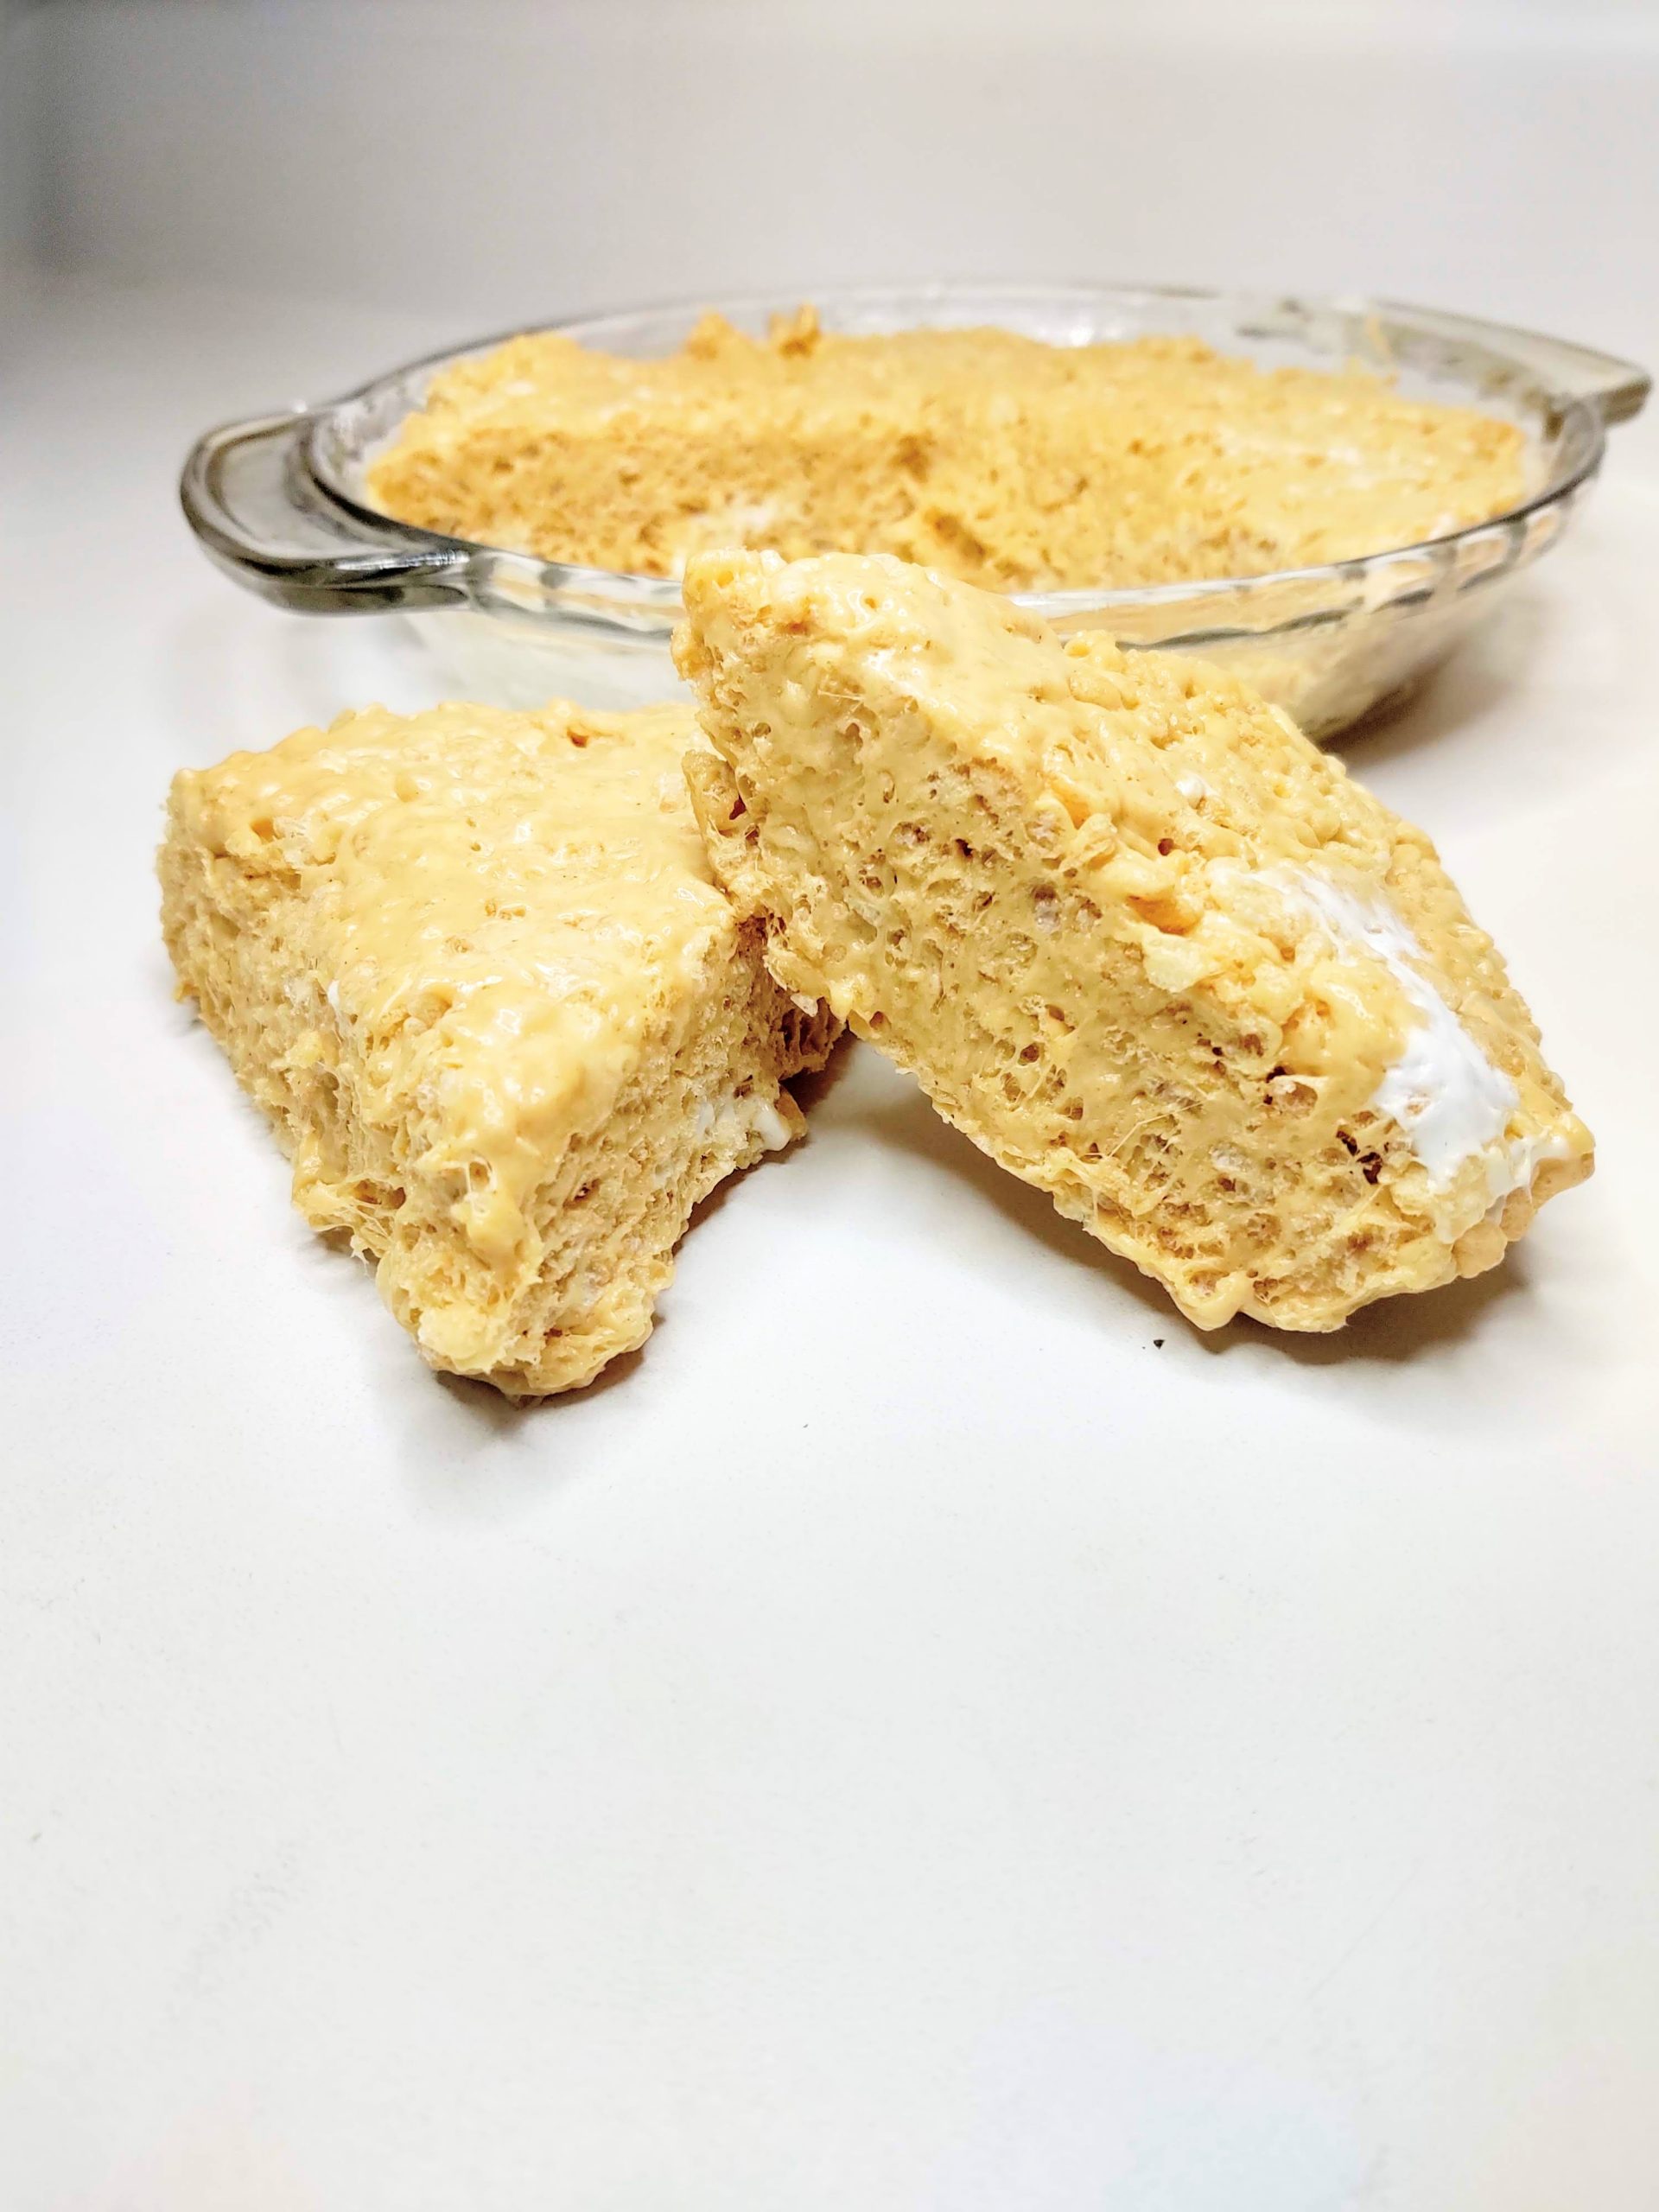
How to Make Peanut Butter Rice Krispie Treats
Peanut Butter Rice Krispie treats are a yummy 4 ingredient no bake dessert that can be whipped up in 15 minutes. Peanut butter is super versatile. You can add it to so many different foods to give them that little extra pinch of yum and these treats are no exception.
I love peanut butter cookies, peanut butter pie, peanut butter on crackers and toast. Besides being yummy, it's filling and adds a little extra protein to a food.
So, I figured, why not add peanut butter to rice krispie treats and see what we get? Let me tell you, these did NOT disappoint!
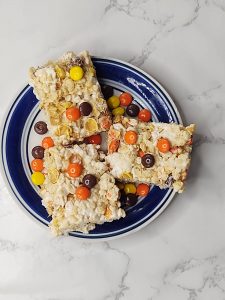
If you know how to make Rice Krispie Treats, you'll be happy to know these are just as simple. Just like with the Butterscotch Rice Krispie Treats, you just add one additional ingredient - peanut butter, of course! Or, you can go double flavor with these peanut butter butterscotch treats.
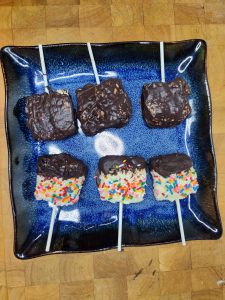
(I got a little crazy after making these because they were so good. And made these Chocolate Peanut Butter Rice Krispie Treats with some of the pan. Whew, are they good, too!)Va
Variations
There's a few different ways you can make these treats. The instructions below will outline how to mix them up with creamy peanut butter. But here are a few other options:
- Crunchy Peanut Butter: If you like the little crunchy pieces of peanuts in crunchy peanut butter you might like the added texture and crunch in your treats too.
- Low Sodium Peanut Butter: whether you have a low sodium diet for health reasons or just because you prefer the taste, try using low sodium peanut butter in these.
- Natural Peanut Butter: natural peanut butter tends to be a little stiffer and chunkier than crunchy or creamy peanut butter unless it is fresh and well-mixed.
- Peanut Butter Chips: if you want a peanut butter flavor but not have it totally incorporated with the treats, you can use peanut butter chips instead of actual peanut butter.
- Try other nut butters: Almond butter works super well in these also. But any nut butter could be substituted in.
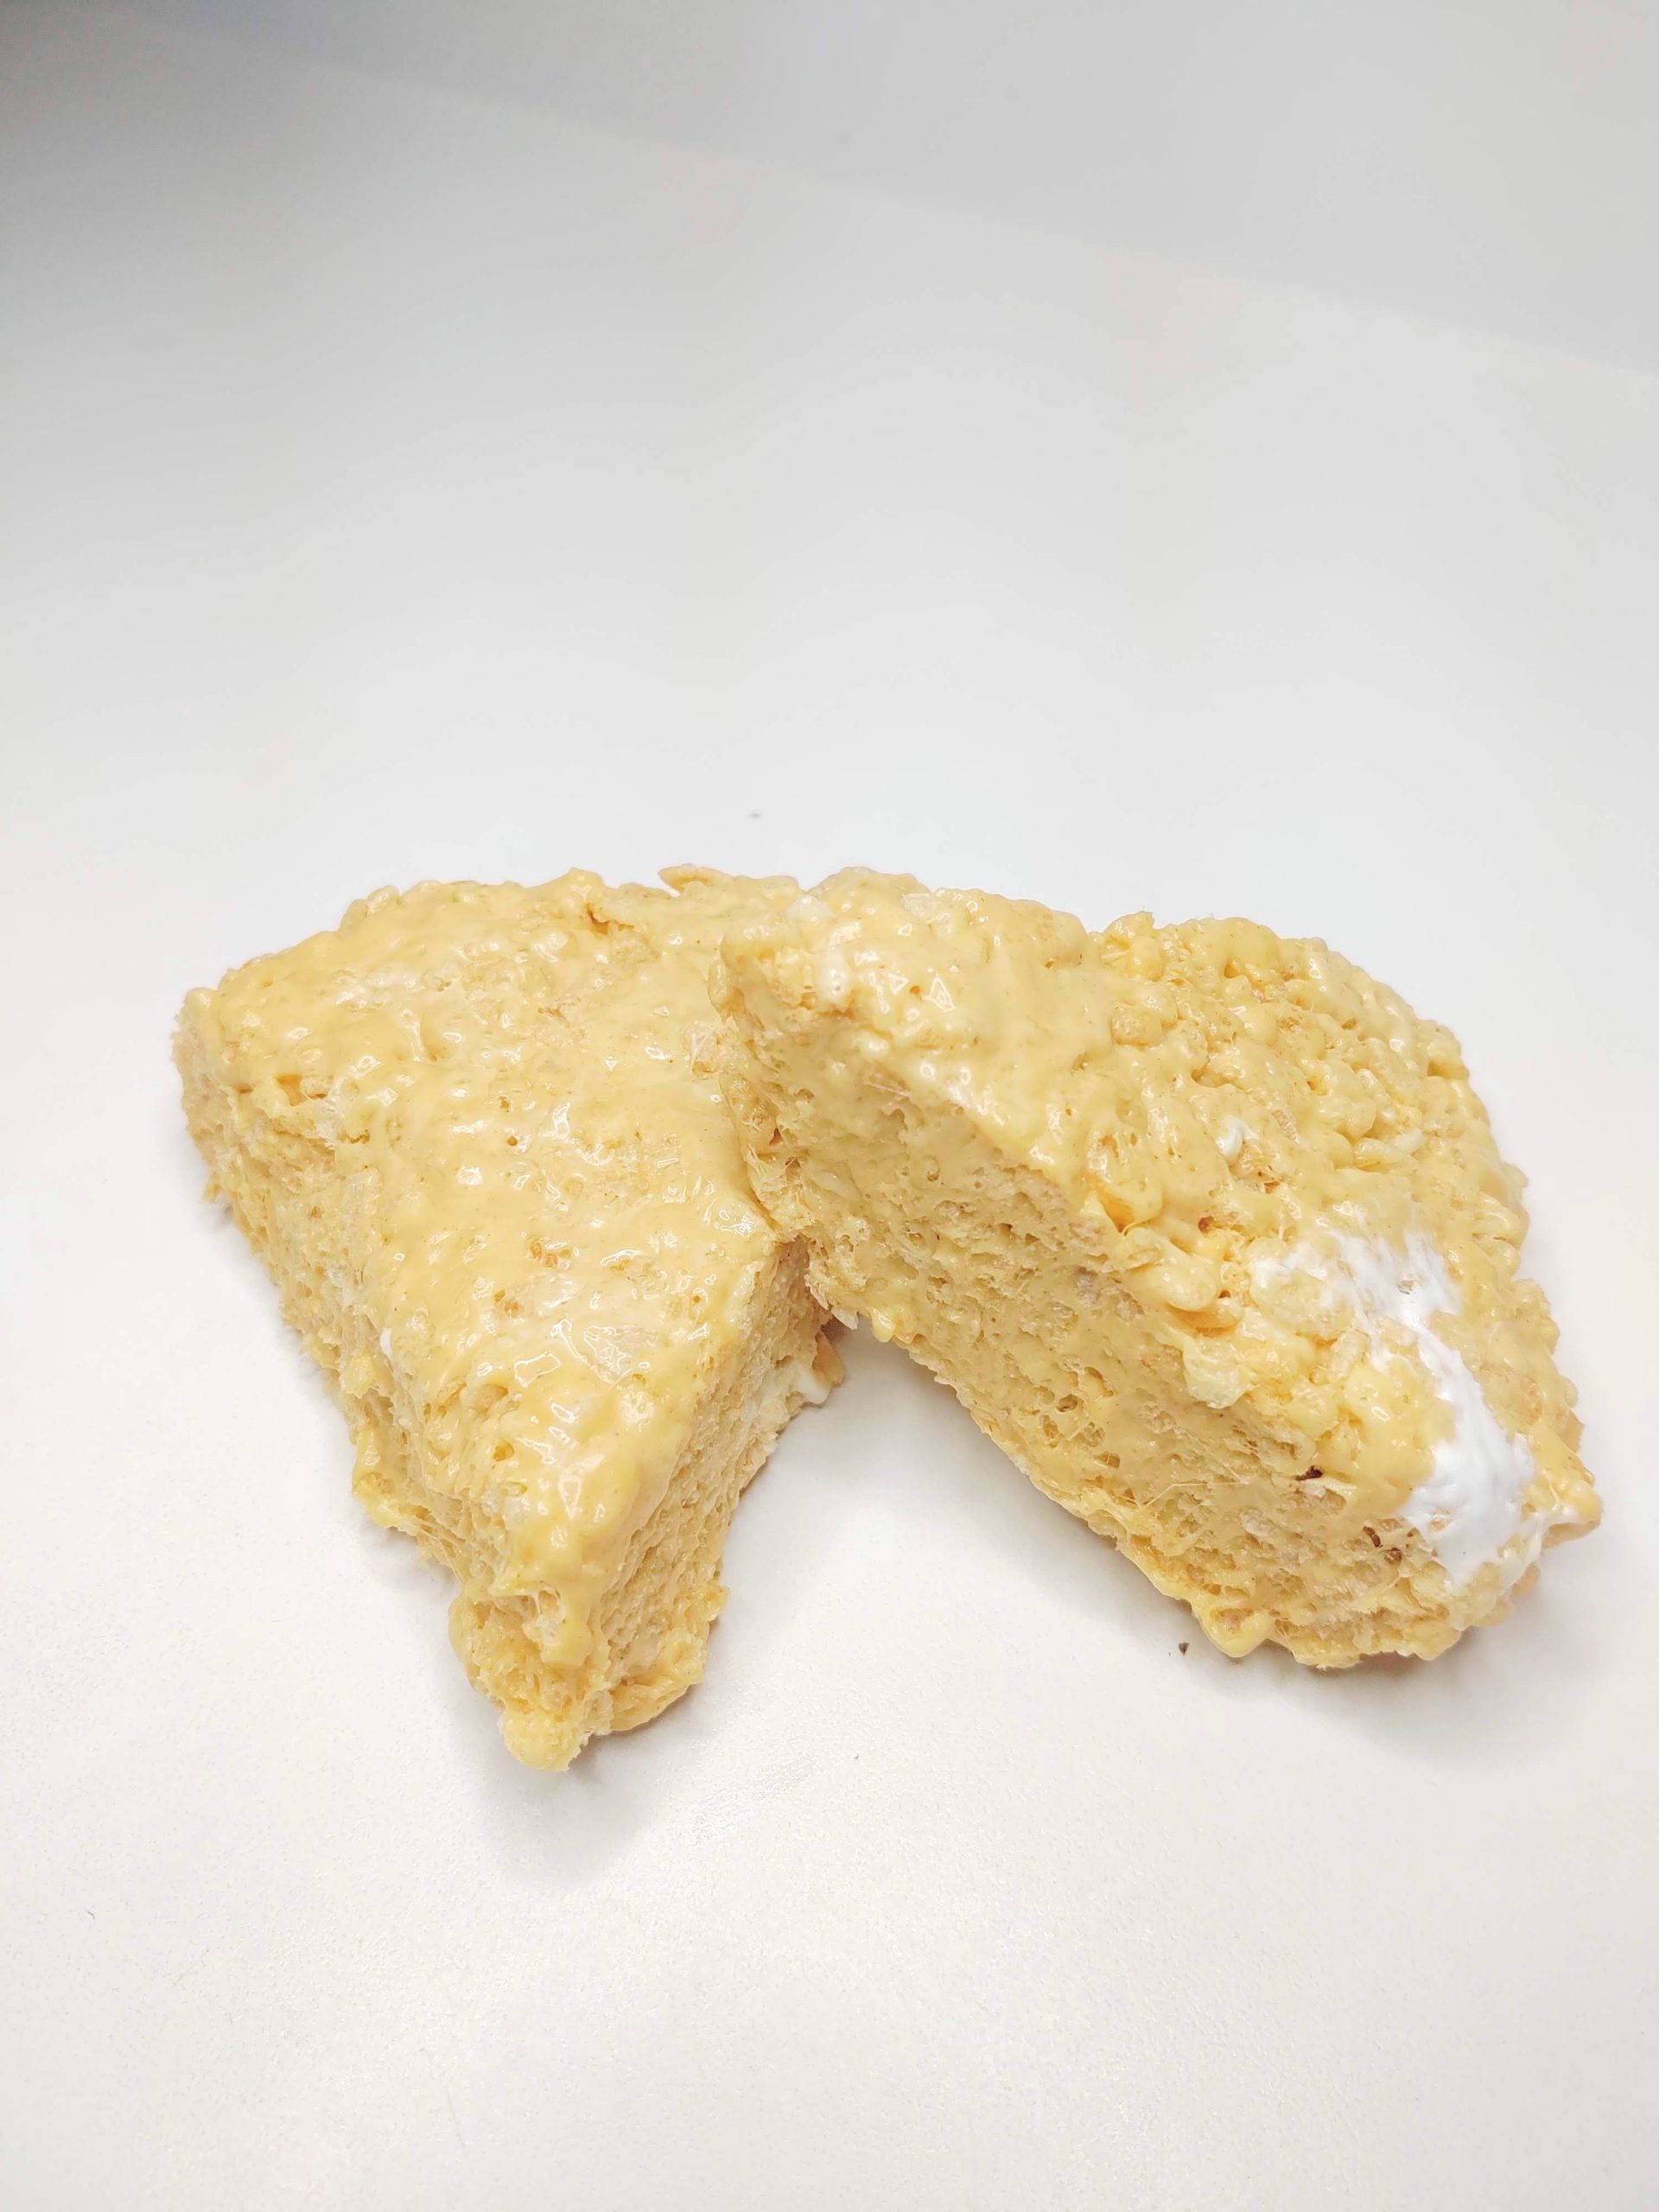
Supplies
- spatula
- large stock pot or Microwave Safe Bowl
- Measuring Cup
- 9 x 13 baking pan
Ingredients
- 6 Cups Rice Krispies Cereal
- 16 oz of Jet Puff Marshmallows
- 4 Tbs Salted Butter
- 1 cup of peanut butter
- (optional) non-stick canola oil spray
Instructions
Step One
Melt your 4 tbs of butter and 10 oz of marshmallows and mix them together. This can be done via the microwave or on the stove top.
The microwave tends to be a smidge faster and I like to use it when I have a time crunch. But stove top really doesn't take too long either and gives more control over how much the marshmallows get heated.
On the stove top, melt the butter and then add in and melt the marshmallows on low heat. This will take around 10 minutes. Be sure to stir pretty constantly as you heat.
In the microwave, you can melt both together at once. I usually let it go for 30 - 60 seconds at a time. Then stir and check and pop it back in for another 30 seconds then repeat until melted.
note: the marshmallows will puff up a lot as they heat.
Step Two
Add the 6 cups of Rice Krispies cereal into the bowl with your melted butter and marshmallow mix.
Step Three
Add in the 1 cup of peanut butter. I highly recommend using creamy peanut butter. But any kind of peanut butter works fine.
Step Four
Stir these four ingredients completely so that the marshmallow and peanut butter mixture coats all of your Rice Krispies. Make sure to carefully stir or fold it all together so that you don't crush the cereal.
Step Five
Using a coated (either with butter or non-stick spray) spatula, spread your mixture into a greased or non-stick pan evenly.
Step Six
Finally, you can enjoy your bars! You should let them cool for about 30 minutes before cutting and eating. If you can wait that long!
Storing Peanut Butter Rice Krispie Treats
You can freeze these if you want to make a large batch, or perhaps you have more self-control than I do and don't eat the whole pan quickly. Freezer bags will do fine and then just stick them in the freezer.
If you're going to finish them within a week, you'll want to keep them in an air tight container.
Tips
Here are some tips to help you make the most awesome, yummy treats.
- Carefully heat your marshmallows: if you overheat the marshmallows while melting them it will make your treats turn out hard. Make sure to only heat them enough to melt them.
- Stir your marshmallows: to help your butter mix well and to make the marshmallows melt more quickly, make sure to stir a lot while heating them.
- Don't smash your treats: when stirring in the cereal and when spreading the mix into your pan, don't smash or crush the mixture. If you smash things it will crush the cereal making it much more compact. This will result in harder, crunchy treats.
- Make sure to grease everything: the marshmallow mixture is already really sticky, but adding sticky peanut butter in makes this even stickier. Make sure to great your spatula, pan, hands, bowl - anything that is going to be touching or working with the mix.
Peanut Butter Rice Krispie Treats
Equipment
- Spatula
- 9x13 Glass Pan
- Pot or Bowl that is Microwave Safe
Ingredients
- 6 Cups Rice Krispies Cereal
- 10 oz Marshmallows
- 4 tablespoon Salted Butter
- 1 Cup Peanut Butter (creamy)
Instructions
- Melt the butter and marshmallows together in a bowl or pot. You can do this on low on the stove or in short increments in the microwave.
- Add in your Peanut Butter and stir thoroughly.
- Mix in your Rice Krispies Cereal. Make sure it is evenly mixed.
- Spread your mixture evenly into the 9x13 pan. Make sure it as well as the spatula are greased.
- Once cooled, cut and enjoy.
Nutrition information provided is just an estimate and may vary based on specific ingredients used.
