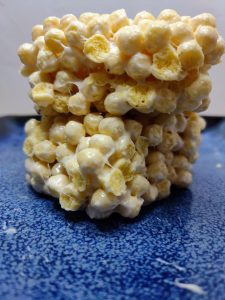
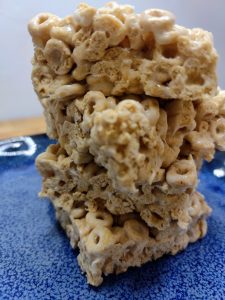
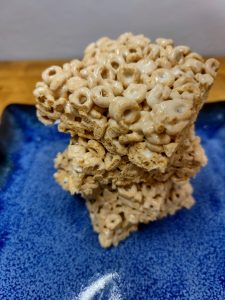
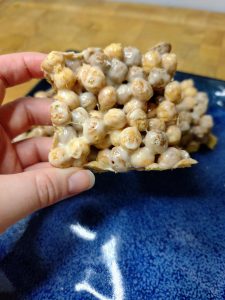
These super yummy Life cereal bars are the perfect, unique textured treat that you're looking for. They are easy to make and perfect for snacking, a treat with lunch, or even a dessert at a party.
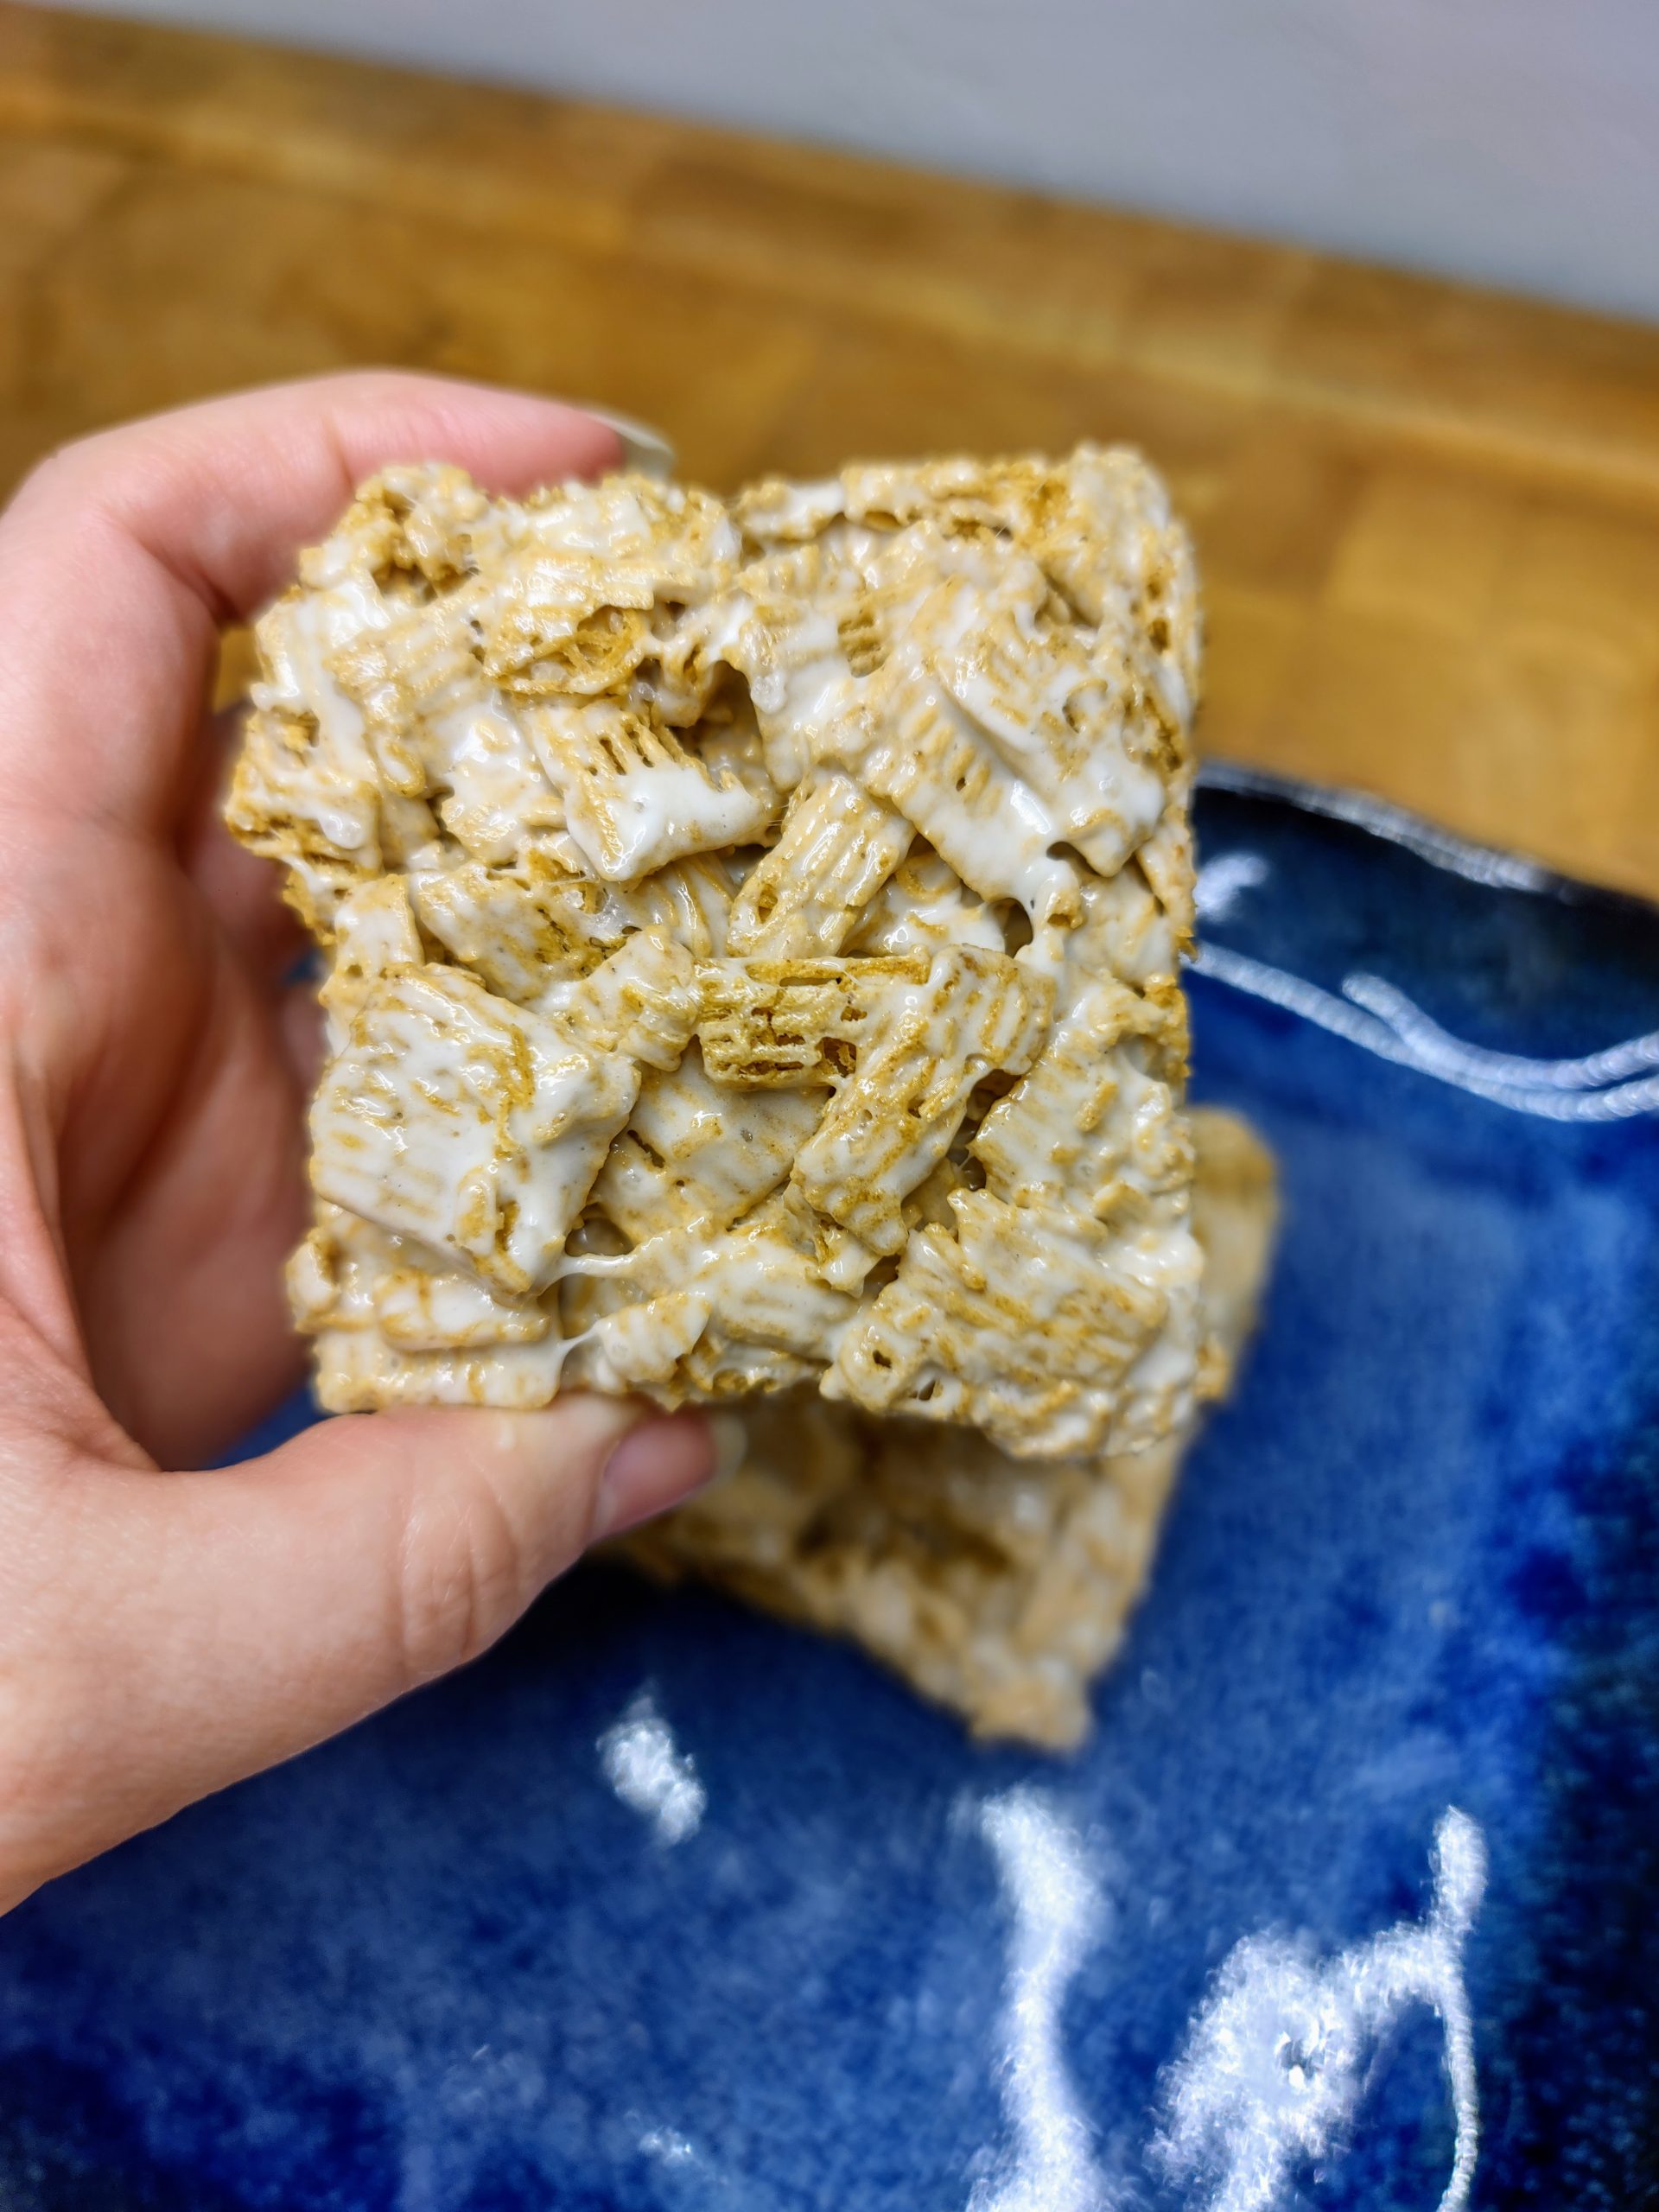
What are life cereal bars?
Life cereal bars are combination of butter, marshmallows and Life cereal. These super simple three ingredient, no bake dessert bars are delicious and easy to make.
Life cereal is a multigrain cereal that comes in square shapes. The square shapes have almost a woven or checkered texture to them.
Much like other cereal treats such as Cinnamon toast crunch treats, Kix Cereal Treats, and Apple Jacks treats these cereal bars can be whipped up and just around 15 minutes.
Variations
Regular or traditional Life cereal works fantastically in these bars. However, if you're looking for something a little new you can also try these out:
- Cinnamon Life cereal: slightly darker than traditional Life cereal but lighter than chocolate Life cereal with a spicy kick of cinnamon.
- Vanilla Life cereal: pretty much the same color as your traditional Life cereal but with a kick of vanilla flavor.
- Chocolate Life Cereal: just like your traditional Life cereal only chocolate flavored and brown colored.
How to Make these treats
You only need 15 minutes and three simple ingredients to whip these treats up. So, given that, you can make perfect treats without being a great cook.
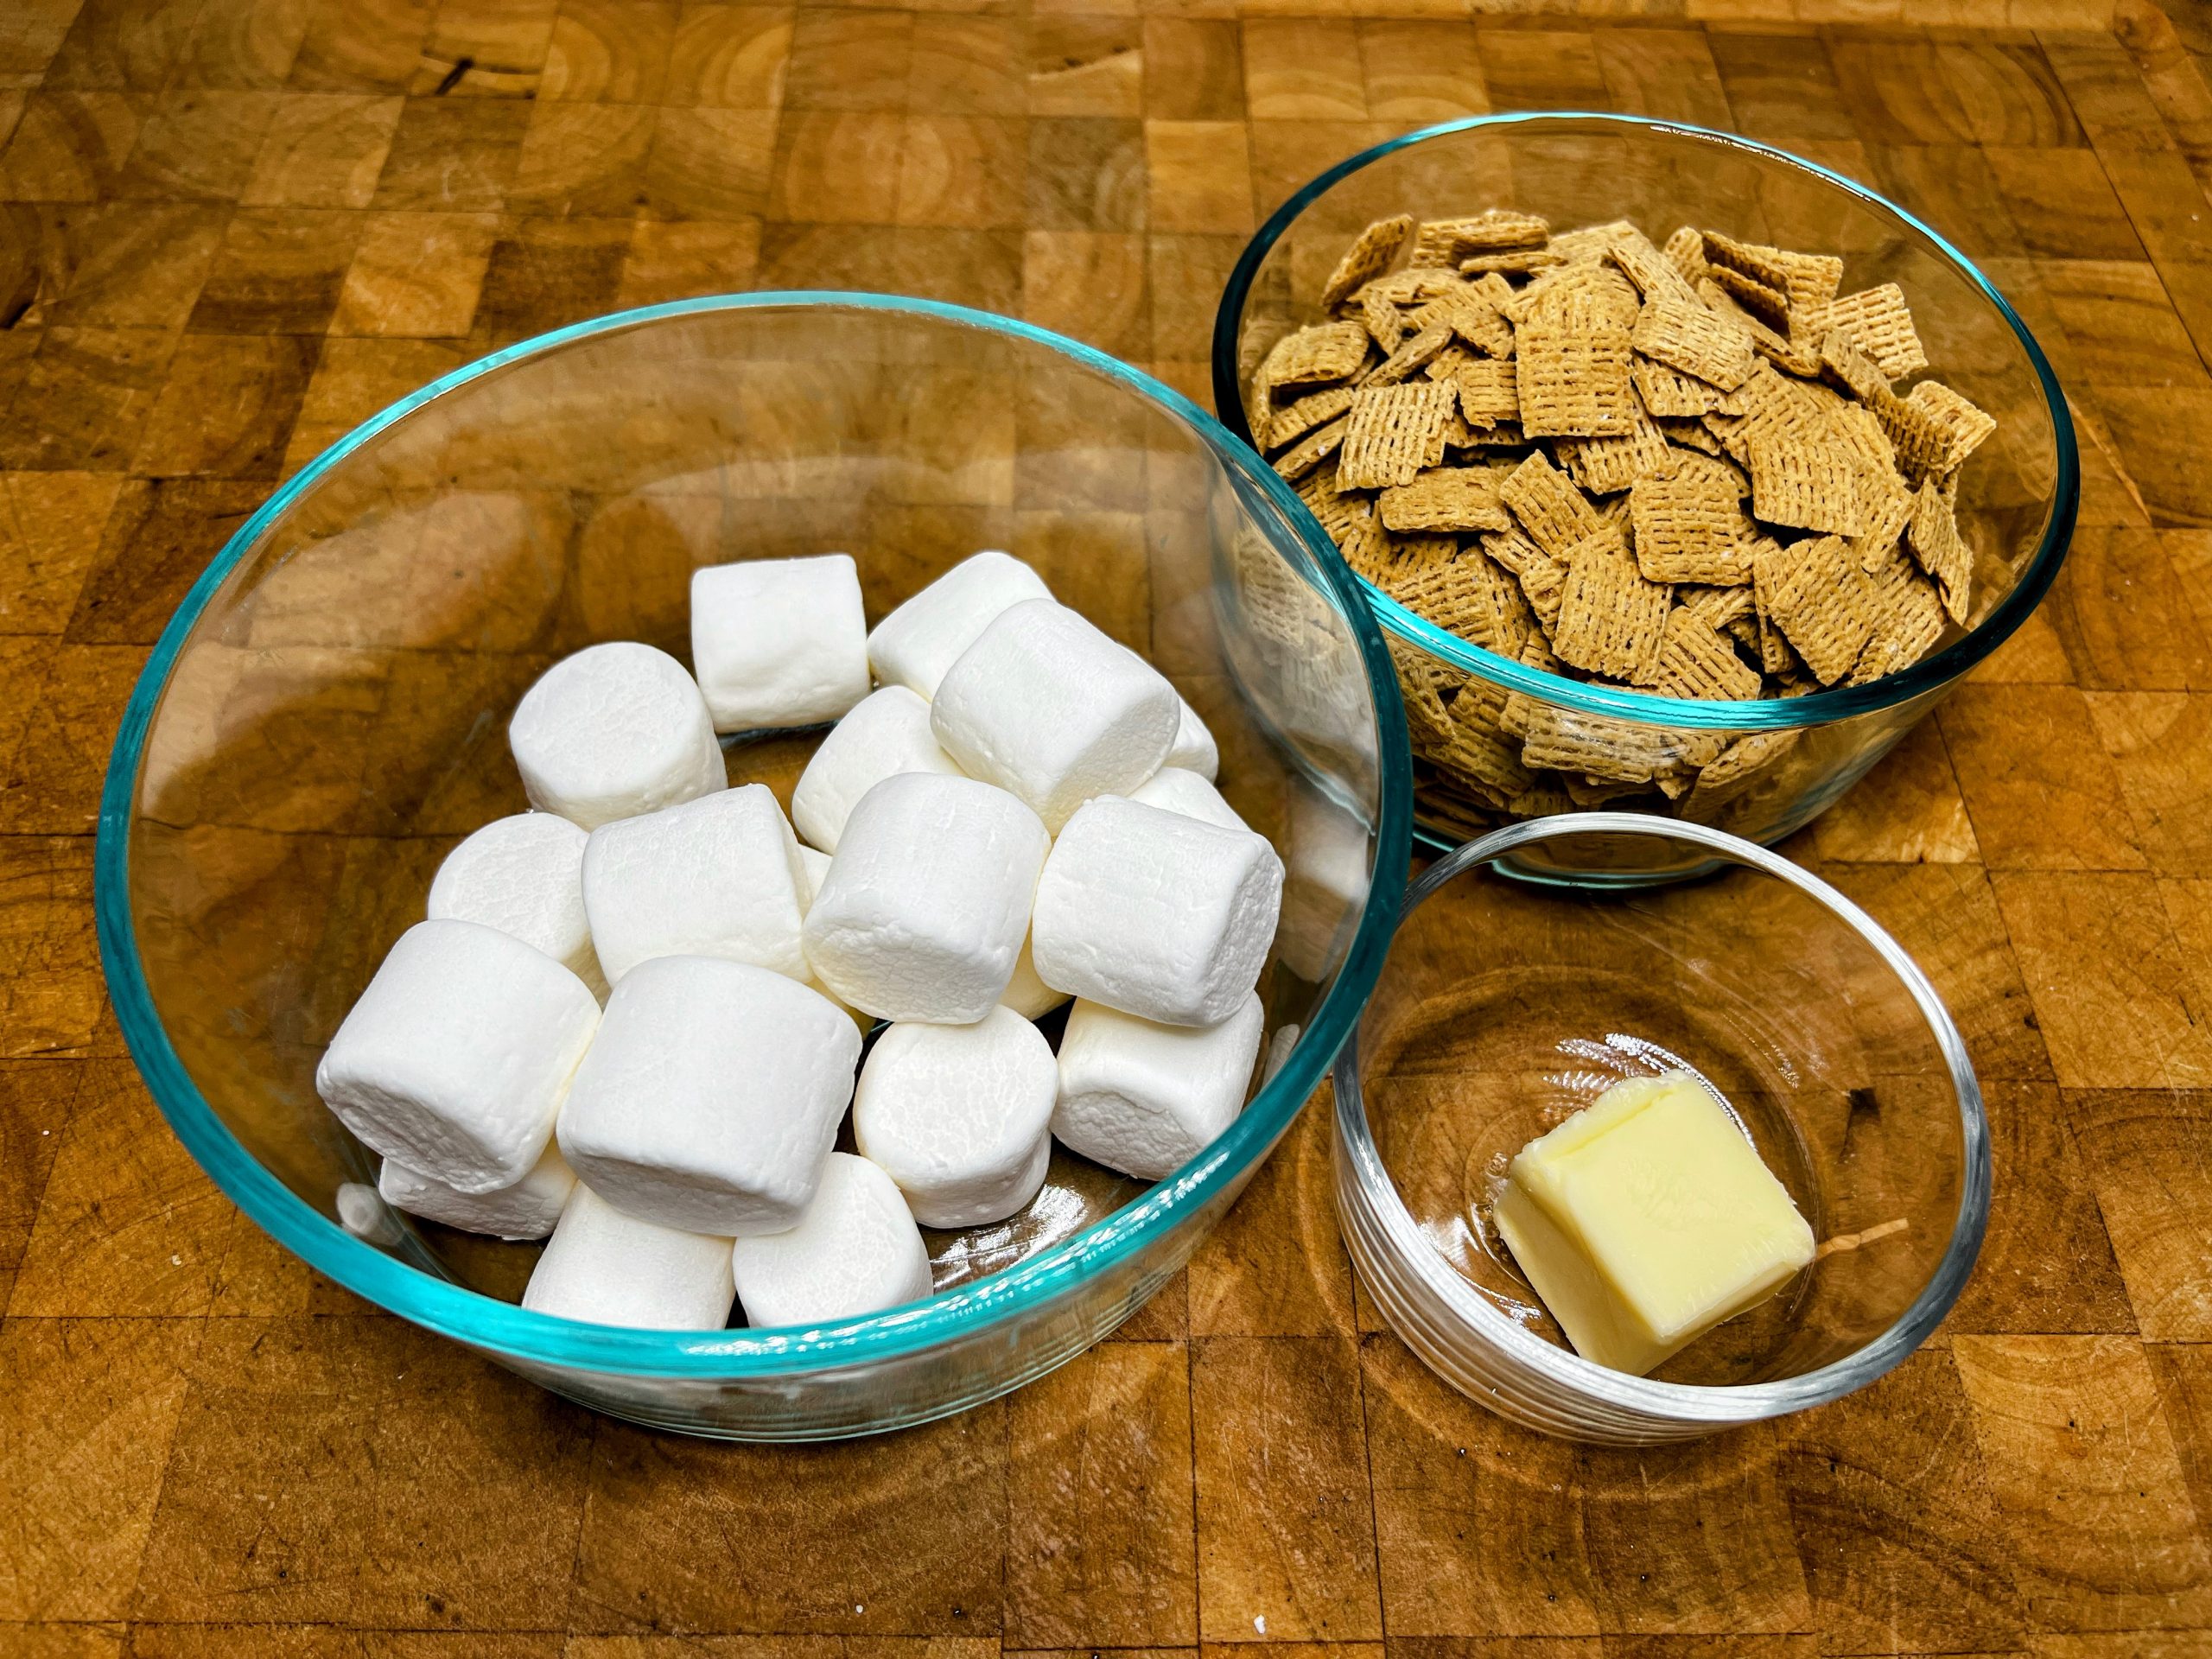
Supplies
- spatula
- large stock pot or Microwave Safe Bowl
- Measuring Cup
- 9 x 13 baking pan
Ingredients
- 7 Cups Life Cereal
- 16 oz of Jet Puff Marshmallows
- 4 Tbs Salted Butter
- (optional) non-stick canola oil spray
Instructions
Step One
Go ahead and grab your life cereal, marshmallows, butter, pan, spatula and microwave safe bowl or pot. You'll also want to grease your utensils.
To grease your utensils, you can use butter or a non-stick cooking spray. The non-stick spray tends to cook coat faster and more consistently than butter. However, butter has a better flavor.
Step Two
You will need to melt together your marshmallows and butter. In order to do this, you can use a microwave or you can do it in a pot on the stove.
Pot on the stove:
- Grab your four tablespoons of butter and toss that into your pot.
- Place your pot on a burner and turn the burner heat to low.
- Stir intermittently as your butter melts.
- Once your butter is pretty much melted, add your 16 oz of marshmallows to your pot.
- Continue to heat on low stirring frequently now until your marshmallows are almost completely melted.
- Remove from the heat and give a couple of extra stirs so everything is melted and mixed together well.
To use a microwave:
- This method will take about a quarter of the time that the stovetop method takes.
- Toss your butter and marshmallows together in a microwave safe dish.
- Toss that dish into your microwave and heat for 30 to 60 seconds.
- Take your dish out of the microwave and stir things well.
- Tosa dish back in the microwave and heat for 30 seconds.
- Stir things well again. Repeat this a few times until marshmallows are melted.
Step Three
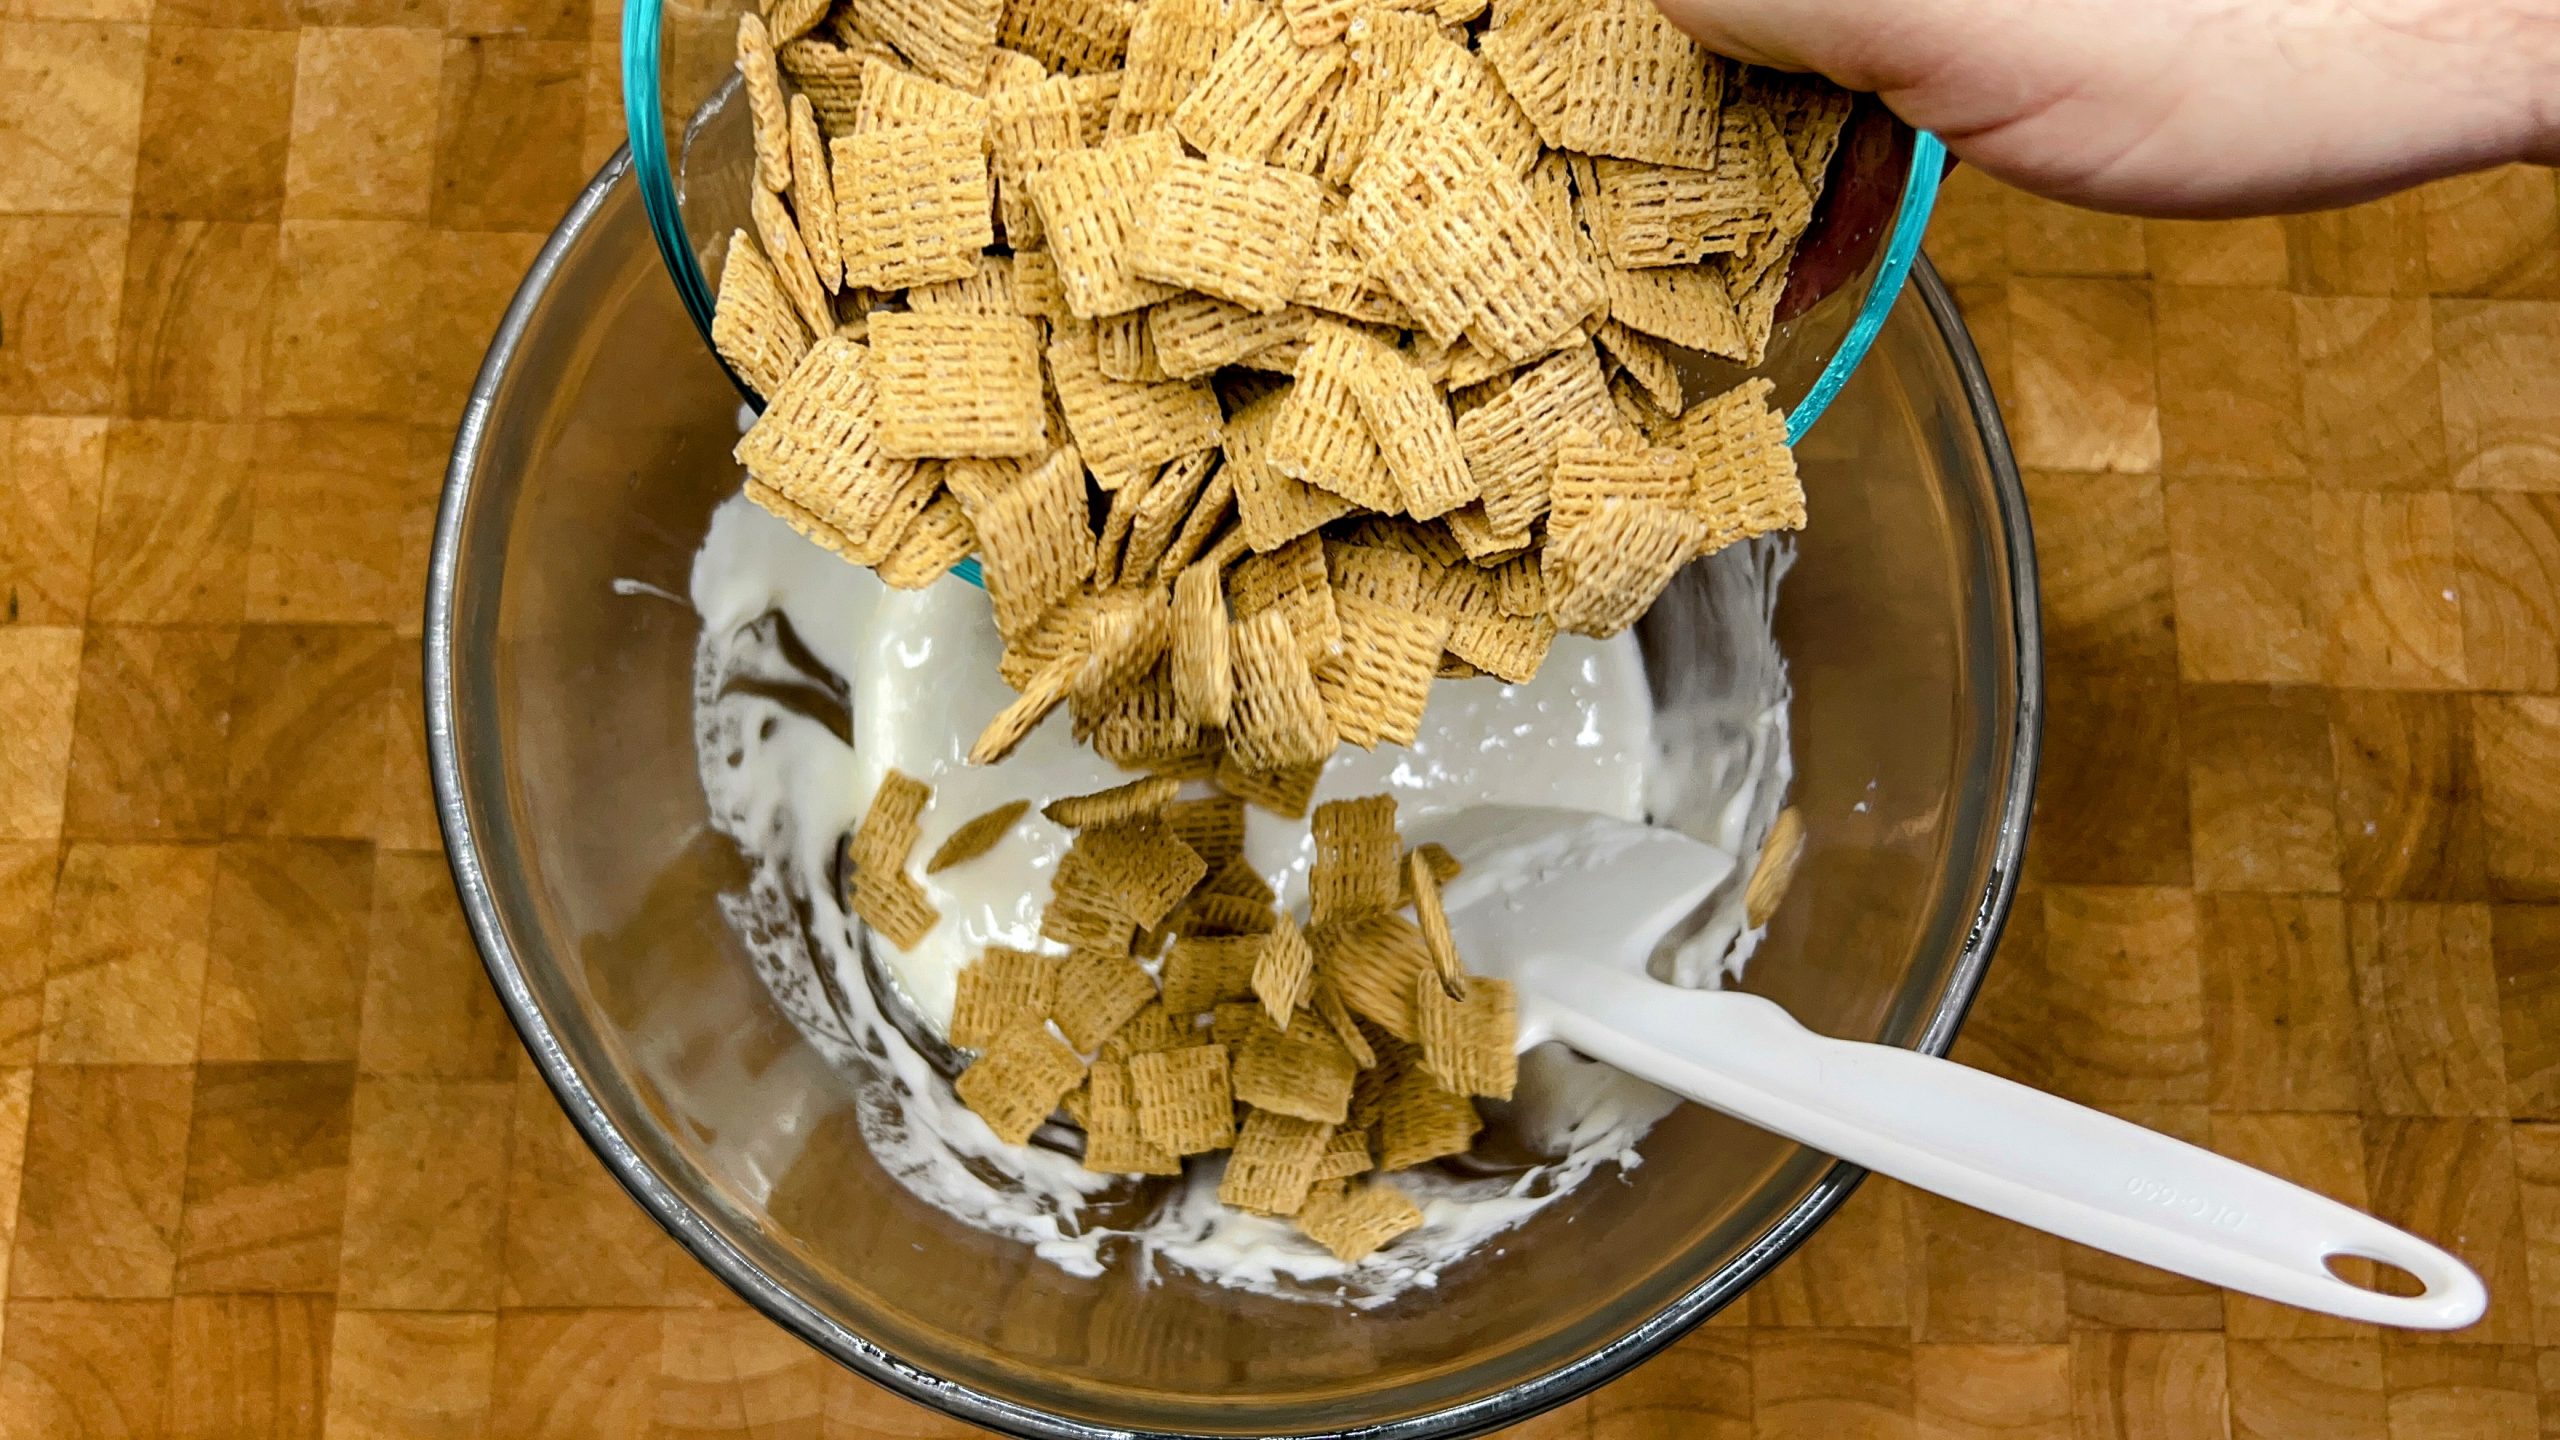
Next up is adding your cereal. Measure out 7 cups of life cereal.
Slowly add your cereal into your marshmallow and butter mixture folding it as you go. If you add around a third of the cereal at a time this usually works well.
Note: due to the size difference of Life cereal and Rice Krispies you will be using around a cup more of cereal in this recipe than the original Rice Krispie treat recipe. However, marshmallow consistency varies from Brand to Brand so you can eyeball as you add your cereal and stop when you feel like the ratio is good for your desired consistency.
Step Four
Once you have thoroughly mixed your cereal marshmallows and butter, grab your pre-greased pan. Move your marshmallow mixture from your bowl into your pan.
Use your pre-greased spatula to gently press the mixture into your pan until it is an even thickness across the pan.
Step Five
Set your pan to the side to allow everything to cool. This should take around 30 minutes or so.
Grease up a knife and cut your treats into 16 even squares. Now, they are ready to enjoy!
Storage and tips for perfect treats
- Don't make your marshmallows too hot: well you want to thoroughly melt your marshmallows, you don't want to overheat them. Marshmallows have a lot of sugar and went overheated the sugar can crystallize making your resulting treats very hard. Stirring your marshmallow as well during melting and using the lowest heat setting on the stove or the least amount of time in the microwave will result in the best most chewy treats.
- Don't crush your cereal: Life cereal in particular is really fragile and easy to crush. When you crush it it can affect the overall texture of your treats making them more compact and hard. Therefore, you want to be very gentle and careful both when you fold the cereal into the marshmallows as well as when you press the mixture into your pan.
- Successful storage: for the best results, you should store these treats at room temperature and an airtight container for 5 days give or take a few. If you won't be finishing them within this time frame, you should freeze them in freezer bags.
Life Cereal Bars
Equipment
- Spatula
- 9x13 Pan
- large stock pot
- Large mixing bowl
- measuring cups
Ingredients
- 16 oz Marshmallows
- 4 tbs Salted Butter
- 7 cups Life Cereal
Instructions
- Start out by making sure you have everything you need to make your treats.
- Take some butter or non-stick cooking spray and grease your pan and spatula.
- Add both your 16 oz of marshmallows and 4 tbs of butter into your microwave safe bowl.
- Heat the marshmallows and butter in the microwave for around 30 - 60 seconds.
- Once heated, remove from the microwave and stir them together.
- Heat again for 30 seconds and stir again
- Keep heating and stirring until they are fully melted.
- Note: You can also melt the butter and marshmallows together on the stove. for those instructions, see the above in the post.
- Measure 7 cups of Life cereal and slowly add into your marshmallows stirring as you go.
- Carefully combine all of the cereal and marshmallows.
- Use your spatula to transfer the treat mixture into your greased pan.
- Continue using your spatula and lightly push the treats into the pan so they are the same consistency throughout.
- Set the pan of treats aside for around 30 minutes to cool.
- Cut the treats into 16 squares and serve.
Nutrition information provided is just an estimate and may vary based on specific ingredients used.


