A lunch box cake otherwise known as a Korean bento cake is the perfect mini layer cake that you can decorate and customize to your heart's content. He's super easy to make individual sized cakes are perfect for celebrations and gifts.
What is a bento or lunchbox cake?
Bento or lunchbox cakes are essentially mini sized layer cakes that originated in South Korea. They got the name bento cake due to the fact that they are served in takeout boxes similar to bento boxes that are used for convenient and simple lunches.
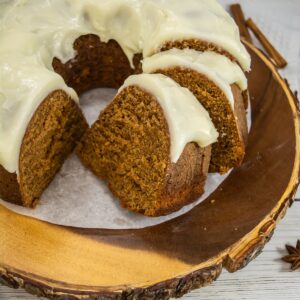
These cute and customizable cakes started to become popular in South Korean bakeries, but have since spread across the world due to how easy to make they are and how fun they are to decorate (you can also decorate this easy whipped cream pound cake).
These mini layer cakes are perfect to make and give as gifts since they are fast, customizable and easy to transport. You can even make several in one batch and then decorate them differently, if you desire.
Due to the fact that you can decorate them any way you like, they also are perfect for celebrations as well as letting your kids make their own individual cakes.
🧁Why To Try This Recipe
Customizable- You can decorate these cakes for any occasion or celebration you wish. Simply change up the color of the frosting and the type of sprinkles, piping or other decorations you add.
Perfect for gifting - The fact that these cakes are packaged and take out boxes makes them super easy to transport. This makes them the perfect gift since they're easy to carry around and you can decorate them anyway you like.
Perfectly sized- these mini cakes are the perfect size. They work well if you want to have a variety of different flavors or decorations at a party or get together. Additionally, they are the perfect size for individual servings or party favors.
Jump to:
🥄Equipment
- 3 4 inch round baking pans
- 2 Mixing bowls
- Hand or stand mixer
- Measuring cups
- Parchment paper
- Tablespoons
- Takeout boxes
- Wooden spoon or spatula
Note: If you don't have 4 inch baking pans you can make the cake mix and put it into a 9x13 pan. You'll then need to use 4 inch round cookie cutters to cut out the individual cakes.
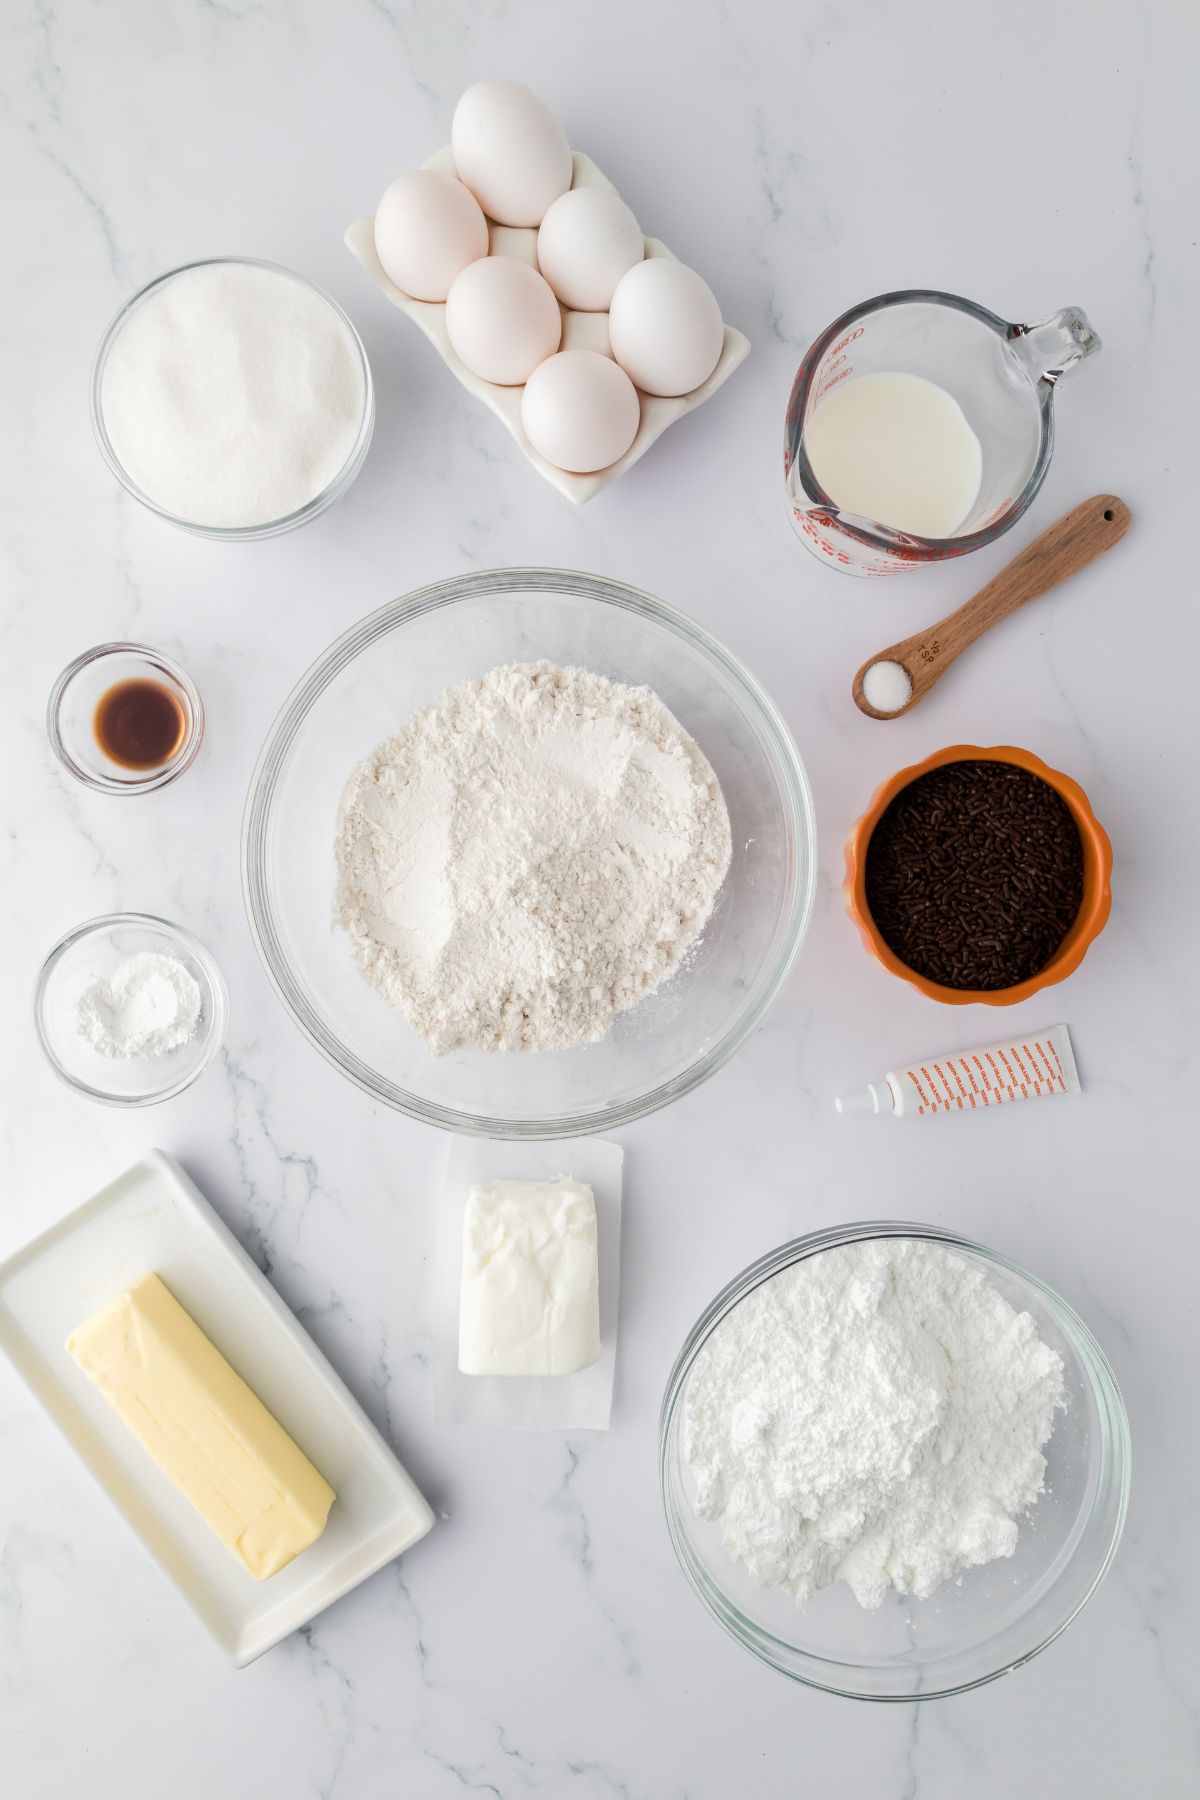
📋Ingredients
For the icing
- Softened butter
- Shortening
- Powdered sugar
- Vanilla
- Salt
- Milk
- Orange food coloring
- Chocolate sprinkles
For the cake:
- Flour
- Baking powder
- Sugar
- Eggs
- Vanilla
See recipe card for quantities.
📖Substitutions & Variations
One of the best things about a lunch box cake is that it is fully customizable. Here are just a few ideas for ingredient substitutions or variations to change your cakes up:
- Use cake mix - instead of making a cake from scratch, you can use your favorite cake mix to speed the entire process up.
- Use store-bought icing - again, if you're looking for a faster cake you can use store-bought icing. Buttercream or whipped cream icing are the most common used for these cakes.
- Make it different flavors - The recipe we are using below is a simple vanilla cake which is a common flavor for these cakes. However, you can make any flavor cake you want from chocolate to carrot cake to red velvet and everything in between.
- Use a cookie cutter - If you don't have small baking pans don't worry you don't need to buy anything extra. You can make the cake as a sheet cake and then use round cookie cutters or bowls to cut your small cakes out
- Add fillings- If you want to add some extra flavor and fanciness to your cakes you can add fillings like raspberry jam between the cake layers.
- Make it gluten or dairy free- since you can use any of your favorite cake and icing recipes for these bento box cakes you can make them gluten, dairy-free or any other type of dietary preferences you have.
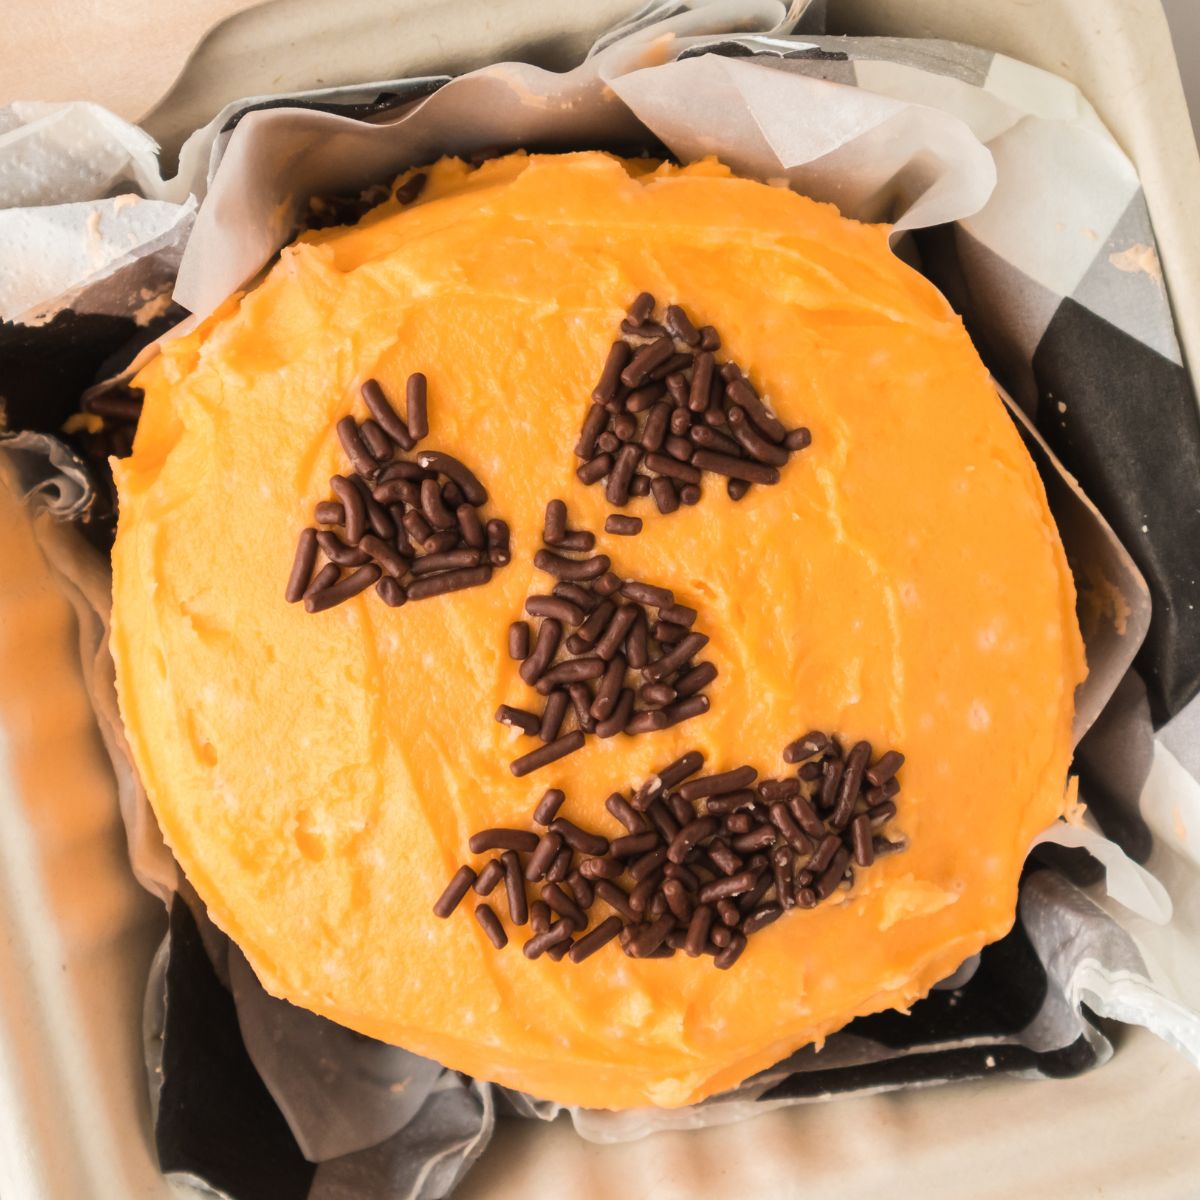
- Change up the decorations- for this recipe we have made a Halloween jack-o'-lantern themed cake. However, you can literally decorate these cakes for any occasion and in any way you want. Simply change up the color of the frosting, add piping, add writing or any other type of cake decorations you desire.
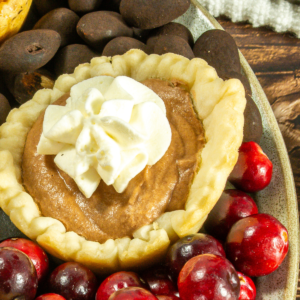
If you're looking for other individual serving desserts try out these mug rice crispie treats or these mini apple pie tarts.
⏲️Instructions
Use the step by step instructions and process shots below to ensure that you make the perfect cake.
Step one: Start out by preheating your oven to 375° F. Then, use cooking spray or butter to coat your baking pans.
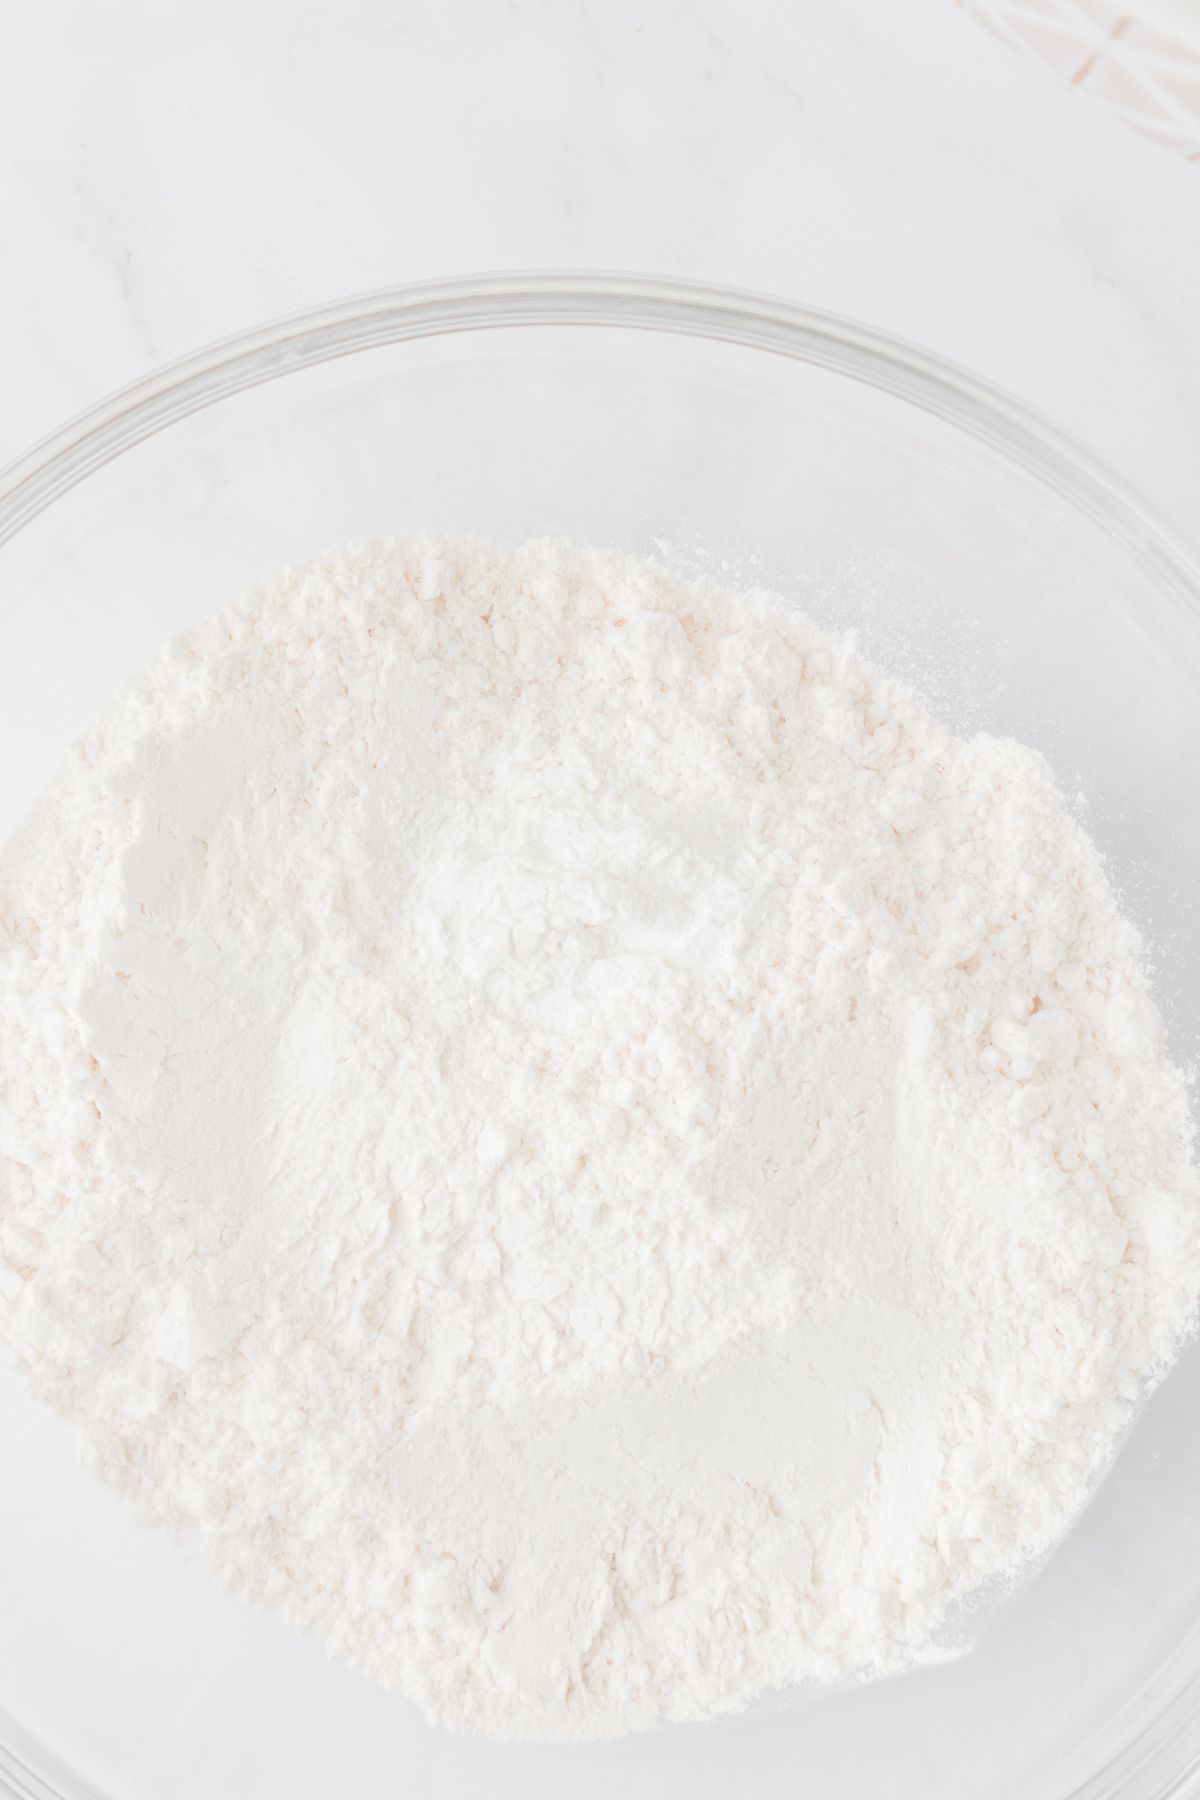
Step two: Add flour and baking powder into the mixing bowl. Then, stir them together.

Step three:Add softened butter and sugar to a second mixing bowl. Then, use a hand or stand mixer to cream the butter and sugar together.
Creaming butter and sugar usually takes a few minutes. You'll know it's ready when it is smooth, light fluffy and a pale yellow color.
Pro tip: softened butter essentially just means that it is room temperature. You can check by pressing your finger into the middle of the stick to see if it leaves an indentation. You can usually soften butter by letting it sit on the counter for around 60 minutes.

Step four:Add the eggs and vanilla extract in with the creamed butter and sugar. Stir everything together well.
Then, add your milk to the mixture and combine that in as well.
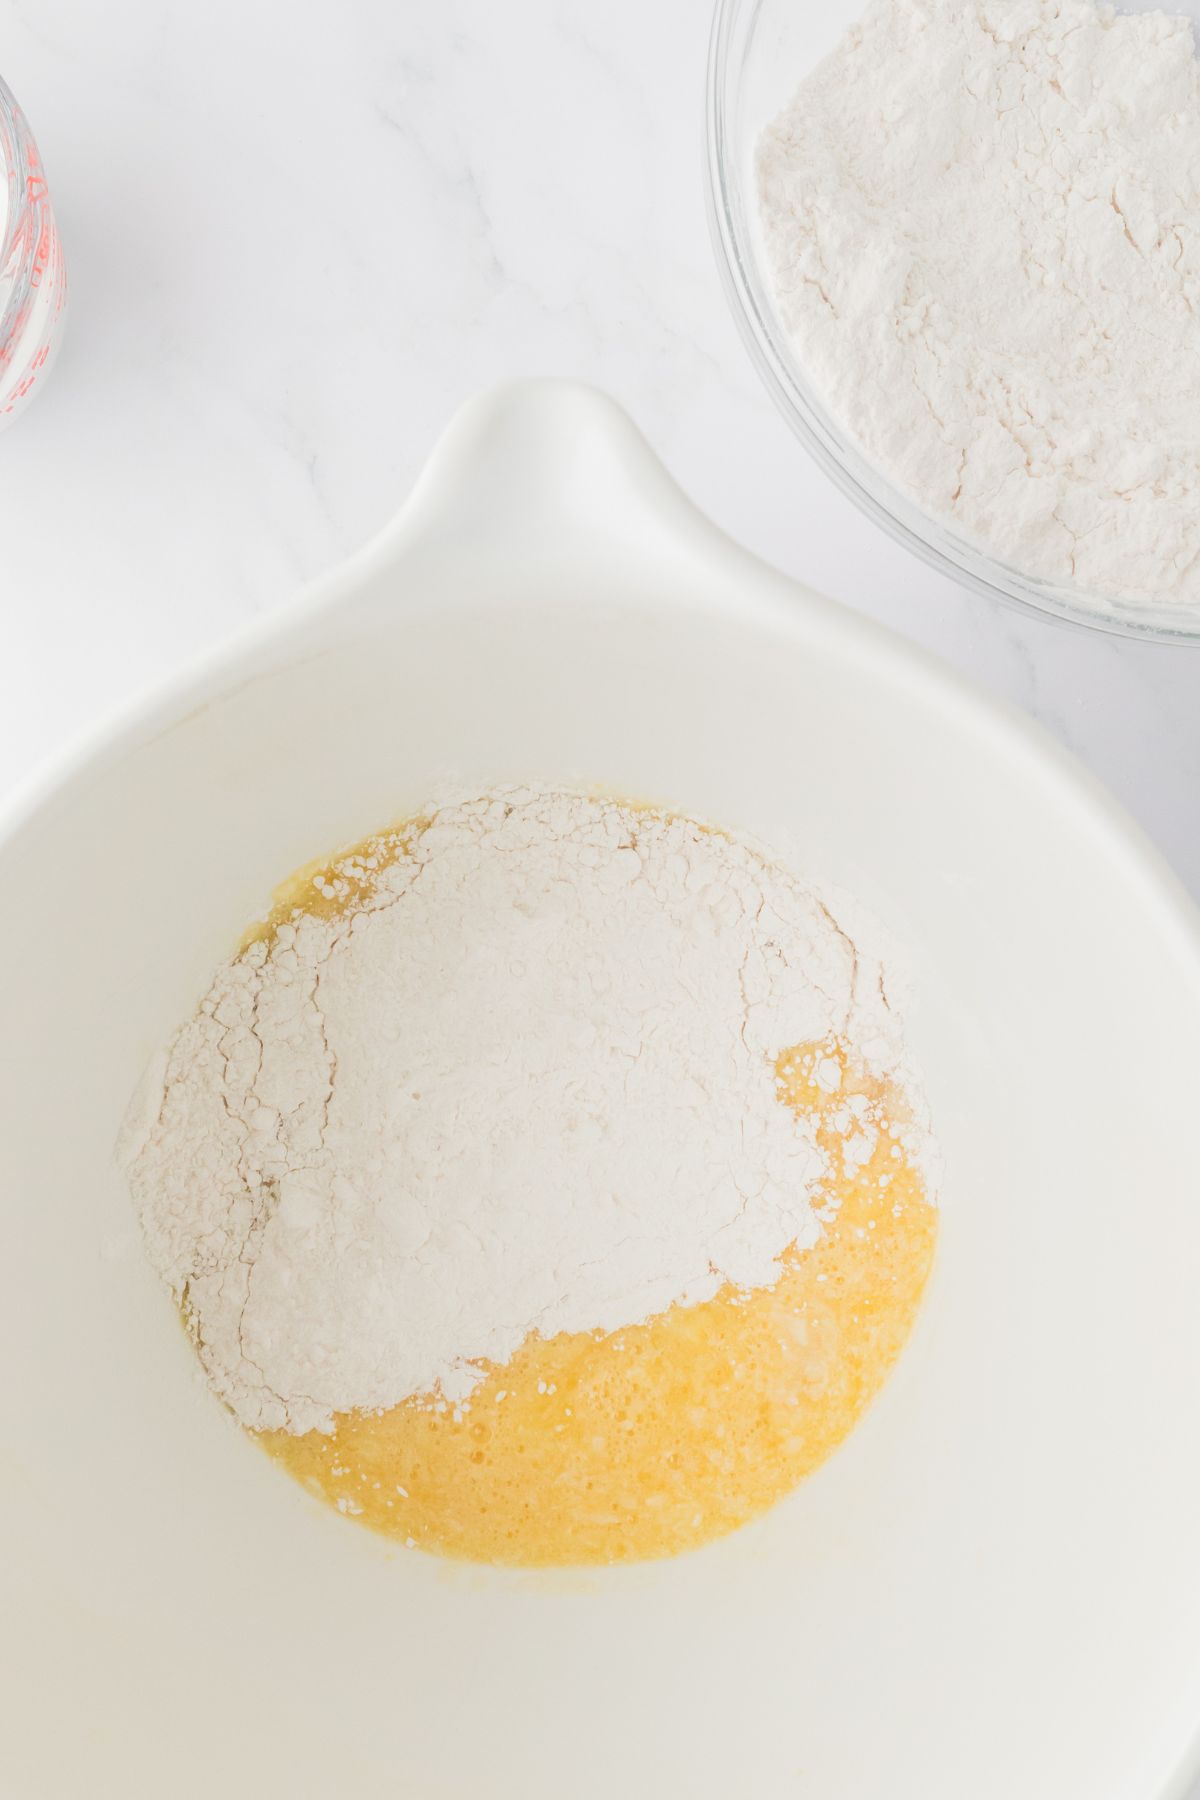
Step five: Slowly fold your flour and baking powder combination in with your wet ingredients. You should add a little at a time mixing as you go.
Make sure that everything is thoroughly combined, but you do not want to overwork or overstir the batter.

Step six: For your batter into the pre-greased baking pans. Make sure to leave some room at the top for them to expand while baking. Them to expand while baking.
Bake cakes for 25 to 30 minutes. They will be done when they are light golden brown on top and you can place a fork or toothpick in the middle without having batter on it.

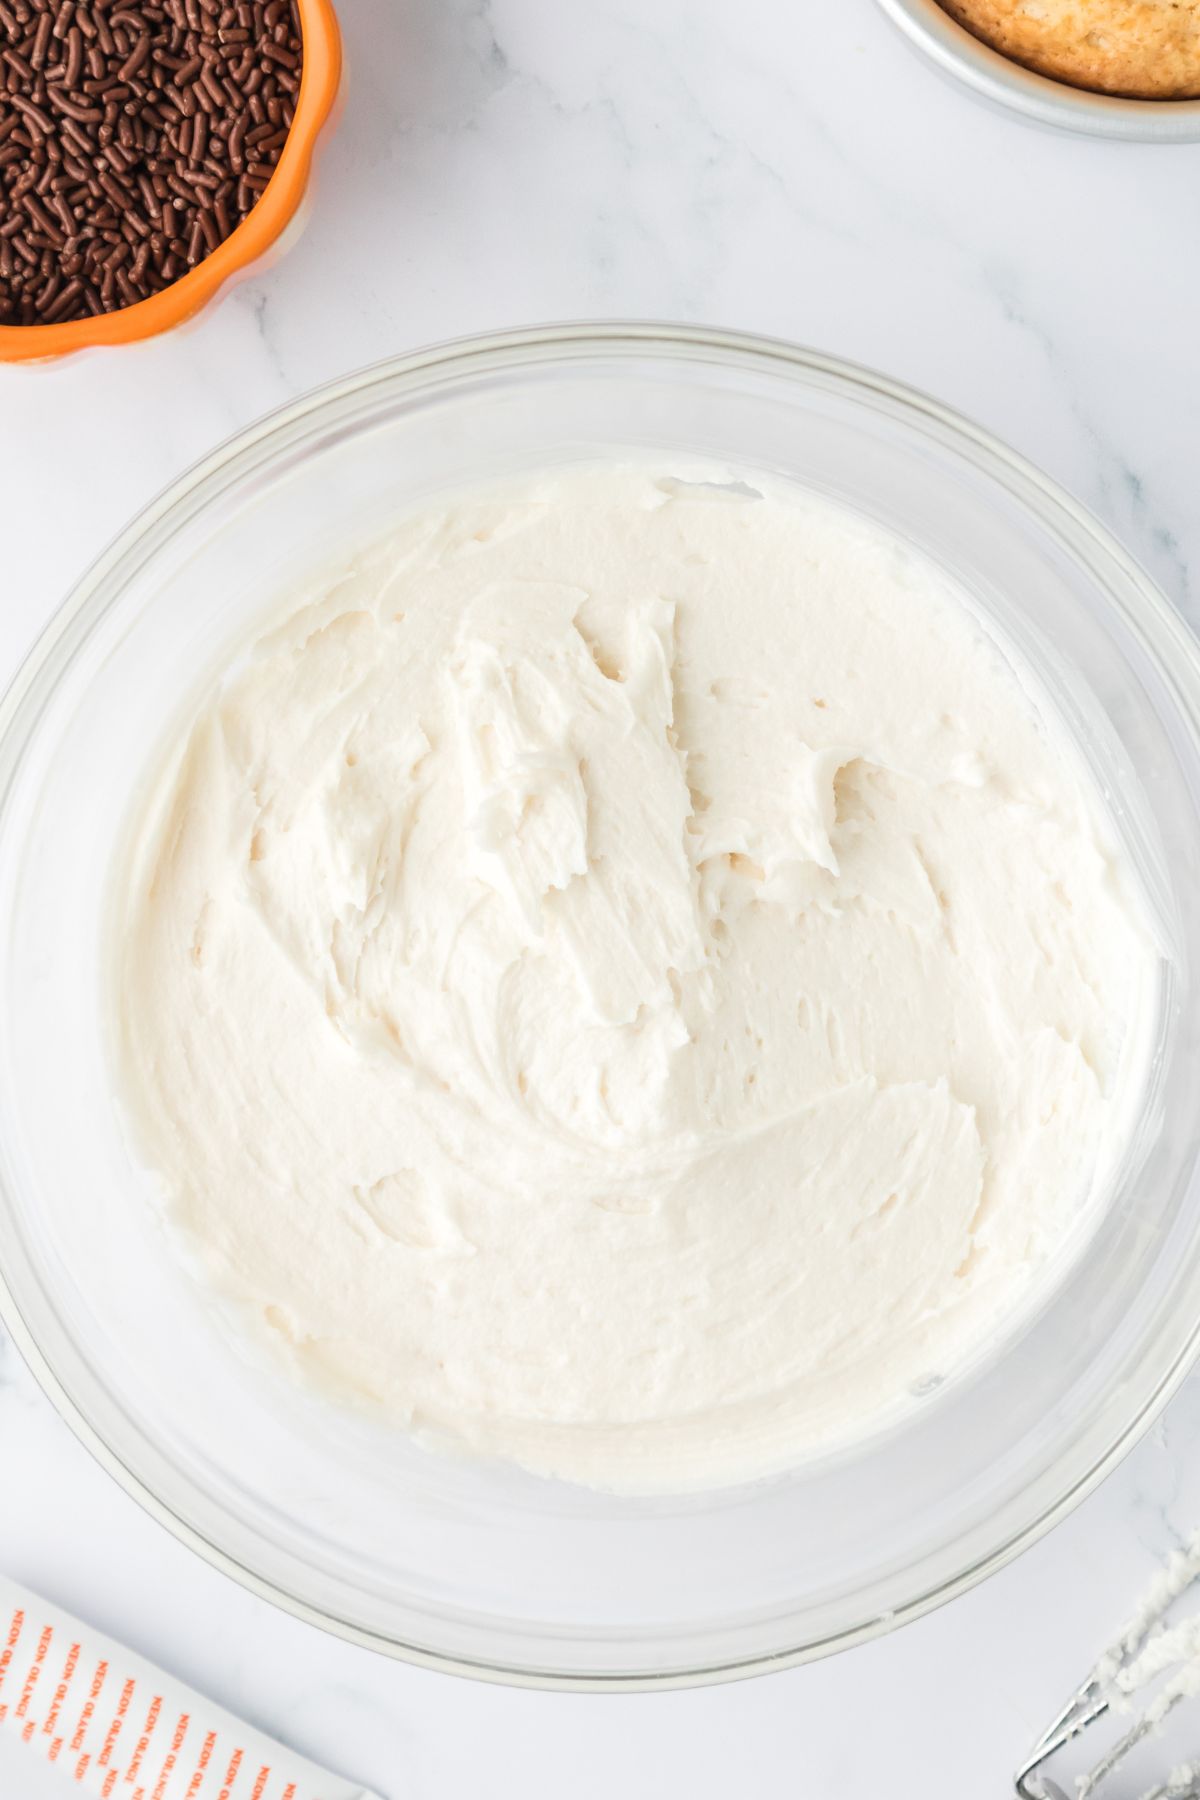
Step seven: While your cakes are baking, you can get your icing ready. Add softened butter and shortening to a mixing bowl.
Cream together the butter and shortening. Then, add vanilla and a dash of salt.
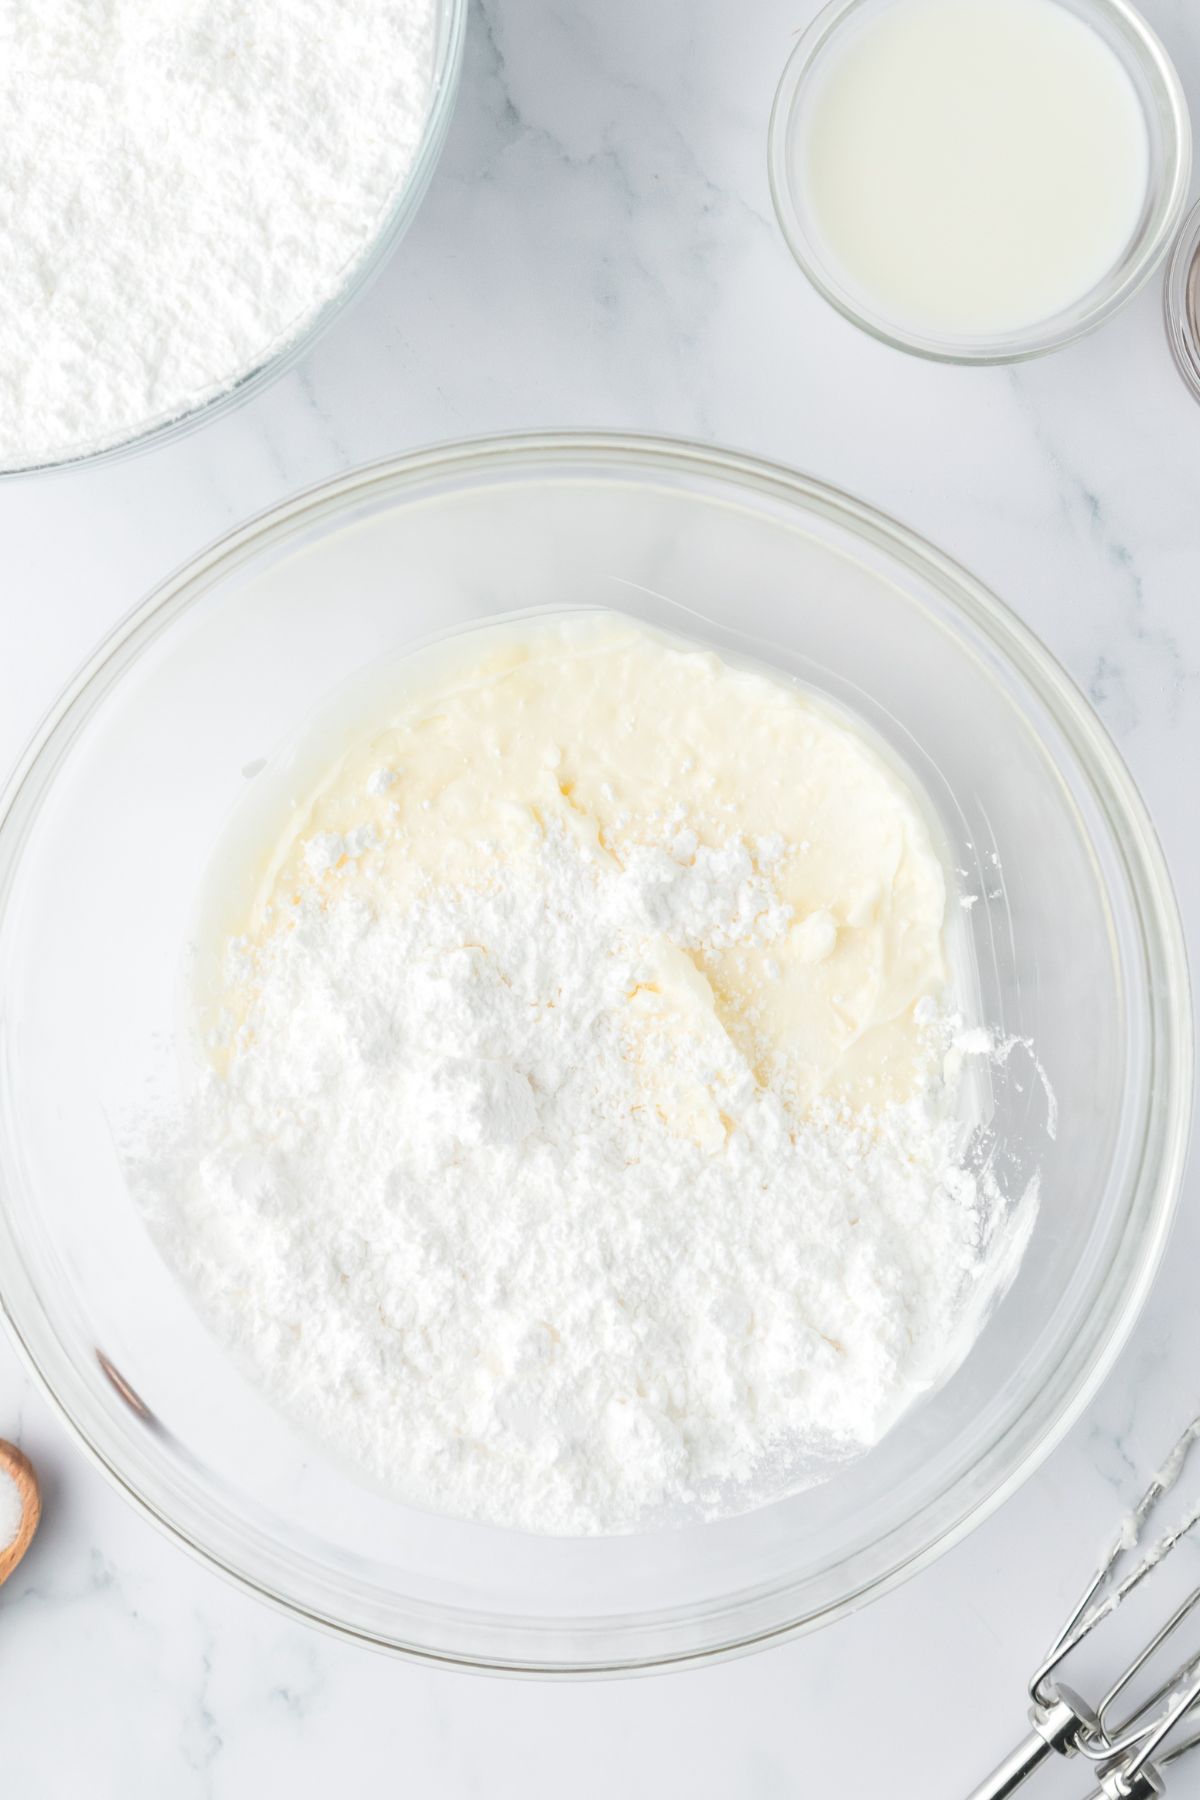
Step eight: Slowly add in powdered sugar as you mix your icing on medium speed with a hand or stand mixer. It should take around 2 to 3 cups of powdered sugar.
Step nine: Your icing should thicken up as you add the powdered sugar. If it gets too thick, you can add a little teaspoon or so of milk to thin it back out.
Then, you can add a few drops of orange food coloring and stirred all together. Add as much food coloring as you want to get it the desired color.
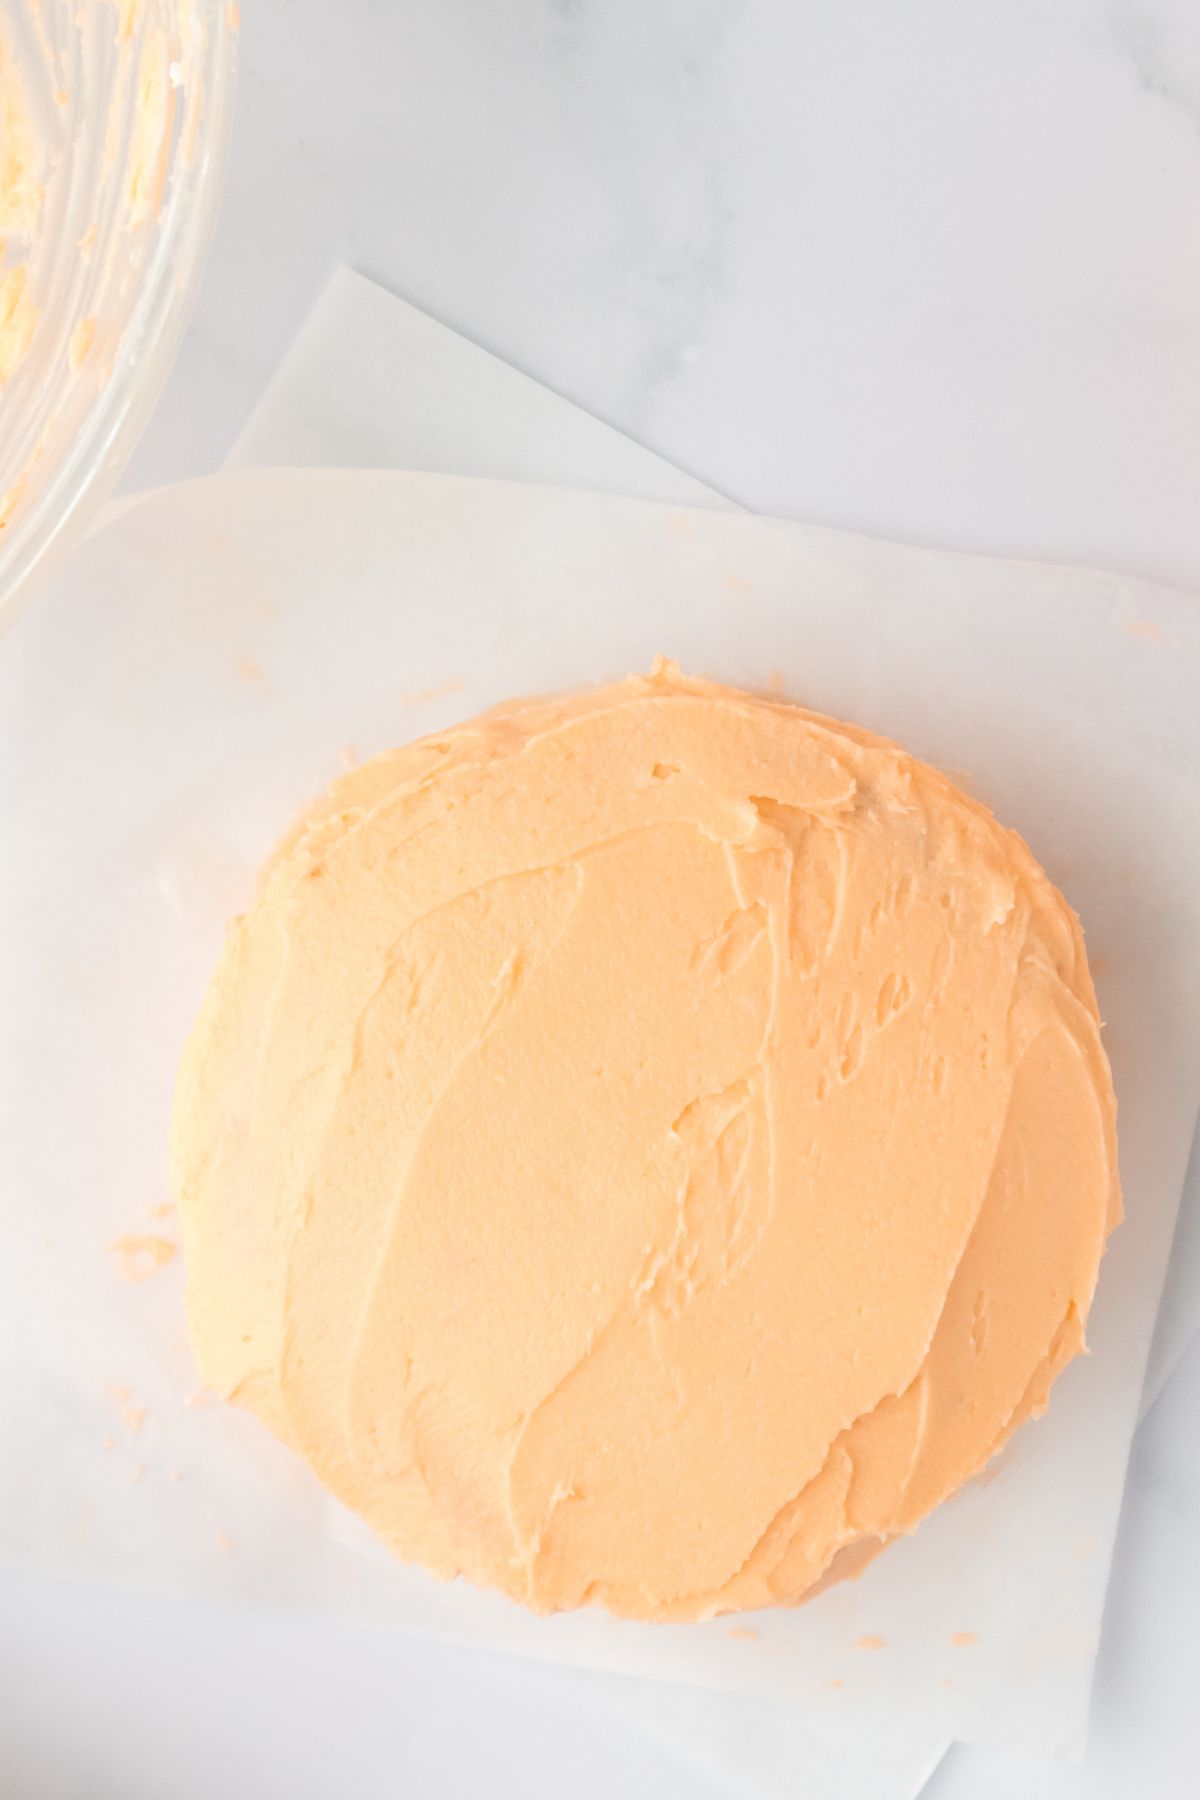
Step ten: Once your cakes are done baking and fully cooled. You should slice each cake in half so that you have two layers.
Cut a square of parchment paper and lay it flat on the counter. Apply a little dollop of frosting to the parchment paper and use it to secure the first layer of cake.
Then, put frosting on the first layer of cake and place the second layer on top. Finally, apply icing to the sides and top of the entire cake.
Pro tip: Make sure cakes are totally and completely cooled before cutting or icing them. If you need to place them in the refrigerator to do the cooling you can.
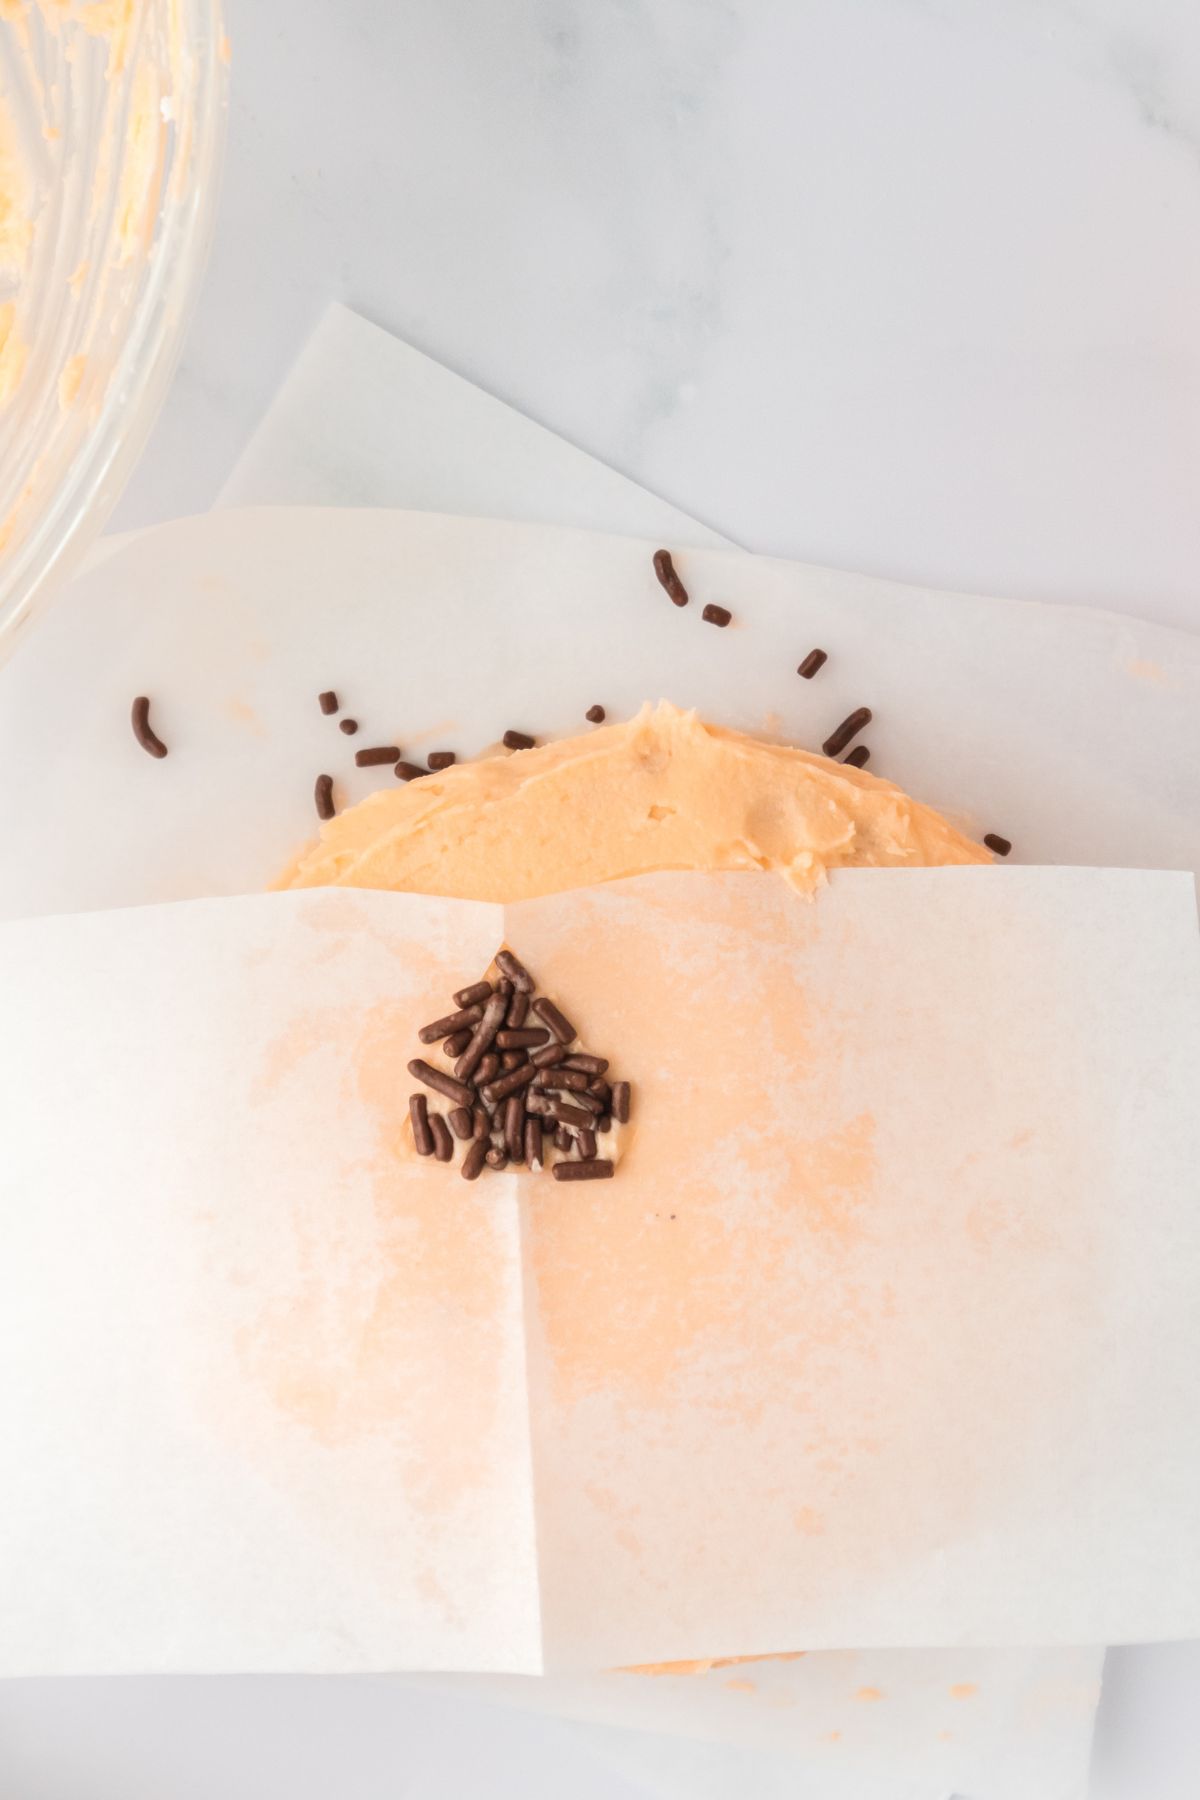
Step eleven: To add the eyes and nose of the jack-o'-lantern cut a small triangle in a piece of parchment paper. Then, use that as a template to put sprinkles on the cake for eyes and a nose.
Finally, add a line of sprinkles for the Jack O'Lanterns mouth. Then, carefully move the cake on the parchment paper into the takeout box.
Hint: start with a thin layer of icing all over the cake. Then, place it in the refrigerator for it to cool and harden slightly. Then, finish icing the cake with a thicker layer so it will be smooth and even.
⭐Recipe Tips for Success
- Cool cake completely- before you slice your cake into layers and frost them make sure that you have completely cooled the cake in the refrigerator or on the counter. This will make it less crumbly and much easier to work with.
- Add a light layer of icing- Is it a really smooth icing experience, add a very light layer of icing all over the cake and then cool it in the fridge so that it is hardened a little. Then, go back and add a thicker layer of icing that will be the final layer.
- Make sure it will fit- since take out box sizes me very slightly, make sure to measure the inside of the takeout box before cutting and decorating your cake. You can add two three or more layers to your cake as long as it will fit in the box. Make sure that you take into account about half an inch to an inch extra for the icing and decorations.
- Secure it- Use a little dab of icing on the parchment paper before putting the first layer of cake down to help hold the cake in place as you ice and decorate it. This will also make it easier to transfer the parchment paper and cake into your takeout box.
Storage
You can keep these cakes in an airtight container for up to a week in the refrigerator. If you leave it in the takeout box instead of an airtight container it will only last a few days.
If you want to freeze them it is easy to do. It can be kept in the freezer for up to 3 months.
Simply flash freeze it by placing it on a cookie sheet in the freezer for a few hours or until the icing is hard. Then, wrap it in plastic wrap and place it in a ziplock bag or air tight container.
When to make lunchbox cakes?
These cute little cakes are so customizable, versatile, easy to make, and easy to transport that they are well suited for so many different occasions. Here are a few ideas:
- Birthdays
- Weddings/anniversaries/Valentine's Day/Date night
- Thanksgiving
- Christmas
- Halloween
- Easter
- Smash cake
- Practicing your cake decorating skills
- Get well soon
- Party favors
- For a kids decoration food craft
- Milestones and celebrations - retirement, thank you gifts etc
- Dessert tables
💭FAQ
Bento cakes are typically 4 inches in size compared to normal cakes which are usually around 8 in.
It is named after the convenient bento box which is like a simple lunchbox for carrying a meal easily.
a bento cake can be kept in an airtight container up to a week or frozen up to three months.
The difference between bento cakes and normal cakes are the bento cakes are about half the size (or 4 inches) of normal cakes. Additionally, bento cakes are served in takeout boxes.
repeat the second lunch box cake by first decorating your individual cake on a piece of parchment paper. Then, you can carefully lift the cake on the parchment paper and place it into your takeout box before closing it.

Lunchbox Cake
Equipment
- 3 4 inch round Baking pans
- 2 Mixing bowl
- Stand or Hand Mixer
- Tablespoons
- measuring cups
- Wooden spoon or spatula
Ingredients
For cake
- 1 ⅔ cup Flour
- 1.5 teaspoons Baking powder
- .5 Cup S
- 1 cup Sugar
- 2 whole Eggs
- 1 cup Milk
- 1 teaspoon Vanilla
For Icing
- .5 cup Softened butter 1 stick
- .5 cup Shortening
- 2 - 3 cups Powdered Sugar you'll add until icing thickens
- 1 teaspoon Vanilla
- 1 dash Salt
- 3 tablespoons Milk
- Orange food coloring
- Chocolate sprinkles
Instructions
Cakes
- Preheat oven to 375 degrees.
- Spray non-stick cooking spray, or rub butter into the 3, 4 inch pans.
- Add 1 ⅔ cup of flour and 1.5 teaspoons of baking powder into mixing bowl.
- Add ½ cup softened butter and 1 cup of sugar into separate bowl. Use hand mixer or stand mixer to cream them together. They should be smooth and well combined.
- Add 1 teaspoon of vanilla and 2 eggs to the creamed butter and sugar and combine thoroughly.
- Add in .5 cup of milk and mix well.
- Then, slowly add in the flour and baking powder while folding it together with the wet ingredients. Make sure that everything is well combined. But try not to overwork (stir too much).
- Pour the batter into your pre-greased pans, leaving a little room at the top of each pan.
- Bake at 375 degrees for 25 - 30 minutes. It should be light golden brown on top and you should be able to stick a toothpick or fork into the center and remove it without any batter or cake sticking to it.`
- Allow cakes to cool before adding icing or other decorations.
Icing
- Cream together .5 cup softened butter and .5 cup of shortening with a hand or stand mixer. Make sure they are smooth and well combined.
- Add 1 teaspoon of vanilla and a dash of salt.
- Put mixer on medium and slowly pour in the powdered sugar a little at a time. The mixture should start to thicken. This should take 2 - 3 cups of sugar.
- Once you have added 2 cups of sugar, pour in the milk a tablespoon at a time to get your icing to the desired consistency.
- Add in several drops of orange food coloring and stir it together for a consistent color.
- Add the icing to each cake, carefully spreading a thick layer on the top and all sides.
- To make the jack-o-lantern face, cut triangles in a piece of parchment paper and then fill the holes with the chocolate sprinkles.
Notes
- You can freeze the cakes for 2-3 hours, or overnight prior to icing to help keep from crumbling during the icing process.
- To decorate the cakes, you can use a cake decorator tool, piping bag or a Ziplock bag with the tip cut off.
- To make the jack-o-lantern face, cut triangles out of a piece of parchment paper and use as a template. Fill the template with chocolate jimmies
- Each cake makes about 2-3 servings.
Nutrition information provided is just an estimate and may vary based on specific ingredients used.