If you're not sure what kind of dish to bring to your next baby shower, we have a great idea for you. Learn how to make baby shower Rice Krispie Treats and be the hit of the party (other than the baby and expectant parents, of course).
How to make baby shower Rice Krispie Treats
Have you been invited to a baby shower and you have no idea what kind of snack or food to bring? Or perhaps, you are in charge of the gender reveal and want a fun and sweet way to do it. We have the perfect solution for you; baby shower Rice Krispie Treats!
These treats are just as easy as Original Rice Krispie Treats and you can even make them quickly using our Microwave Rice Krispie Treats method.
All you need now is a little food coloring, a little baby info, and an upcoming baby shower and you're set (or you could just make them for funsies)!
Variations
There are lots of different fun ways to make these treats, here are a few other variations you can also try:
- Cover the entire treat: use vanilla or chocolate icing and coat the entire so you can't see what color they are until you bite into them.
- Make a cake: instead of making these in bite sized treats, you could make them in a cake pan, with multiple layers even. Then you can coat them in icing so you only see the color once the "cake" is cut.
- Use Cookie Cutters: make some fun baby themed shapes out of your treats by using cookie cutters instead of just cutting them into plain squares.
Supplies
- spatula
- large stock pot or Microwave Safe Bowl
- Measuring Cup
- 9 x 13 baking pan
Ingredients
- 6 Cups Rice Krispies Cereal
- 16 oz of Jet Puff Marshmallows
- 4 Tbs Salted Butter
- (optional) non-stick canola oil spray
- Food Coloring
- Sprinkles
- Decorative Icing
Instructions
Before you start making your treats, you will want to ensure that you have pre-greased everything. To do this you can use non-stick cooking spray or butter. The non-stick spray does tend to have a tiny bit of a flavor, but it can be quicker and easier to work with.
Grease up anything your marshmallows are going to touch, your spatula, pot, bowl, and pan.
Step One
First things first, you will need to melt your butter and marshmallows together. You have two ways to do this: on the stove or in the microwave.
Stove version:
- in your pot, add 4 tbs of butter.
- Set the stove top to low/medium heat.
- You can use a spatula to push the butter around the bottom of the pan to help it melt faster.
- Once your butter has melted, add in a 16 oz bag of Jet Puff marshmallows.
- Keep it on low/medium heat.
- Stir your marshmallows around in the butter until everything is well mixed and completely melted.
- This should take around 10 minutes or so.
Microwave version:
- throw your 4 tbs of butter and 16 oz of marshmallows into a microwave safe dish.
- Pop the dish in the microwave for 30 - 60 seconds.
- Remove and stir well.
- Pop the dish back into the microwave at 30 second intervals, stirring in between, until everything is melted.
- This should only take a few minutes
Step Two
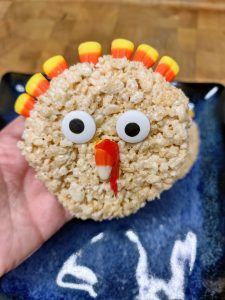
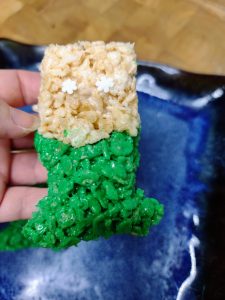
Once you have your marshmallow base ready, add in some food coloring - either pink or blue. If you've made our St Patty's Day Green Rice Krispie Treats, Peeps Rice Krispie Treats, Dinosaur Rice Krispie Treats, or Watermelon Rice Krispie Treats this will be familiar territory for you.
Once you've added in the food coloring, stir and add food coloring until your marshmallow base is the desired shade.
Step Three
When you have the color marshmallows you want, add in 6 measured cups of Rice Krispies. Use a spatula to mix everything together. You may need to add in more food coloring if your color lightens up as the cereal can make it a little more muted or even yellow tinted.
Step Four
Take out your pan and spray the bottom and sides with Canola oil. You can use any kind of flavorless cooking spray you like, we just prefer Canola.
Scoop your Rice Krispie Treat mix into the baking pan. Use your spatula again to press the batter down until it fills the entire bottom of the pan.
You can now place them to the side for a little while to cool or place them in the fridge or freezer (depending on your own personal threshold of patience). You want them to cool down quite a bit for your decorative icing.
Step Five
Once your Rice Krispie Treats have cooled sufficiently get out your cream cheese icing. Really, any icing will do, we just really like cream cheese icing.
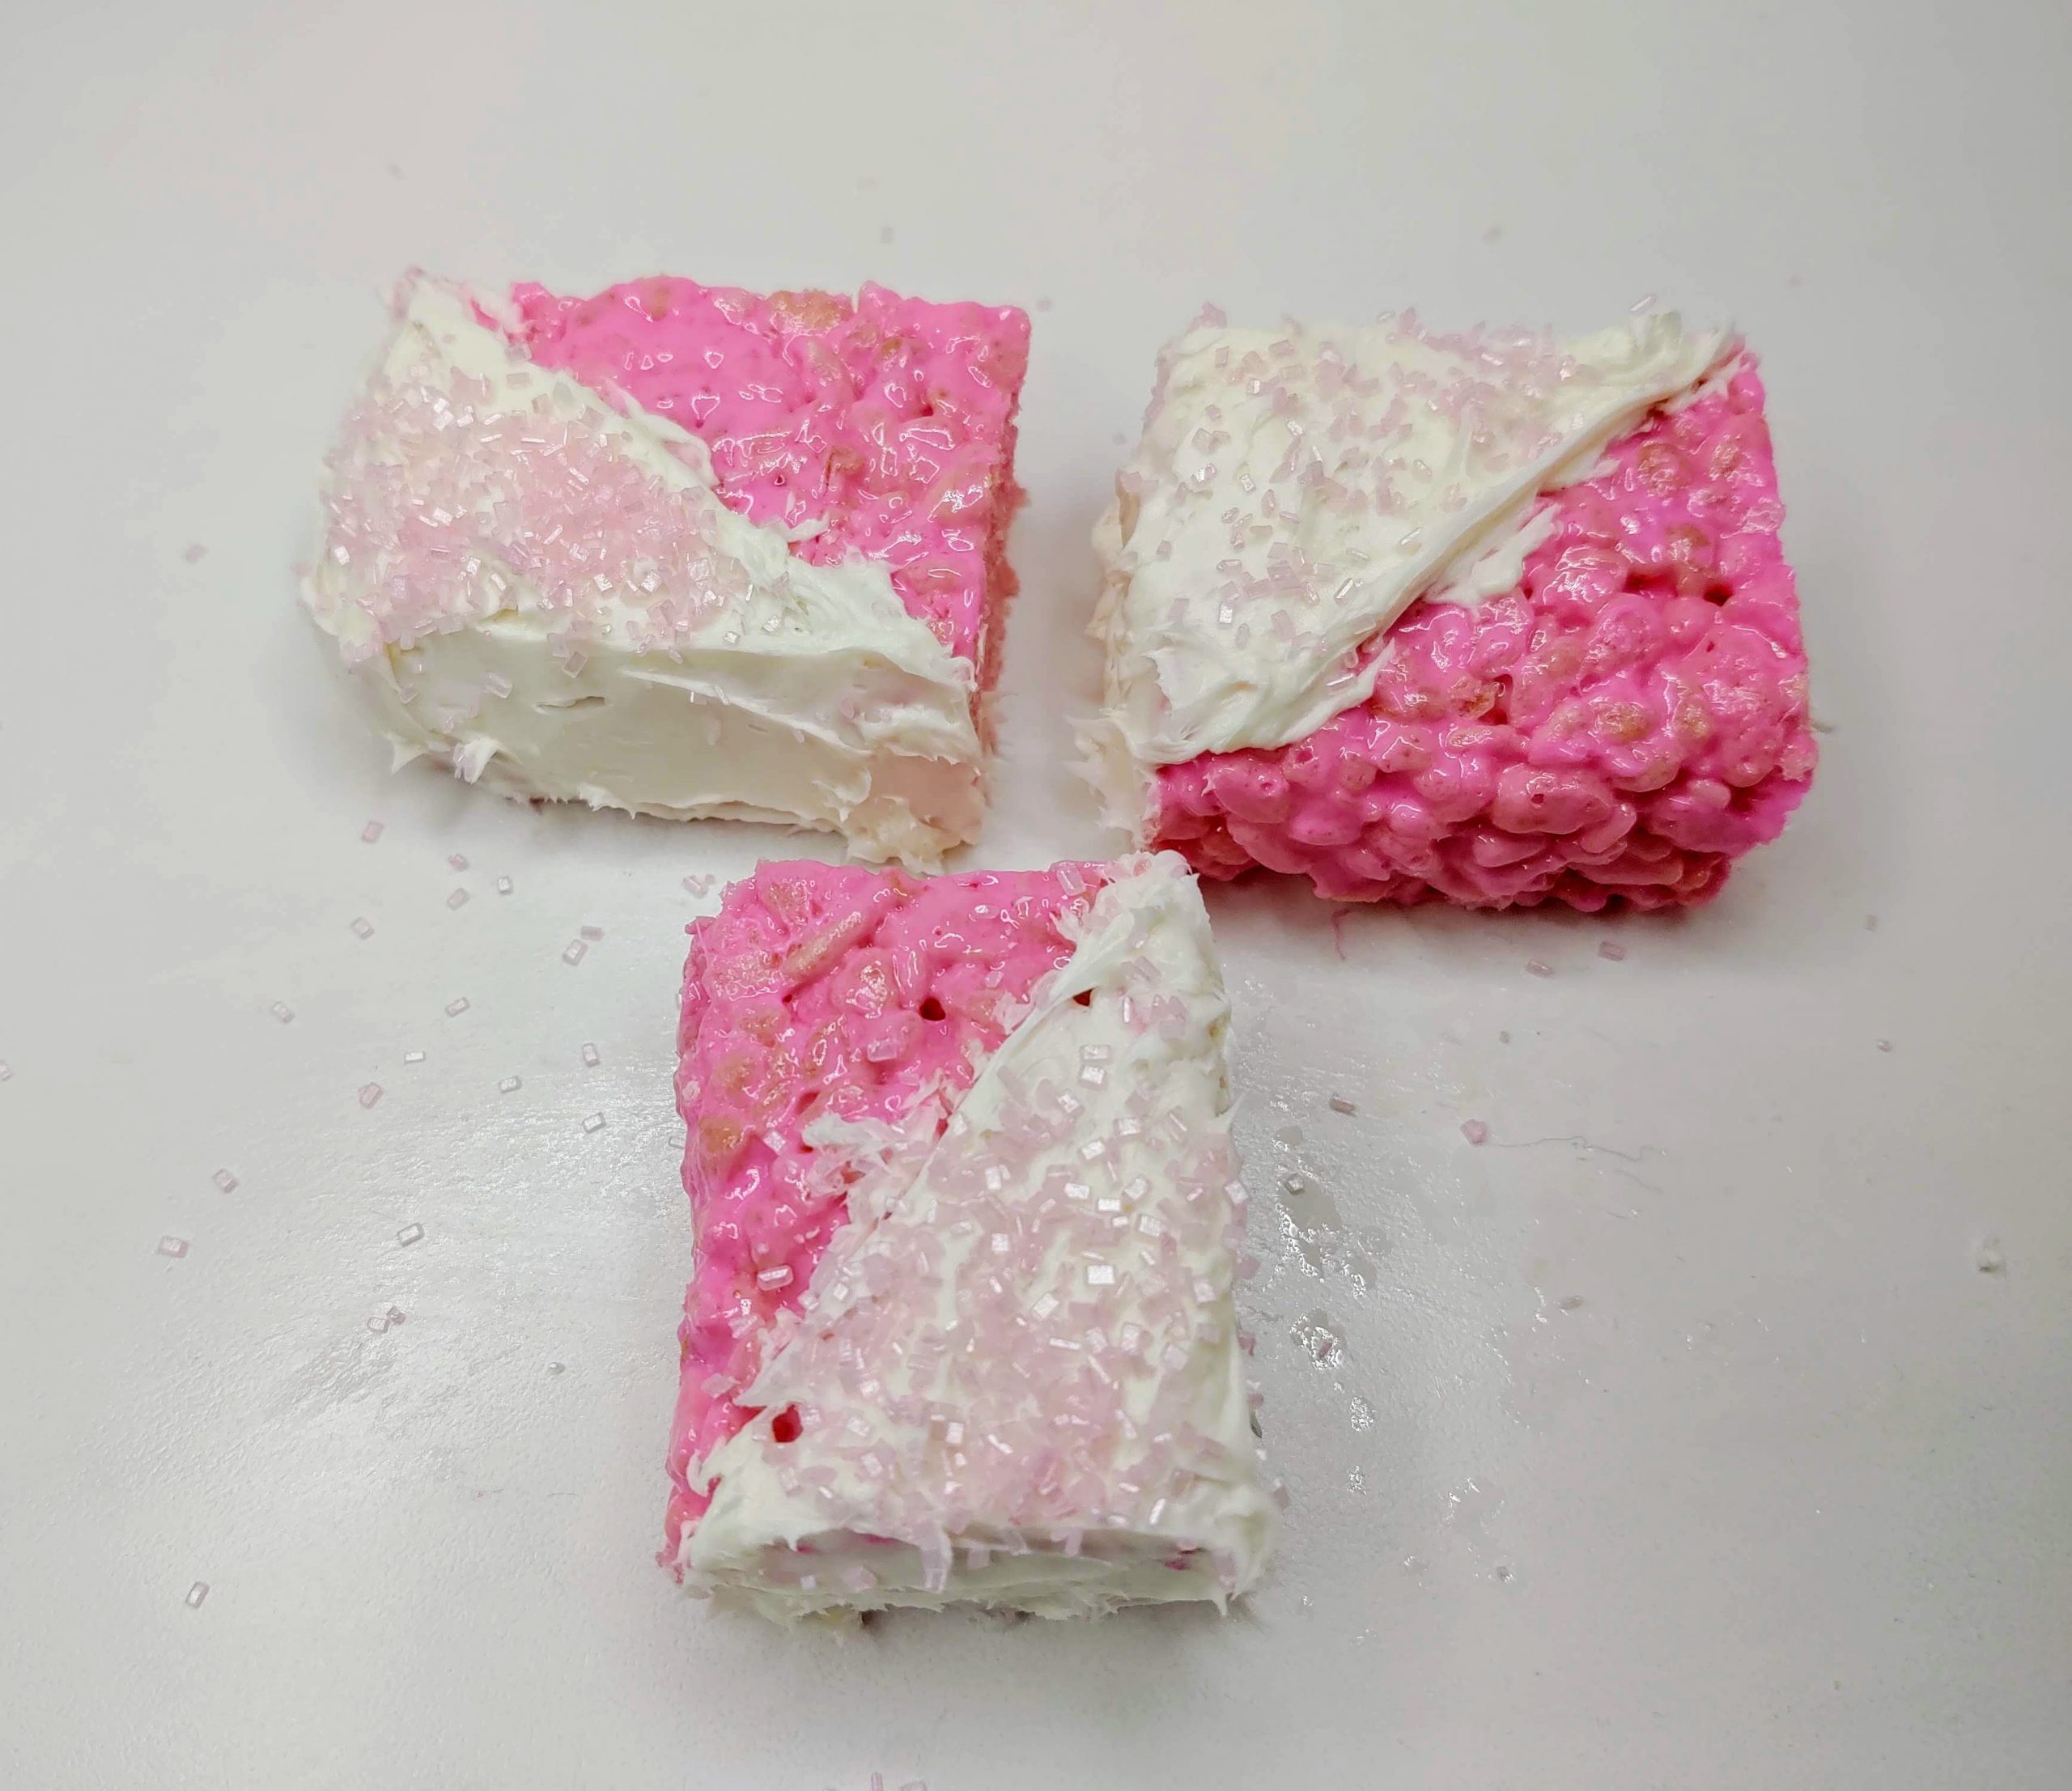
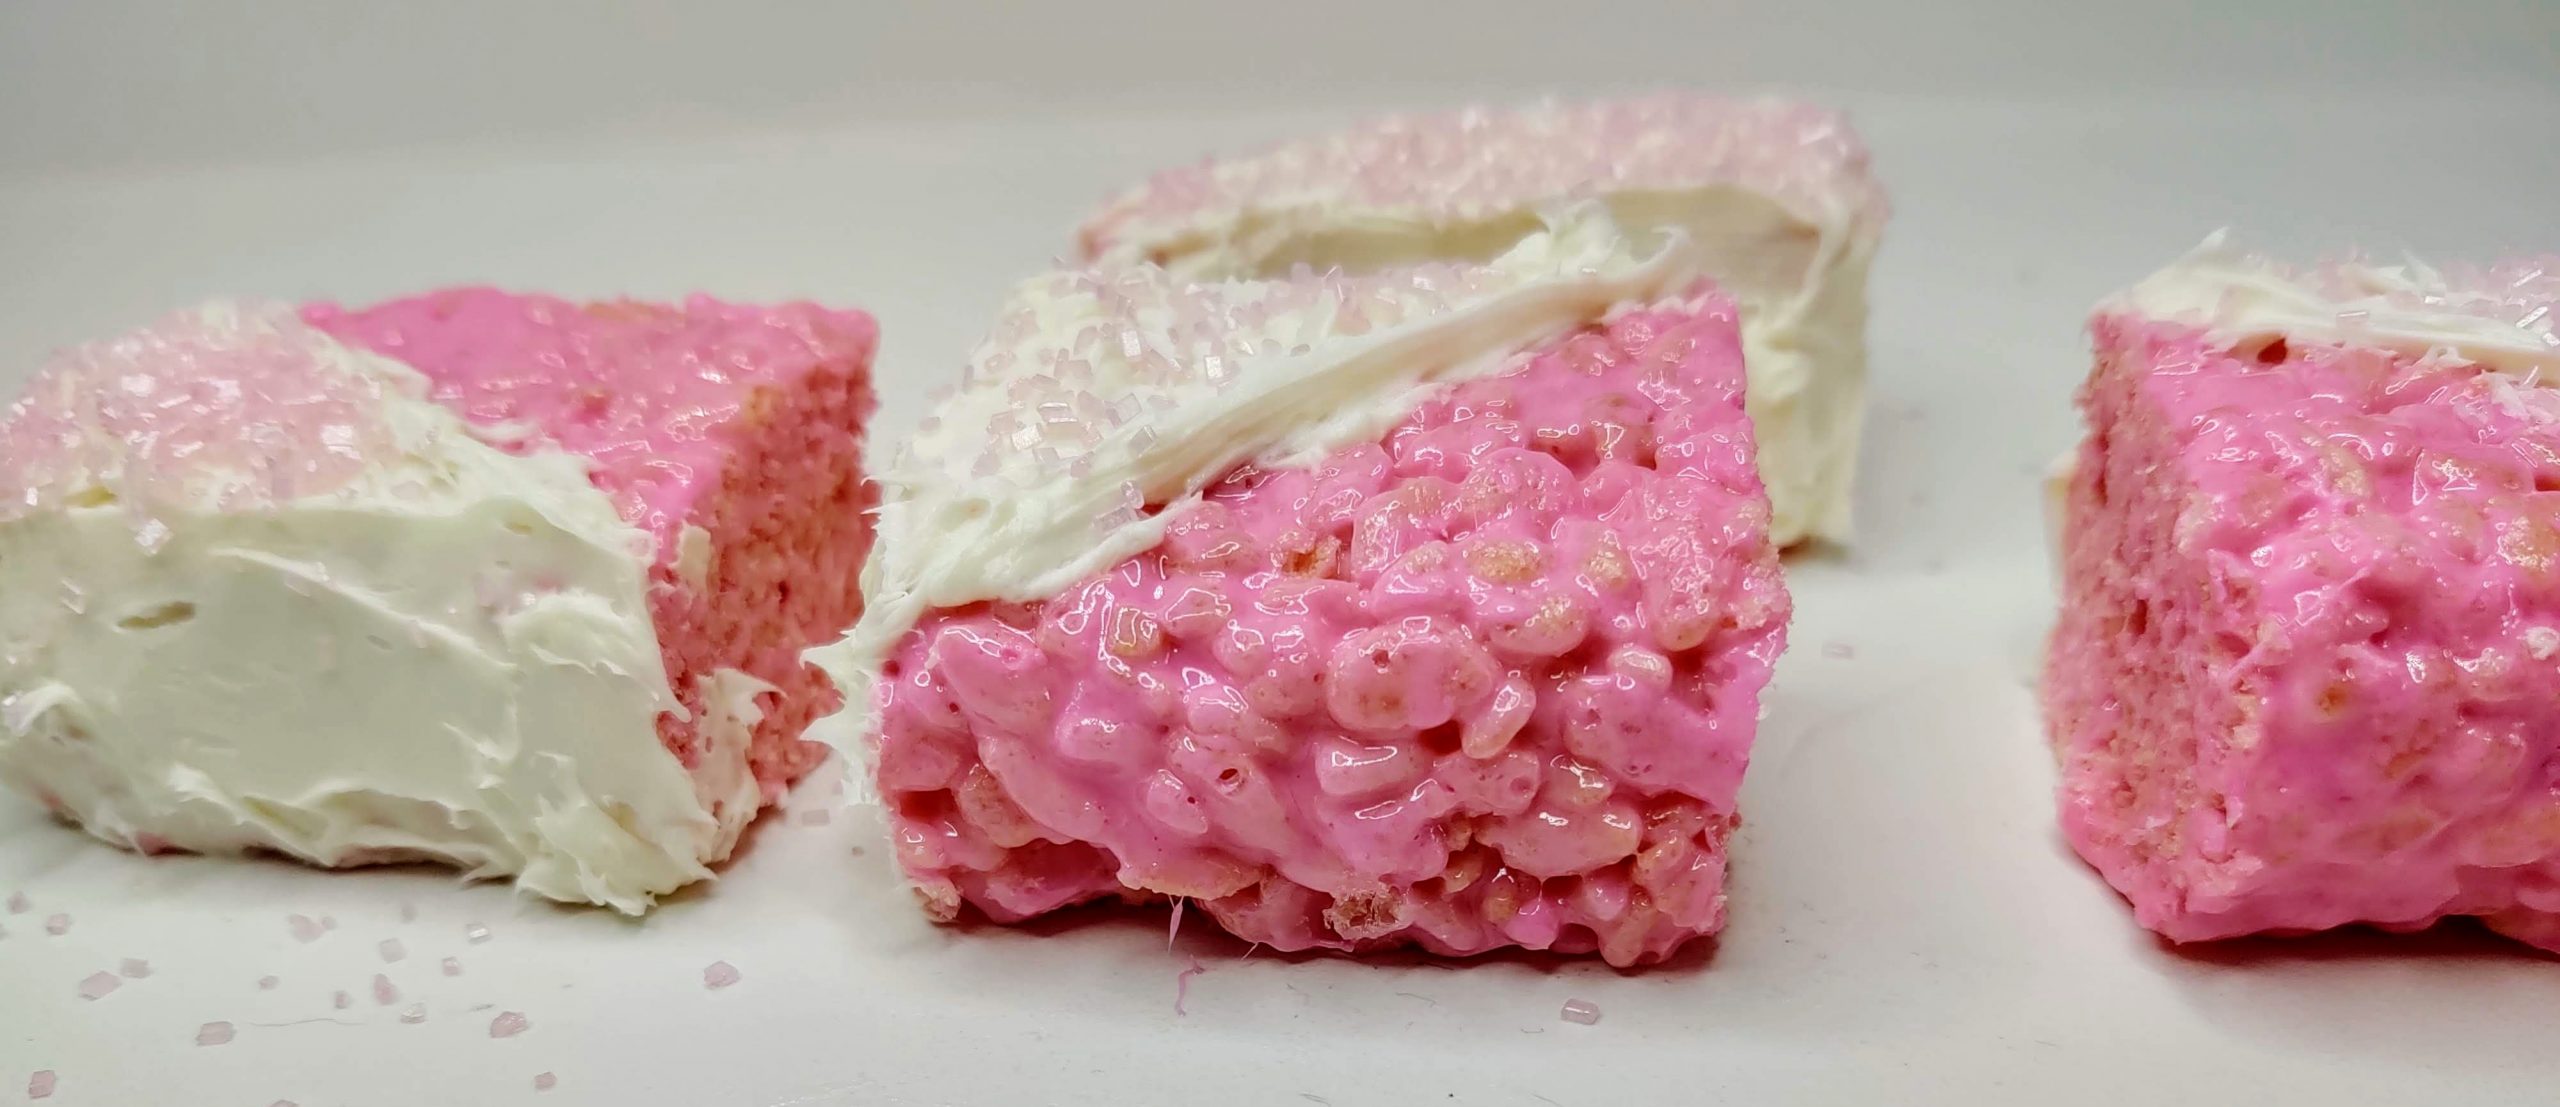
You can either ice the entire top just like a cake or you can use a sharp knife to cut them into 2 inch squares and ice them individually. It really just depends on how much time you want to spend.
Once you have them cut and iced, sprinkle a whole canister of sprinkles on top. Maybe not an entire canister but can you ever really have too many sprinkles?
Bring them to the baby shower and watch everyone enjoy (and you enjoy them too)!

Baby Shower Rice Krispie Treats
Equipment
- 9x13 Pan
- Spatula
- large stock pot
Ingredients
- 6 Cups Rice Krispies
- 3 tablespoon Salted Butter
- 16 oz Marshmallows
- 1 Tube Pink and/or Blue Food Coloring
- 1 Jar Cream Cheese Icing
- 1 Container Pink and/or Blue Sprinkles
Instructions
- Add the butter & marshmallows in a bowl and melt them together. This can be done in the microwave or on the stove top.
- Add in food coloring and stir. Add food coloring until the desired shade is reached
- add in Rice Krispies and mix thoroughly
- Spread the mixture into a greased pan with a greased spatula.
- Allow mixture to cool (about 30 minutes), cut into squares
- spread icing on each square in either a diagonal pattern or completely
- add sprinkles to top
- serve and enjoy!
Nutrition information provided is just an estimate and may vary based on specific ingredients used.