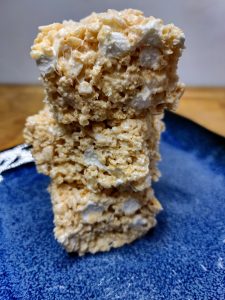
Whether you looking to make some lumps of coal for christmas, some Mickey mouse Rice Krispie treats, or maybe some black and red Chicago bulls treats you'll need to know how to make black rice krispie treats. These colored Rice Krispie treats are super easy to make and are sure to be hit at your next ger together.
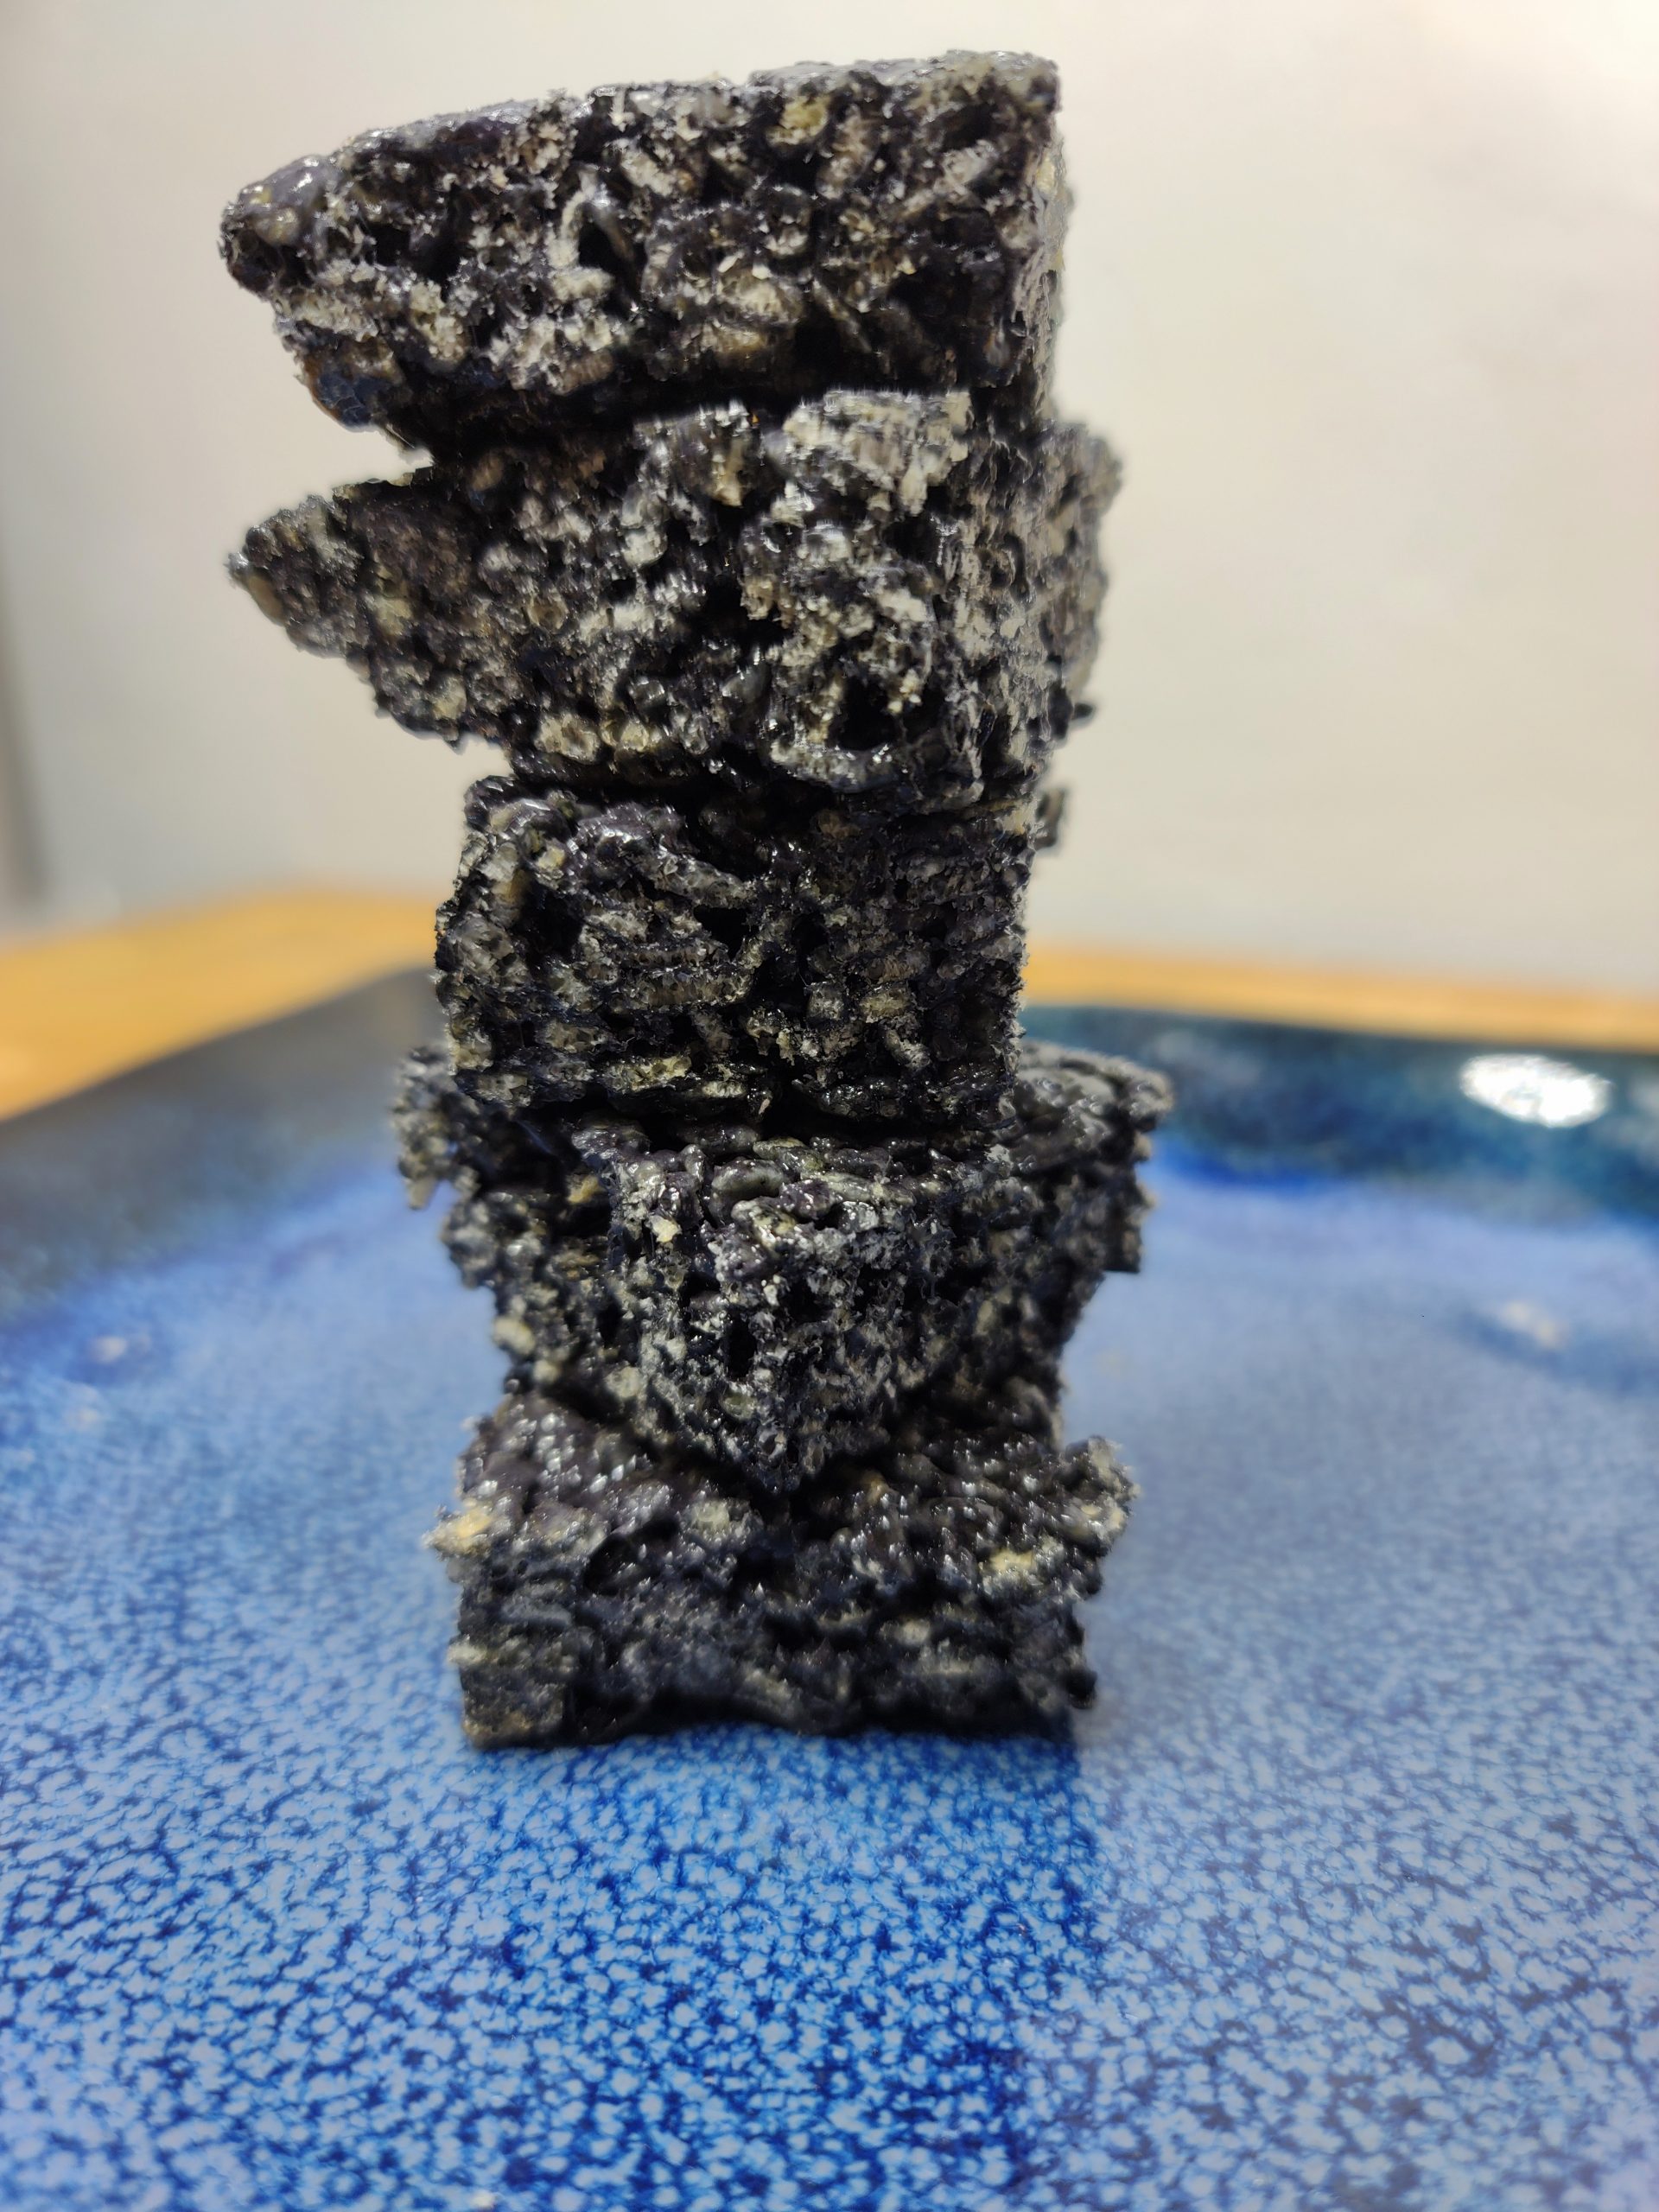
What are black rice krispie treats?
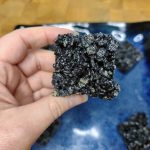
Black Rice Krispie treats or your traditional treats which are combination of marshmallow, butter and Rice Krispies cereal with added black food coloring. These no bake dessert bars are easy to make and about 15 minutes.
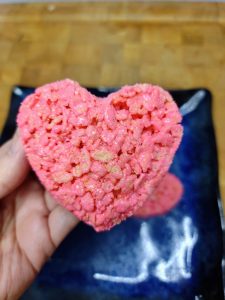
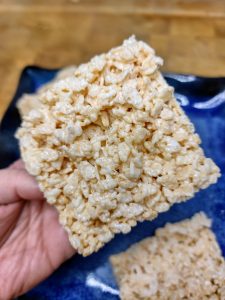
Making colorful Rice Krispie treats is super easy, these treats are made the same as green Rice Krispie treats, orange rice krispie treats or purple rice crispy treats.
Variations
These treats taste super delicious just how they are. But, if you want to spruce them up for some themed occasions here are a few ideas:
- Celebrate a sports team: come on these black rice krispie treats with another color to make the team colors for some of your favorite teams. These would make great super bowl treats or NBA finals treats.
- Make a pot of gold: go ahead and make these black rice krispie treats, shape them into pots and spray a little gold edible glitter in the middle for pot of gold Rice Krispie treats perfect for St Patrick's day. or even just add the glitter for black and gold treats.
- Lumps of coal: take these black rice krispie treats and turn them into balls and they're perfect for lumps of cool to celebrate christmas.
- Mickey and Minnie mouse: you can take these black rice krispie treats cut them into a big circle with two little circles for the ears and then decorate them to look like Mickey or Minnie mouse.
How to Make these treats
To make these treats is super easy you simply take the original Rice Krispie treat recipe that everyone knows and loves and add in a couple drops of black food coloring. Stir it all together and you're good to go.
Supplies
- spatula
- large stock pot or Microwave Safe Bowl
- Measuring Cup
- 9 x 13 baking pan
Ingredients
- 6 Cups Rice Krispies Cereal
- 16 oz of Jet Puff Marshmallows
- 4 Tbs Salted Butter
- (optional) non-stick canola oil spray
- Food Coloring
Instructions
Step One
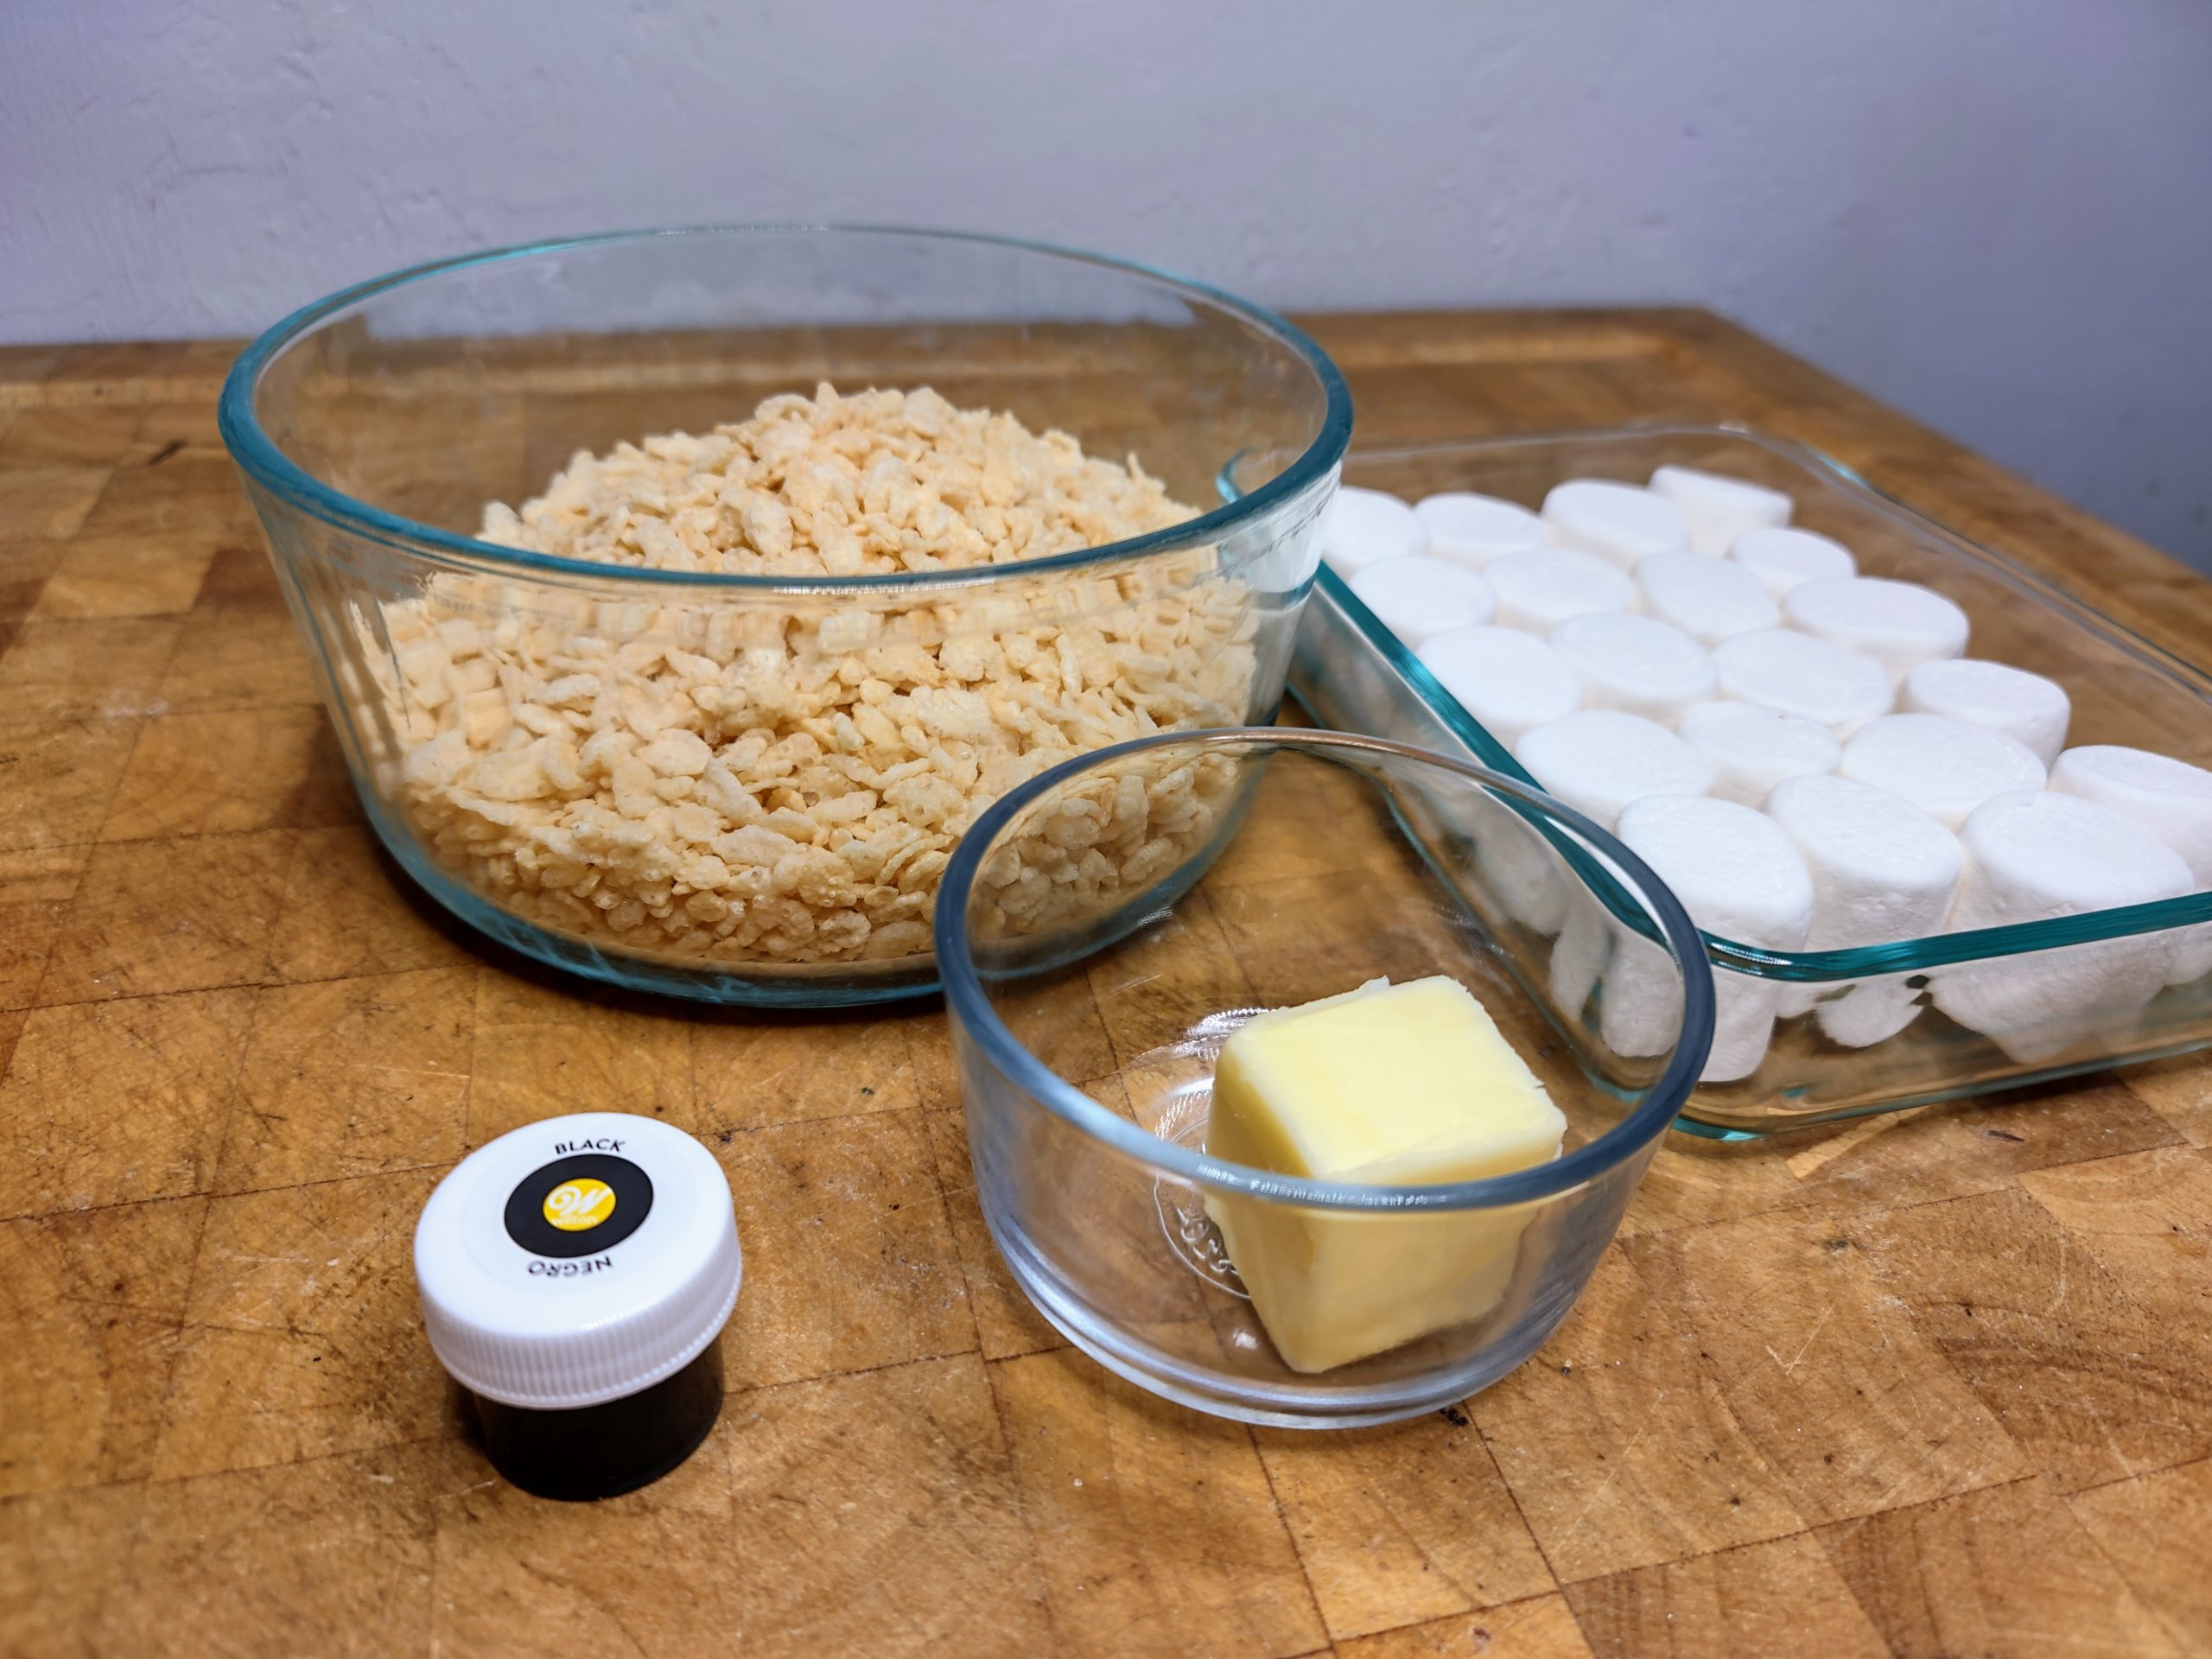
Start off by making sure you have everything you need to make your treats. Gather together your food coloring, marshmallows, butter, Rice Krispies cereal, measuring cups, spatula, pan and microwave safe bowl or pot.
Before you get started you'll also want to make sure that you have greased everything that will touch your sticky marshmallow mixture. If you don't grease things well it will be difficult to work with your treats. You can use butter or nonstick cooking spray to do your greasing.
Step Two
Now, as you get started making your actual treats, you'll need to melt together your butter and your marshmallows. You could do this in one of two ways. You can either choose to melt them in the microwave or you can melt them on the stove top.
Microwave melting method:
- This method is the fastest of the two and only takes a couple quick minutes.
- Toss your marshmallows, 16 oz, and butter, four tablespoons, into your microwave safe bowl.
- Toss your bowl with marshmallows and butter in it into your microwave and heat for 30 to 60 seconds.
- Take the bowl out of the microwave and stir your butter and marshmallows together.
- Pop that bowl back in the microwave for 30 seconds. Then when it's done, stir well.
- Continue with the heating for 30 seconds and stirring cycle until you have melted your marshmallows.
Stove top melting method:
- This method takes considerably longer at around 10 minutes total. However, it gives you better control over the amount of heat you apply to your marshmallows.
- First, take your pot and add four tablespoons of butter to it.
- Turn your burner on low heat and place your pot full of butter onto the burner.
- Heat your butter and stir it occasionally until butter is almost completely melted.
- Take your 16 oz of marshmallows and add them to your pot of butter
- Heat your marshmallows on low stirring frequently until they are almost completely melted.
- Take your pot off the heat and continue stirring your marshmallows and butter until they are completely combined and completely melted.
Step Three
Grab your black food coloring and add several drops to your marshmallows. Stir well and continue adding food coloring until you get the color you desire.
Step Four
Take your 6 cups of rice krispie cereal and very slowly pour them into your marshmallow mixture while stirring. It is important not to dump them all in at once or it will be very difficult to stir them in well.
once you've added your cereal, the black color you added may be a little lighter. If you desire to have a darker color simply add more food coloring and mix it in well.
Step Five
Use your greased spatula to transfer your cereal and marshmallow mixture into your greased pan. Gently use your spatula to press the mixture into the pan so that it is the same thickness across the entire pan.
Step six
take your pan and set it aside for around 30 minutes so your treats can cool. Then, once cooled, use a greased knife to cut your pan into 16 even treats.
Treat tips
- Make sure your marshmallows are fresh: old marshmallows or marshmallows that have been open to become stale can lead to your treats being less chewy and soft and more hard and crunchy.
- Add a little extra: when you're out of your black food coloring add just a smidge more before you add the cereal in. It's much easier to mix the coloring straight into the marshmallow without the cereal already included. And when you add your cereal it is sure to lighten the color just a little.
- Double up: if you need extra treats, you can simply double the recipe for two batches. Or, if you want extra thick treats double the recipe and keep it in the same size dish.
- Don't heat it up: well you do need to use enough heat to get your marshmallows melted, adding too much heat or keeping them on the heat too long will be to stiff marshmallows due to the crystallization of the sugar content in them. So, make sure to use only the amount of heat it takes to get them melted.
Treat storage
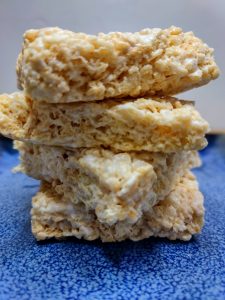
- These treats last for upwards of 5 days.
- Keep them at room temperature for best quality of texture. If they are put in the fridge they can become hard and if they are kept in a hot room they can become too soft and melty.
- Make sure they're in an airtight container. This can be either a Pyrex with a lid or a sealed Ziploc bag or something similar.
- If you're making them in advance or won't eat them within around 5 days, you can individually wrap them and freeze them for later.
Black Rice Krispie Treats
Equipment
- Spatula
- 9x13 Pan
- large stock pot
- Large mixing bowl
- measuring cups
Ingredients
- 16 oz Marshmallows
- 4 tbs Salted Butter
- 6 cups Rice Krispies cereal
- black food coloring
Instructions
- Get your supplies and ingredients all together and ready to go.
- Grab some butter or non-stick cooking spray and grease up your spatula and your pan.
- To melt your marshmallows and butter you can use a microwave or the stovetop. Directions below are for the microwave. Directions for stovetop are above in the post.
- Grab your microwave safe bowl and add in 4 tbs of butter and 16 oz of marshmallows.
- Stick the bowl into the microwave for 30 - 60 seconds to heat your butter and marshmallows.
- Stir your marshmallows and butter well and then put back in the microwave for 30 seconds.
- Keep heating and stirring until marshmallows and butter are fully melted.
- Take your black food coloring and add it into your marshmallows while stirring. Note: make the color slightly darker than desired end color as it will lighten some with addition of cereal in next step.
- Take your 6 cups of rice krispie cereal and add it slowly into your marshmallows.
- Fold the cereal into the marshmallows until cereal is thoroughly and evenly coated.
- Move your treats from your bowl into your greased pan.
- Press the treats gently into the pan.
- Allow treats to cool for 30 minutes or so.
- Use a knife and cut treats into 16 even squares.


