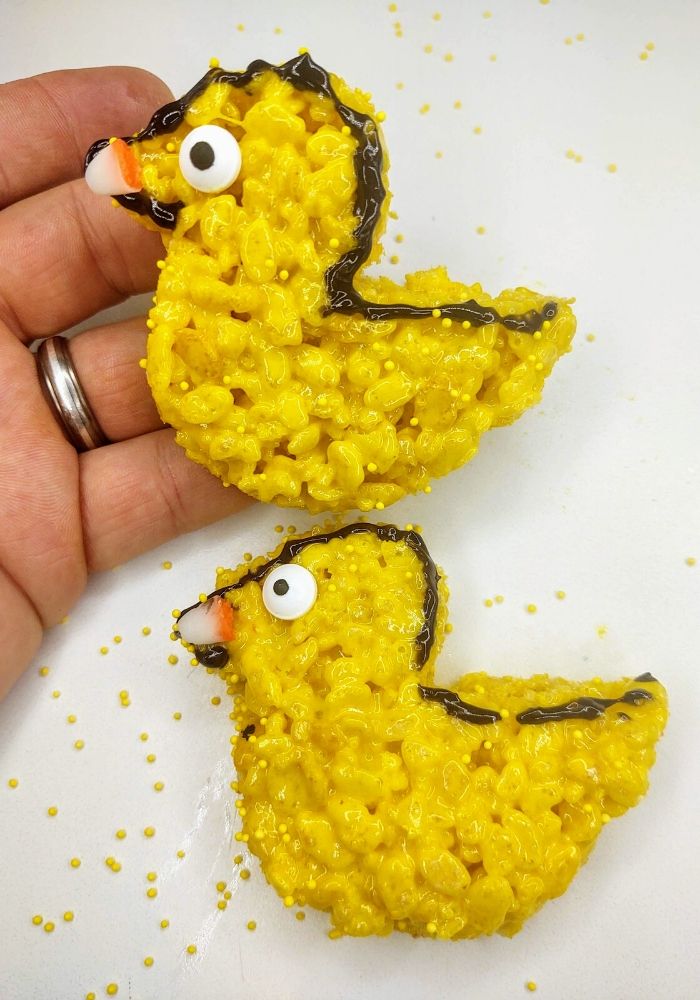
If you're looking for a perfect springtime treat project, this is the recipe for you. These Rice Krispie Treat chicks are super cute, adorable and of course, delicious.
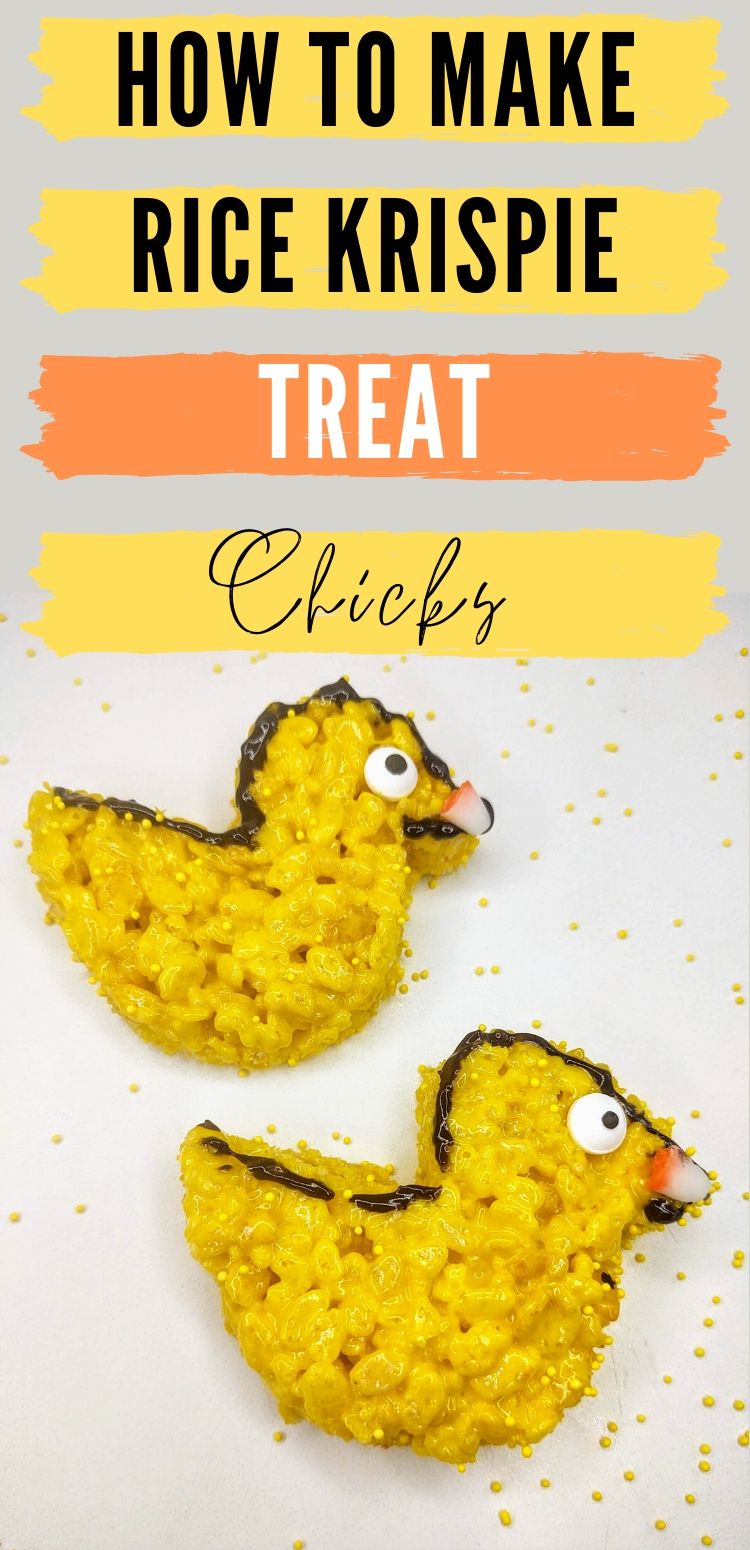
How to make Rice Krispie Treat Chicks
These Rice Krispie Treat chicks are great for springtime, Easter, or honestly anytime of year. They're super easy to make, and it's a fun project the whole family can enjoy.
This recipe is basically the same as original Rice Krispie Treats but you will need to use food coloring. Specifically, yellow food coloring, just like we used in our yellow Rice Krispie Treats recipe. If you've made that or our blue, red, or green Rice Krispie Treats recipe, you'll do fine with this.
Other than food coloring, you'll need a Chick shaped cookie cutter, black decorating gel, and decorative candy eyeballs.
With cookie cutter recipes, we generally use an 8 x 8 pan and make half batches. You can definitely make a full batch recipe. Just double the ingredients.

Step One
Set your stovetop heat to medium and melt 2 tablespoons of butter in a large stock pot. I will sometimes stir with my spatula because I feel like it helps speed up the process.
When your butter is mostly melted add half of a 16 ounce bag of Jet Puff Marshmallows. You can use any marshmallows you like. In our experience Jet Puff are the most consistent in both texture and flavor.
Stir your marshmallows and butter together until you have one melted liquid marshmallow butter combination. Once everything is sufficiently melted, you will want to add in your yellow food coloring.
We tend to use a lot of food coloring. It's a fun recipe, so we want them to be as bright as possible. Start out with just a couple of squirts, but continue to add if needed.
Once your marshmallows are the color you want, reduce your heat and get your cereal ready.

Step Two
Add three measured cups of Rice Krispies into your yellow marshmallow mix. Use your spatula to stir everything together until it is completely mixed.
Once you've added your cereal, if you feel like your Rice Krispies are not quite yellow enough, you can always add more food coloring at this point.
Step Three
Now it's time to prepare your 8 x 8 baking pan. We prefer to use canola oil spray as our nonstick baking spray but you can use any flavorless spray you like. Use that spray to coat the bottom and inside walls of the pan thoroughly.
Now scoop all of your Rice Krispie Treat mix into the pan. Use your spatula to flatten all of the mixture into the bottom of the pan.
Set to the side and allowed to cool. When making cookie cutter Rice Krispie Treats, it is important to let them cool. If they're too hot when you cut them, they tend to stick together and you get less of a clean cut.
Step Four
Once everything has cooled sufficiently, get out your cookie cutter and position it on top of the treats to see what the best way to cut everything will be. One of the reasons we make half batches is because they are a little bit thinner and easier to cut with the cookie cutter.
When you're ready, place your cookie cutter in the correct spot and press down firmly and evenly. The treats will likely still be a little too thick for the cookie cutter, so you will want to take a sharp knife and kind of trim around the edges. Continue doing this until you have all of your rice crispy. Treat chicks cut out.
Now get out your decorations and prepare for the fun part!
Step Five
For decorating it, you're going to need decorative candy eyeballs, black decorating gel, and candy corn. These are all obviously just suggestions. This is your project, so have fun with it and be creative. Don't feel like you have to follow these directions to the letter.
We started out with black decorating gel. We started at the tip of the tail and worked our way just along the ridge of the back, up around the head, and just under the beak. We then placed a small dab just on top of where the beak should be.

Now take out your candy corn. You will only need the white tip of the candy corn. Snap that off and place it with the point facing out right on that dollop of black gel. The gel should hold it in place. Plus, you can eat the rest of the candy corn.
Finally, add the candy eyeball and you are through!
Let us know how your Rice Krispie Treat chicks went. Did you follow the decorating instructions or did you get creative with your own things? You can let us know down in the comments below.
Rice Krispie Treat Chicks
Equipment
- 8x8 Pan
- Spatula
- Large mixing bowl
- Chick Cookie Cutters
Ingredients
- 3 Cups Rice Krispies
- 2 tablespoon Salted Butter
- 8 oz Marshmallows
- yellow Food Coloring
- candy eyes
- black writing gel
Instructions
- add the butter & marshmallows in a bowl and melt them together. This can be done in the microwave or on the stove top.
- add yellow food coloring and stir. add as needed until you reach desired shade
- add in Rice Krispies and mix thoroughly. add more food coloring if cereal is not green enough.
- spread the mixture into a greased pan with a greased spatula.
- allow mixture to cool (about 30 minutes)
- use chick shaped cookie cutters to cut in shapes
- outline each chick with black writing gel
- add small dot to hold candy corn beak in place
- press candy eye into place
- serve & enjoy!
Nutrition information provided is just an estimate and may vary based on specific ingredients used.
