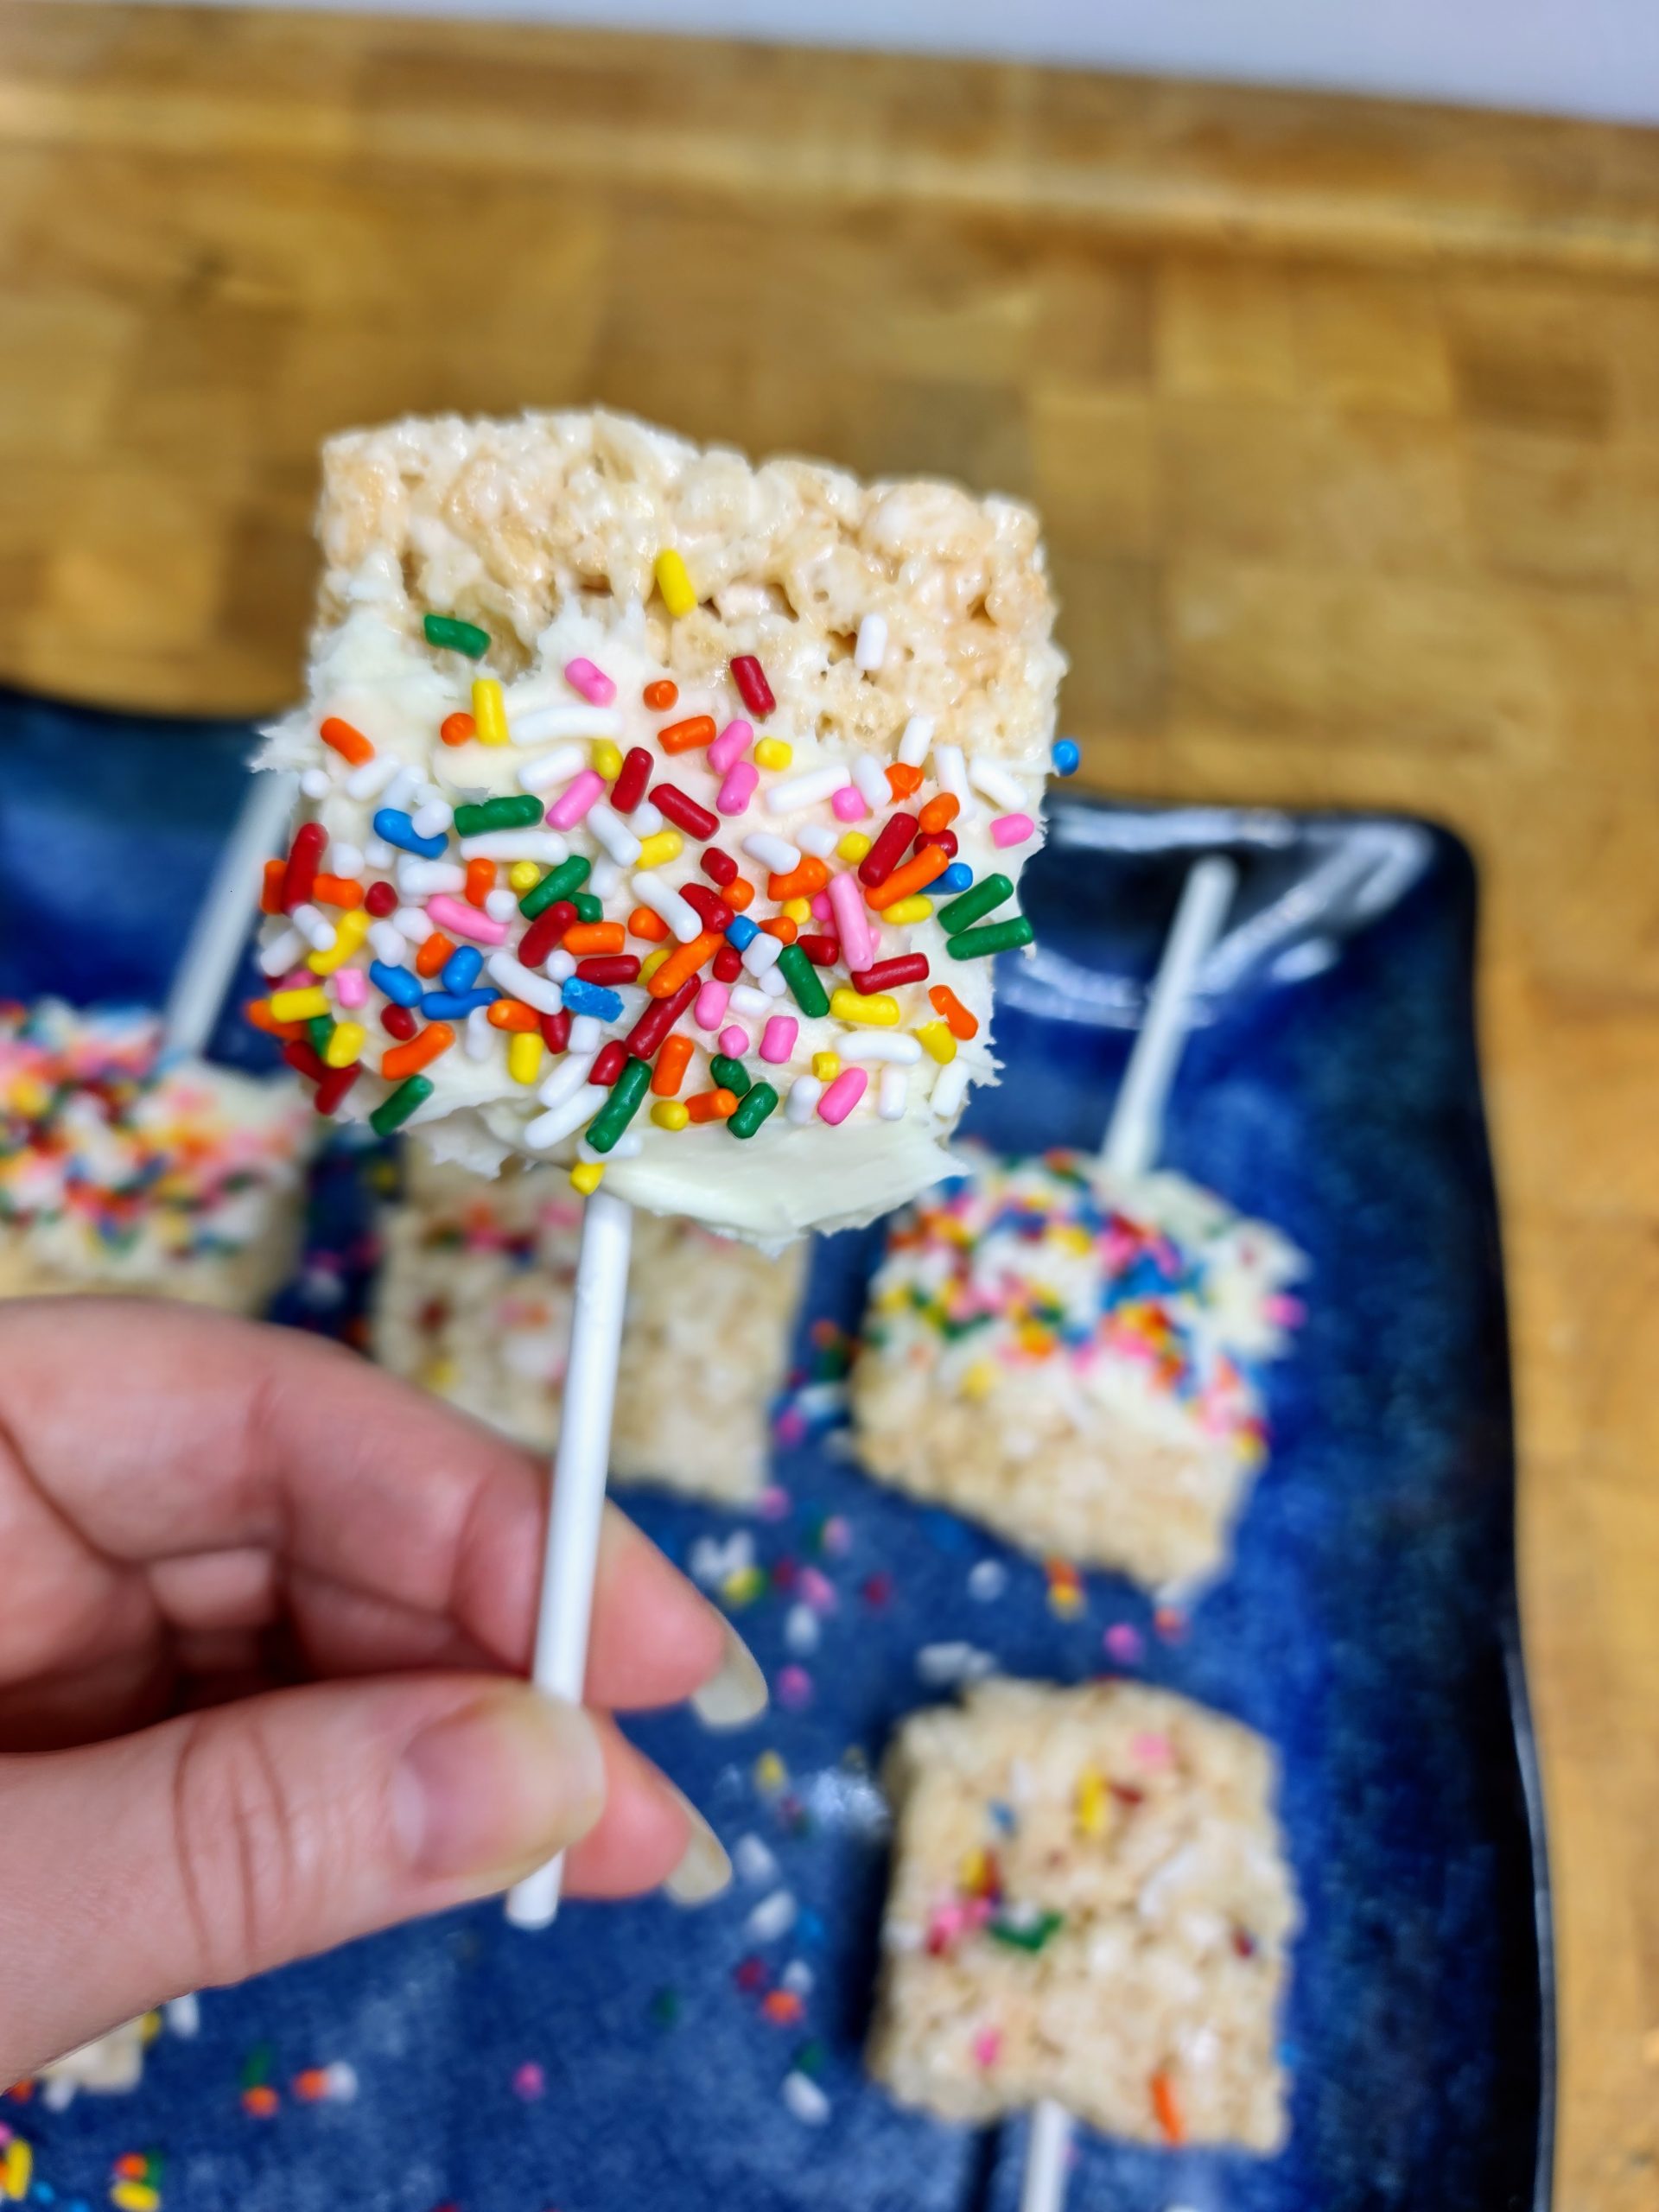
Want to fancy up your desserts? Try these rice krispie treat pops which are great to decorate and wrap up as edible party favors, or just as a way to keep your hands clean while snacking.
What are Rice Krispie Treat Pops?
Rice krispie treat pops are any type of rice krispie treat which has been placed on either a paper straw or lollipop stick. They are super easy to make and can be made in various shapes, sizes and decorations. You don't have to spend much more time on them than when you make regular rice krispies - just about 15 minutes and you're ready to snack.
Besides being easy to make and super delicious, rice krispie treats have so many possible variations. These rice krispie treat pops are fun because they can be used as party favors - think pink dipped ones for a baby shower or mini incredible hulk ones for a kids birthday.
Variations
These fun treats are delicious and work just with the original recipe, but you can also decorate or flavor them however you want. Here are a few ideas to get you started:
- Chocolate Dipped: make your traditional treats, and then dip them in chocolate. You can dip them completely, half and half, or diagonally.
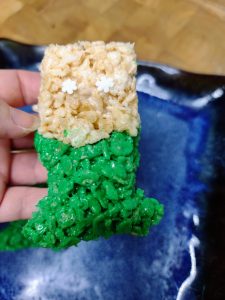
- Colored Rice Krispie Treats: add a flash of color by using some food coloring in your treats to make green, orange or any other color you want.
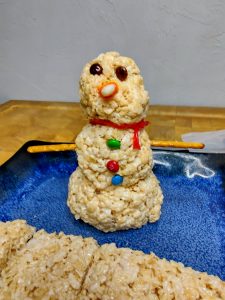
- Add a Mix-in : choose a candy like M&Ms or a spread like Bischoff and add it to your treat mixture for an extra yummy flavor.
- Cookie Cutter Rice Krispie Treats: turn your pop treats into shapes by using cookie cutters. You can make them for most any themed party this way.
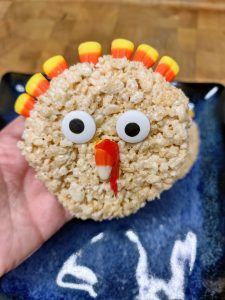
- Decorate them: make some cute reindeer, chicks or any other thing you can imagine.
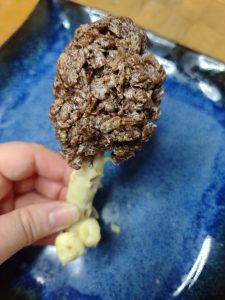
- Use Another Cereal: you don't have to stick to using rice krispie cereal. Try out Cocoa Pebbles, Frosted Flakes or whatever your favorite cereal is.
How to Make these treats
These are just as easy and quick as your traditional rice krispie treats, you just add a stick to them at the end. You only need 3 ingredients plus lollipop sticks or paper straws. You can have these ready in about 15 minutes.
Supplies
- spatula
- large stock pot or Microwave Safe Bowl
- Measuring Cup
- 9 x 13 baking pan
Ingredients
- 6 Cups Rice Krispies Cereal
- 16 oz of Jet Puff Marshmallows
- 4 Tbs Salted Butter
- (optional) non-stick canola oil spray
- Paper Straw or Lollipop stick
Instructions
Step One
Make sure you have everything you need for treat making including paper straws or lollipop sticks, marshmallows, butter, rice krispie cereal, a pan, measuring cups, a spatula, and a pot or microwave safe bowl.
Also, before you get started, you need to grease your pan and spatula as well as anything else that will be touching your marshmallows. Melted marshmallows get super sticky and difficult to work with if your equipment is not well greased.
You can use either butter or a non-stick cooking spray to grease things, both work well.
Step Two
Now, you need to melt and mix your butter and marshmallows together. You have two methods you can choose from: the microwave or the stovetop.
The microwave:
- this method only takes a few minutes.
- Put 16 oz of marshmallows together with 4 tbs of butter in a microwave safe dish.
- Put dish with butter and marshmallows in microwave and heat for 30 -60 seconds.
- Take dish out of microwave, and stir together butter and marshmallows.
- Put dish back in microwave and heat for 30 seconds.
- Take dish back out and stir together again.
- Repeat heating and stirring until butter and marshmallows are melted and mixed well.
The stovetop:
- this method takes longer than the microwave - about 10 minutes. However, it allows you to control the amount of heat used better which can lead to a better texture for your treats.
- Put 4 tbs of butter in a pot and place it on low heat on the stovetop.
- Stir your butter once in a while as it melts.
- When butter is almost melted, put 16 oz of marshmallows in the pot with it.
- Stir marshmallows and butter frequently while still on low heat.
- When marshmallows are almost melted, remove pot from heat and keep stirring until they fully melt.
Step Three
Measure 6 cups of rice krispie cereal. Slowly add your cereal into your marshmallow and butter mixture. Stir it well as you add it so that the cereal gets well combined and thoroughly coated with marshmallows.
Step Four
Take your greased pan and add your cereal and marshmallow mixture into it. Use your spatula to press the mixture into the pan gently until it is the same thickness across the entire pan.
Step Five
Before cutting your treats, allow them to cool for a bit which will help them to stick together and be easier to cut. 30 minutes usually does the trick.
Use a knife, grease it to make cutting easier and cleaner. Cut your treats into 16 squares. Or, if you have smaller straws or sticks, cut into smaller treats.
Step Six
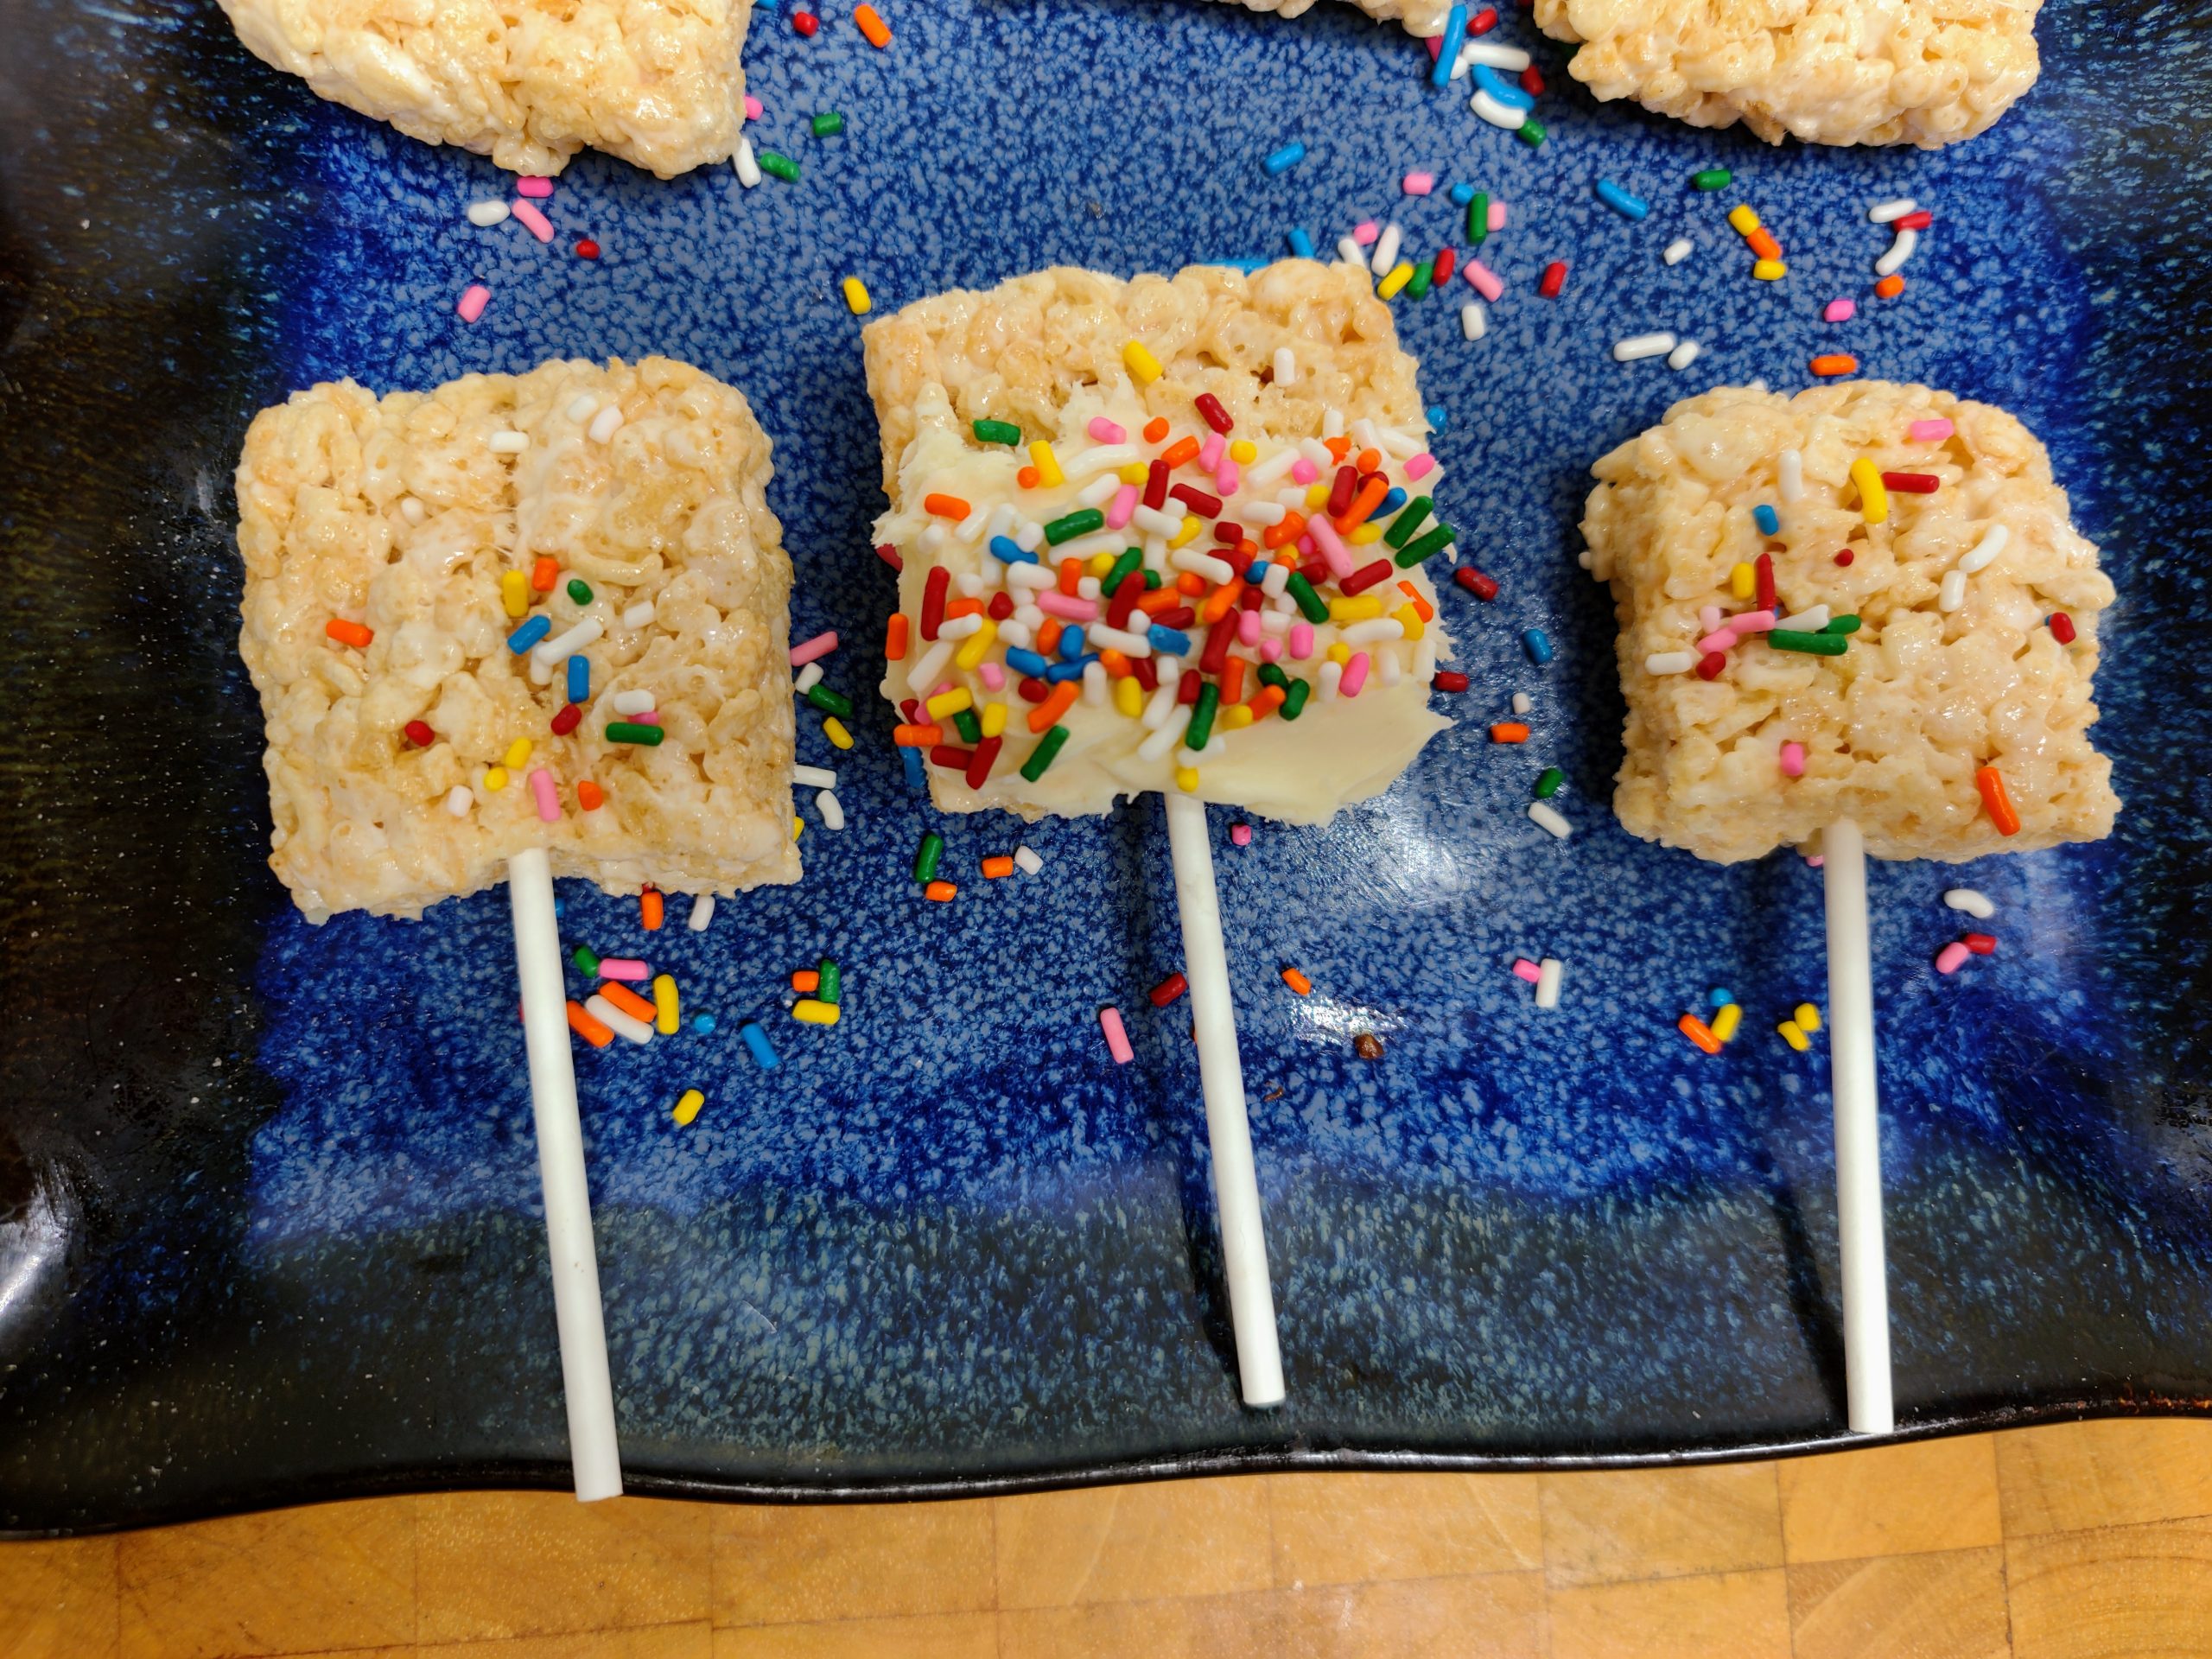
Take your treats and stick a straw or stick whichever you are using, into the treat until it is secure.
Pro Tips
- Cool them faster: if you don't want to wait too long for them to cool before cutting, pop them into the freezer or refrigerator for just a few minutes to cool quicker.
- Size them right: when cutting your treats make sure they are a good size to fit on your paper straw or lollipop stick. You don't want the treats to be so big that the stick can't hold them or so small that the stick seems too large.
- Use fresh: your marshmallows should be new and unopened. Fresh marshmallows lead to the best texture in your treats. Stale marshmallows will make harder treats.
- Don't overheat: overheating your marshmallows can make them stiff which leads to hard treats. When you are melting them, make sure to just heat them long enough that they melt with the least amount of heat needed.
- Don't smash your cereal: when you are stirring your cereal into the marshmallows and when you are pressing it into your pan, make sure to be gentle. Smashing or crushing the cereal can lead to more compact and less soft.
Storing and freezing treats
- Treats stay good for around 5 days when kept in optimal conditions.
- Make sure they are in an airtight container such as sealed zipper bags or a pyrex with the lid on it.
- Keep them at room temperature. Being too hot can cause them to get melted and fall apart, being too cold can cause them to get a bit hard.
- If you need to keep them more than 5 days or so, you can flash freeze them or wrap them individually and then store them in freezer bags in the freezer for 6+ months.

Rice Krispie Treat Pops
Equipment
- Spatula
- 9x13 Pan
- large stock pot
- Large mixing bowl
- measuring cups
- lollipop stick or paper straw
Ingredients
- 16 oz Marshmallows
- 4 tbs Salted Butter
- 6 cups Rice Krispies cereal
Instructions
- Get your supplies and ingredients all in one spot and ready to go.
- Grease your spatula and pan with butter or a non-stick cooking spray.
- Melt your marshmallows and butter together. This can be done on the stovetop or in the micrwowave. For stovetop instructions, see above in post.
- Place 16 oz of marshmallows and 4 tbs of butter into a microwave safe bowl.
- Heat butter and marshmallows for 30 - 60 seconds in the microwave.
- Remove and stir together well.
- Heat for another 30 seconds and stir well after heating.
- Repeat the 30 second heatings and stirring until the marshmallows are well melted.
- Measure 6 cups of rice krispie cereal.
- Slowly pour the cereal into your marshmallows while stirring.
- Once your cereal is well combined with the marshmallows, transfer your mixture into your pan.
- With your spatula, gently press the mixture into the pan so that it is an even thickness.
- Put pan of treats aside for about 30 minutes to cool.
- Grease a knife and cut your treats into squares.
- Take one lollipop stick or paper straw per treat and insert into the bottom of the treat far enough to be secure.
Nutrition information provided is just an estimate and may vary based on specific ingredients used.